 Save to Pinterest
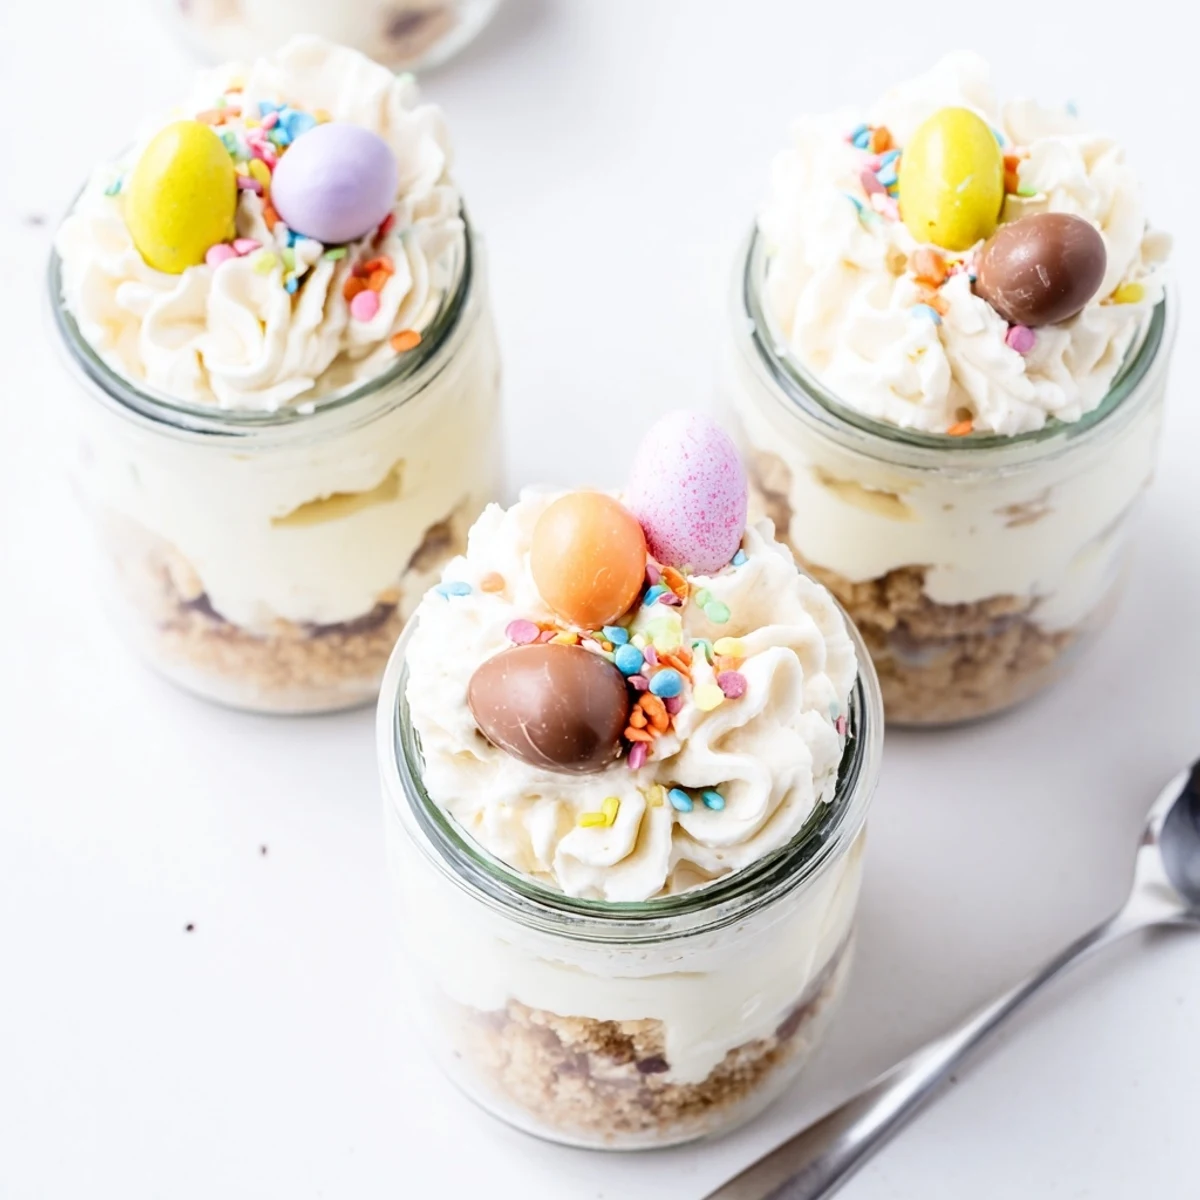
 Create individual portions of creamy no-bake cheesecake layered with buttery cookie crumbs and surprise mini chocolate eggs. These festive jars feature a smooth vanilla cream cheese filling whipped to fluffy perfection, with hidden treats nestled inside. Top with sweet whipped cream and colorful sprinkles for an adorable Easter dessert that's both impressive and effortless.
Last spring, my niece walked into the kitchen while I was crushing graham crackers and asked what treasure I was hiding. The way her eyes lit up when I showed her the mini chocolate eggs was pure magic. We spent the next hour carefully layering these jars together, her little fingers sneaking sprinkles when she thought I wasn't watching.
I brought a batch to our neighborhood potluck, and watching adults get excited about finding eggs in their dessert was the highlight of my afternoon. Something about those hidden chocolates makes everyone feel like a kid again.
Ingredients
- 1 cup digestive biscuits or graham crackers: These create that perfect buttery cookie foundation that holds up beautifully under the creamy filling
- 3 tbsp unsalted butter, melted: The glue that transforms crumbs into a proper crust
- 8 oz cream cheese, softened: Room temperature cream cheese blends smoother than you can imagine
- 1/3 cup granulated sugar: Just enough sweetness without overpowering the tangy cream cheese
- 1 tsp vanilla extract: Pure vanilla makes everything taste homemade
- 1 cup heavy cream, cold: Cold cream whips up faster and holds its shape better
- 18 mini chocolate Easter eggs: The hidden treasure that makes this recipe special
- 1/2 cup whipped cream: For that cloud-like finish on top
- 2 tbsp rainbow sprinkles or pastel sugar pearls: Because Easter deserves a little extra sparkle
Instructions
- Build the cookie foundation:
- Toss your crushed biscuits with melted butter until every crumb glistens, then press two tablespoons into the bottom of each jar
- Create the creamy cheesecake filling:
- Beat cream cheese, sugar, and vanilla until silky smooth
- Whip the cream:
- In a separate bowl, whip cold heavy cream until stiff peaks form
- Combine gently:
- Fold whipped cream into your cream cheese mixture until light and fluffy
- Layer the magic:
- Spoon cheesecake filling over your crust halfway up each jar
- Hide the surprise:
- Nestle 2 to 3 mini eggs into each cheesecake layer
- Cover the treasure:
- Add more cheesecake mixture to completely bury the eggs and smooth the tops
- Let them set:
- Chill jars for at least 2 hours or overnight until firm
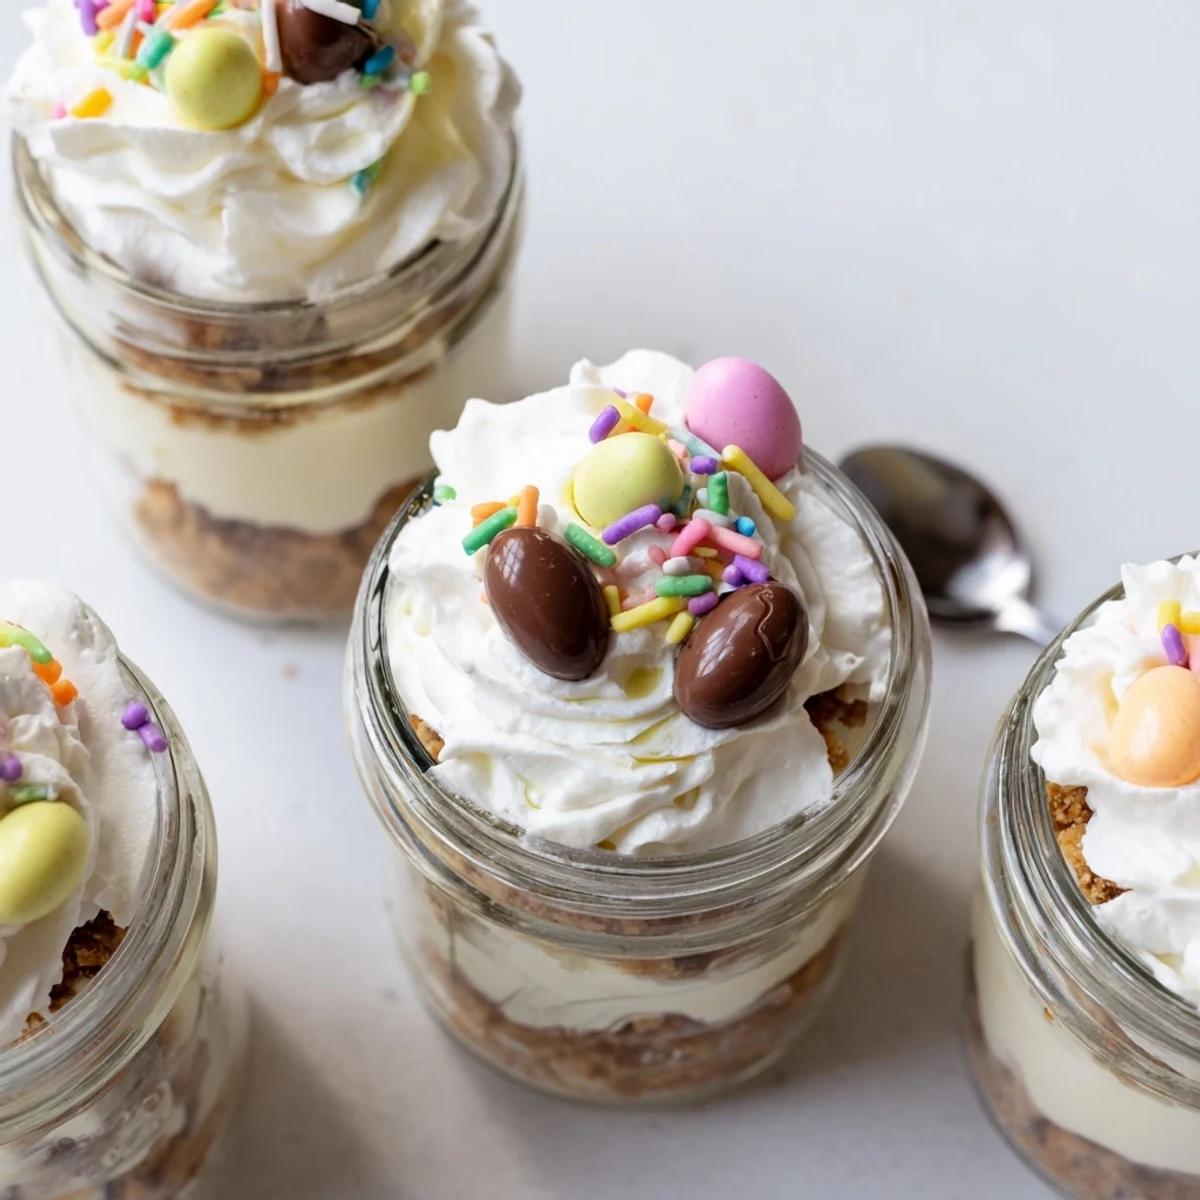
- Add the finishing touches:
- Top each jar with whipped cream, extra eggs, and sprinkles before serving
 Save to Pinterest
 My friend Sara made these for her daughter's birthday instead of cake and the kids went absolutely wild. Sometimes the simplest desserts create the biggest memories.
Getting the Texture Right
After dozens of batches, I learned that overwhipping the cream cheese creates a slightly grainy texture. Mix just until smooth and no longer, then fold in your whipped cream with the lightest touch possible.
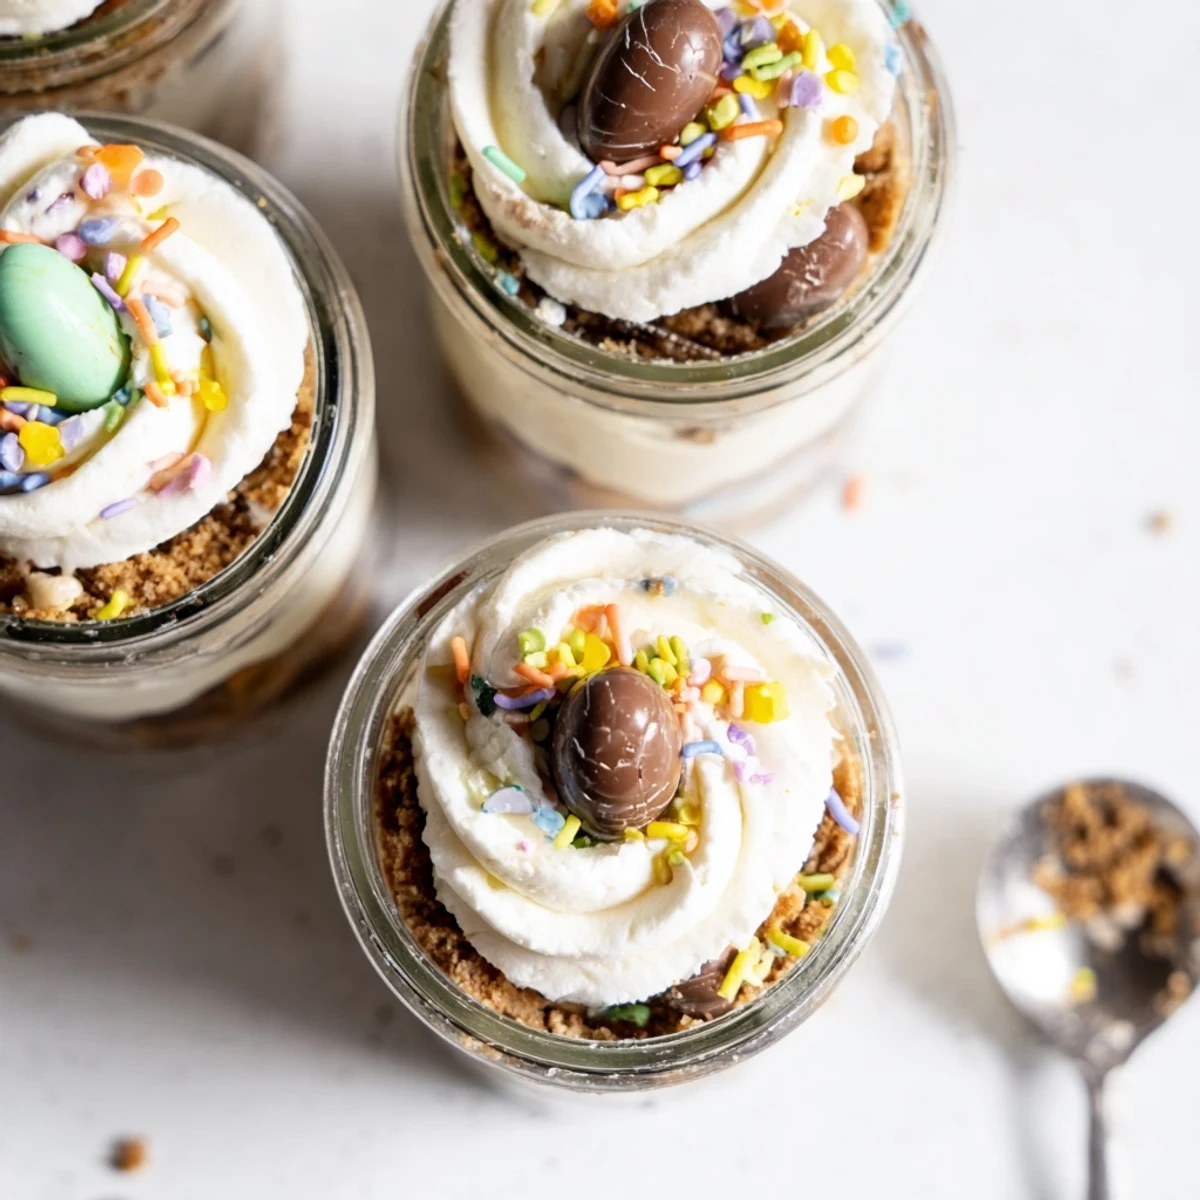
Choosing Your Jars
Clear glass jars show off those beautiful layers and hidden eggs. Six to eight ounces is the sweet spot, though any small container with straight sides will work perfectly fine.
Make-Ahead Magic
These jars actually taste better after sitting overnight, which makes them perfect for holiday entertaining. The flavors meld together and the crust softens just enough.
- Wait until serving time to add the final whipped cream topping
- Keep sprinkles covered or they will absorb moisture and lose their crunch
- Store jars upright so the layers stay perfectly even
 Save to Pinterest
 There is something delightful about watching someone take their first spoonful and discover chocolate hiding in the cheesecake. Happy Easter baking!
Recipe FAQs
- → Can I make these jars ahead of time?
-
Yes, these cheesecake jars can be prepared up to 24 hours in advance. Store them covered in the refrigerator and add the final whipped cream topping and sprinkles just before serving for the freshest presentation.
- → What size jars work best?
-
Use 6-8 ounce glass jars or small dessert cups. This size allows for perfect layering of crust, cheesecake filling, and hidden eggs while leaving enough room at the top for whipped cream topping.
- → Can I substitute the chocolate eggs?
-
Absolutely. Try swapping mini eggs for chocolate truffles, peanut butter cups, or even fresh berries like raspberries and strawberries for a lighter variation. Adjust quantities accordingly.
- → Do I need special equipment?
-
An electric mixer makes whipping the cream easier, but you can use a whisk and some elbow grease. Essential items include mixing bowls, measuring cups, and 6 small glass jars or dessert cups.
- → How long do these need to chill?
-
Refrigerate for at least 2 hours to allow the cheesecake layers to set properly. For the best texture and flavor, chilling overnight is even better, making them perfect for preparing the day before your celebration.
- → Can I make this gluten-free?
-
Yes, simply substitute gluten-free cookies or graham crackers for the crust. Ensure all other ingredients, particularly the chocolate eggs, are certified gluten-free if needed for dietary restrictions.
