 Save to Pinterest
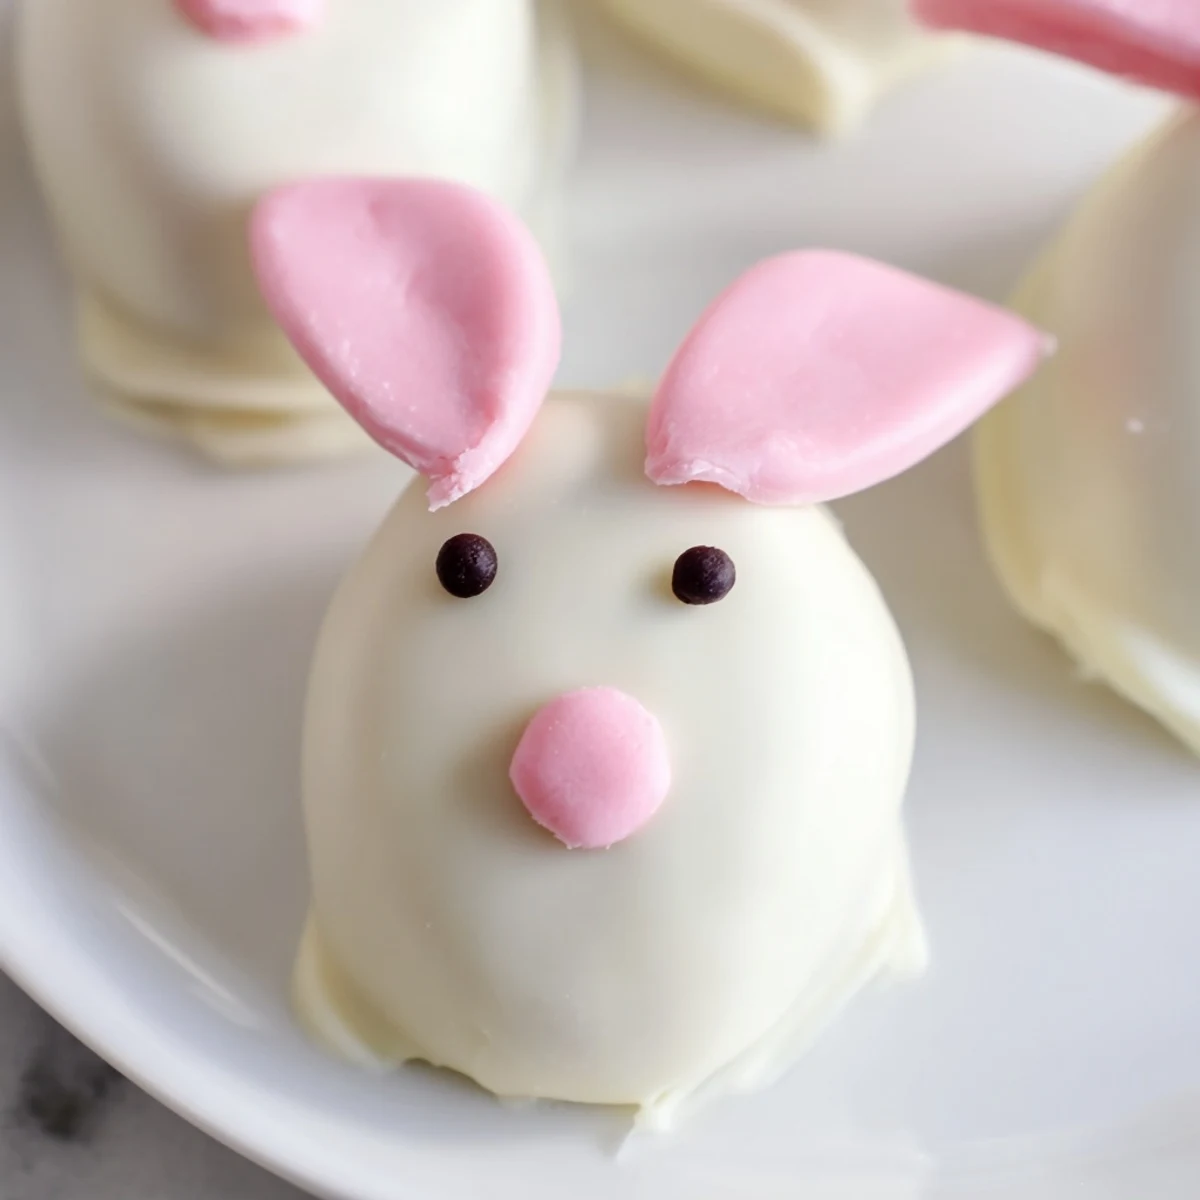
 These charming bunny-shaped treats combine crushed Oreos with cream cheese, dipped in smooth white chocolate and decorated with marshmallow details. The process involves pulsing cookies into fine crumbs, blending with softened cream cheese until a dough forms, then shaping into oval bunny heads. After chilling, each piece gets coated in melted white chocolate while attaching marshmallow ears and tails. Pink candy details and drawn eyes bring these festive creations to life. The result is a rich, creamy center with a crisp chocolate shell—perfect for spring gatherings and Easter celebrations.
The kitchen counter looked like a tiny chocolate assembly line that Sunday afternoon, with white chocolate splatters on my apron and marshmallow bits stuck to my fingers. My daughter had begged me to make ‘bunny treats’ for her class spring party, and I’d foolishly promised something spectacular without checking the clock first.
We worked side by side at the island, her tiny hands shaping the chocolate mixture into imperfect little ovals while I handled the hot melted coating. Every few minutes she’d gasp with delight as another bunny got its ears, declaring each one ‘the cutest yet’ until we had two dozen chocolatey faces staring back at us.
Ingredients
- 36 Oreo cookies: Regular not Double Stuf gives you the perfect crumb to cream cheese ratio for the filling
- 225 g (8 oz) cream cheese softened: Room temperature is non negotiable or youll end up with stubborn lumps
- 400 g (14 oz) white chocolate or white candy melts: Candy melts are more forgiving for beginners but white chocolate tastes better
- Pink candy melts or pink food coloring: For those adorable noses and ear details
- Mini marshmallows: Youll need more than you think for tails and ears plus inevitable snacking
- Edible black food marker or black decorating gel: The eyes bring the whole bunny personality to life
- Sprinkles or colored sugar: Optional but adds such festive spring flair
Instructions
- Make the chocolate mixture:
- Pulse those Oreos in your food processor until they resemble sandy soil then add the softened cream cheese and blend until it comes together into a smooth dark dough that holds its shape when squeezed.
- Shape your bunny heads:
- Scoop about tablespoon portions and roll them into balls then gently elongate each one into a slight oval think egg shaped rather than perfectly round to create that bunny head silhouette.
- Prep the marshmallow pieces:
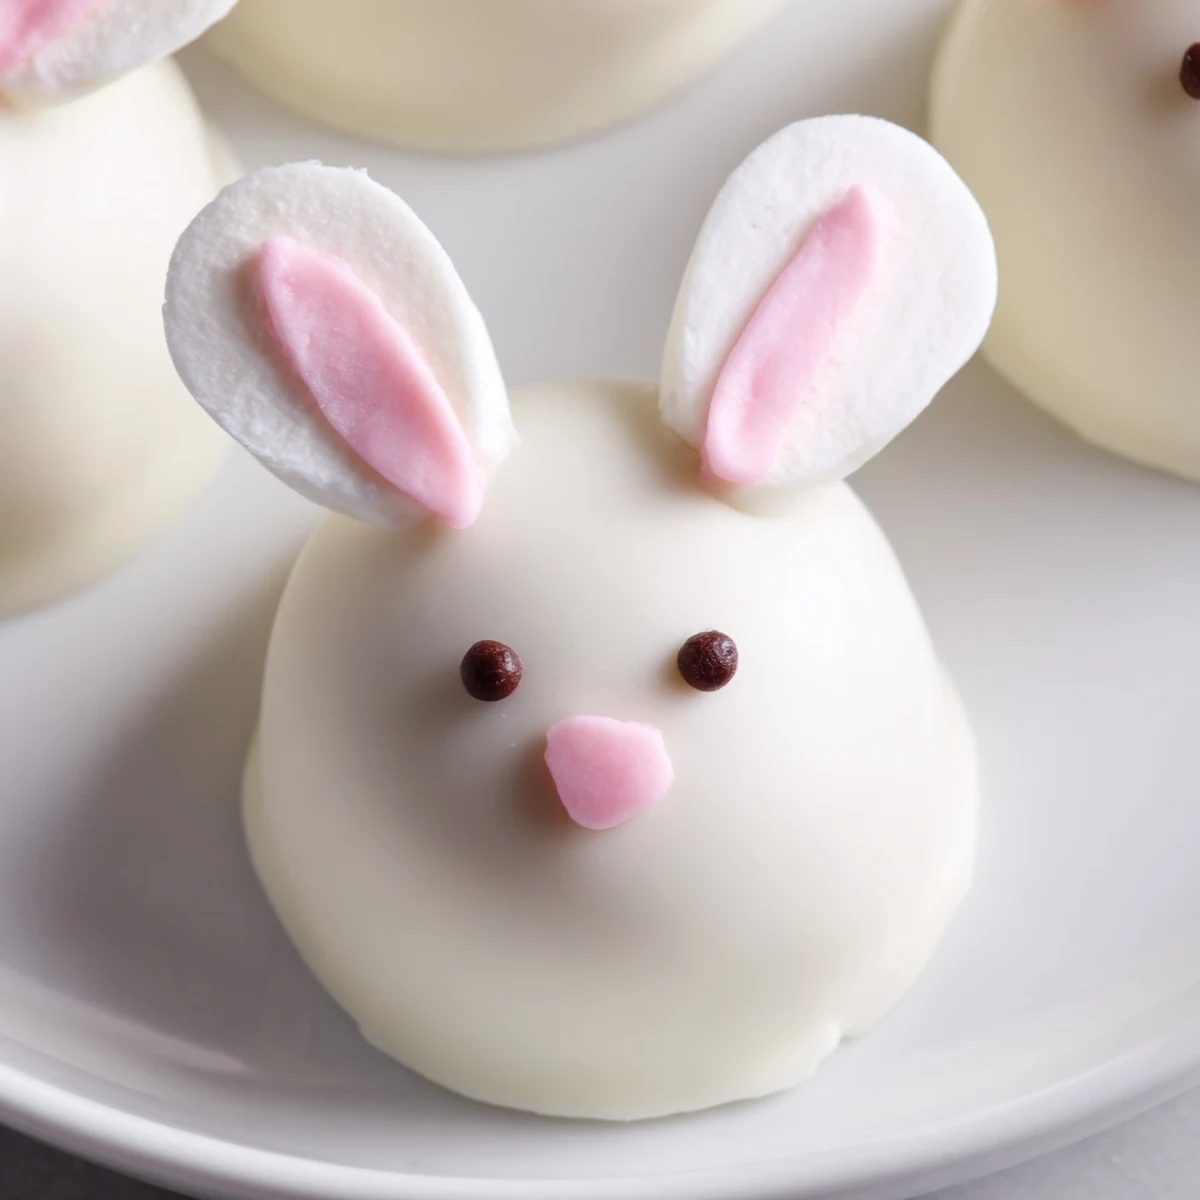
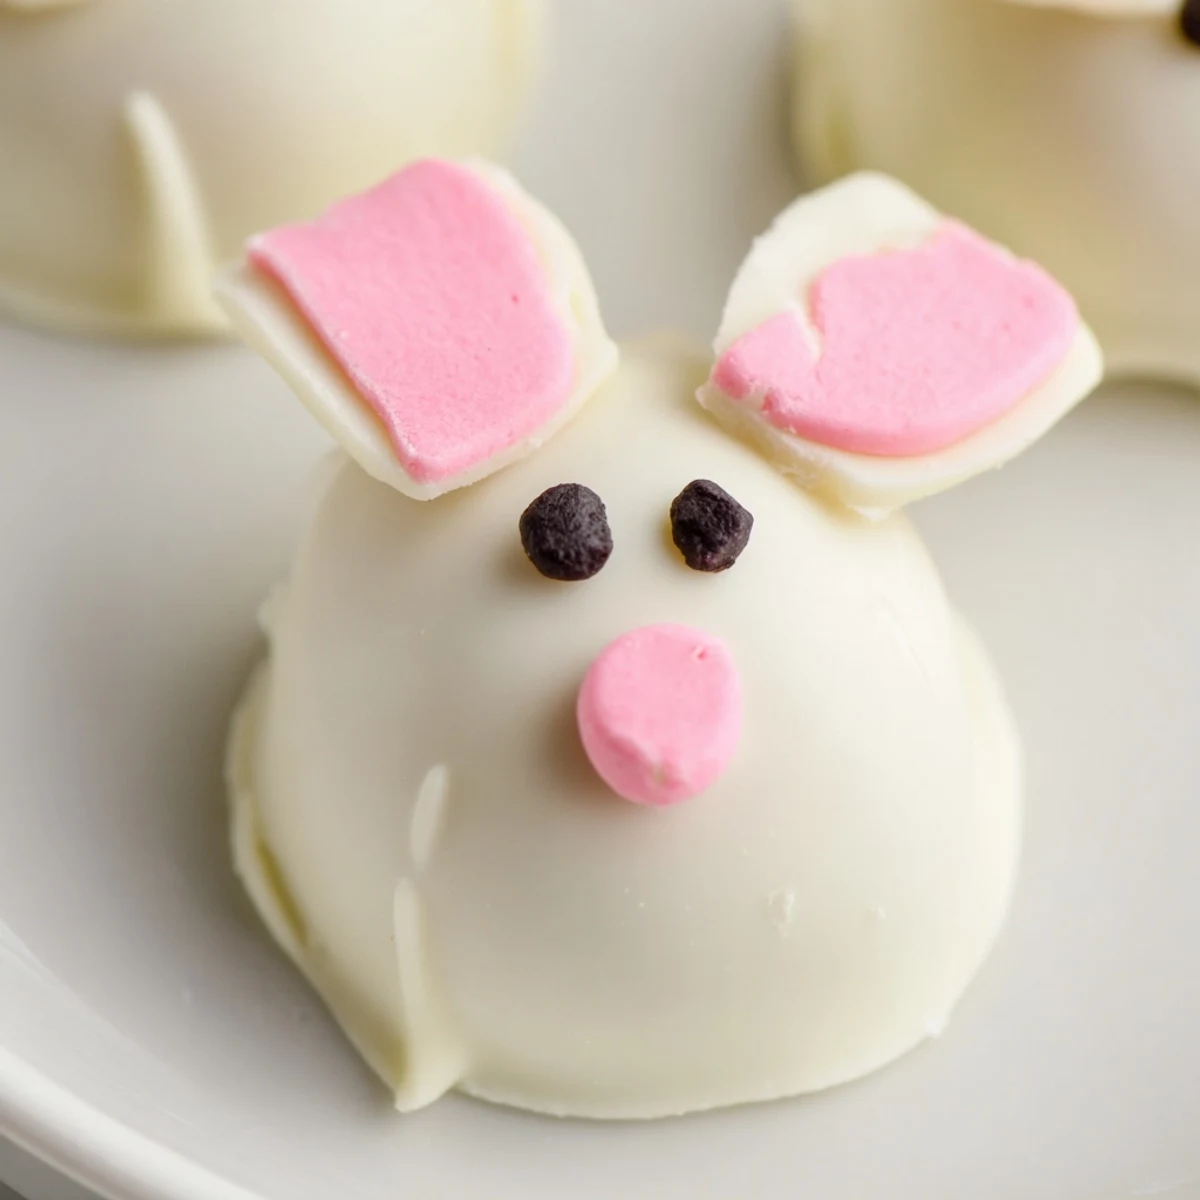
- Cut mini marshmallows in half horizontally for fluffy little tails and slice others into thin slivers for ears keeping them separate so you can grab them quickly during dipping.
- Chill before coating:
- Arrange all your bunny heads on a parchment lined baking sheet and freeze for 30 minutes because cold truffles dip much better than room temperature ones.
- Melt the coating:
- Heat your white chocolate or candy melts in microwave safe bowl in 30 second intervals stirring religiously between each to prevent seizing until completely smooth and pourable.
- Dip and decorate:
- Carefully drop each chilled ball into the melted chocolate use a fork to lift it out tap gently to let excess drip off then immediately attach marshmallow ears and tail while the coating is still wet.
- Add the faces:
- Once the white chocolate has set completely about 10 minutes dip a toothpick into pink candy melts or food coloring to paint tiny triangular noses and fill the marshmallow ears then draw eyes with your black marker.
- Final chill:
- Refrigerate your bunny brigade for at least 30 minutes to set everything properly though honestly letting them rest overnight makes the flavors even better.
 Save to Pinterest
 When my daughter brought home an empty container from school with a note from her teacher asking for the recipe I knew these werent just another holiday treat. The other kids had apparently named their bunnies before eating them and one little boy had saved his in a napkin to show his mom.
Getting The Shape Right
The first few bunny heads I made were comically lopsided until I realized the trick is to roll the balls first then very gently press them between your palms to create that subtle oval. Dont overthink it though slightly quirky shapes just make them more charming and individual.
Chocolate Coating Secrets
I learned the hard way that white chocolate candy coating is much more forgiving than actual white chocolate especially if youre new to dipping. The melts stay fluid longer and dont seize as easily plus they set up faster which helps the marshmallow decorations stay put instead of sliding off.
Storage And Serving
These little guys need to stay refrigerated because the cream cheese filling softens at room temperature. I always make them the day before serving because the texture improves after an overnight rest in the fridge and the flavors meld together beautifully.
- Layer them between parchment paper so they dont stick together
- Let them sit at room temperature for 5 minutes before serving for the best texture
- They actually freeze well for up to a month if you want to get ahead
 Save to Pinterest
 Something magical happens when food makes people smile before they even take a bite. These bunny Oreo balls became our spring tradition not because theyre perfect but because theyre made with joy and shared with love.
Recipe FAQs
- → How long do bunny Oreo balls keep fresh?
-
Store in an airtight container in the refrigerator for up to 5 days. The cold temperature helps maintain the coating's texture and keeps the filling firm.
- → Can I make these ahead of time for Easter?
-
Yes, prepare these up to 3 days in advance. Keep them refrigerated until ready to serve. The chocolate coating actually benefits from a day of setting time.
- → What if I don't have a food processor?
-
Place Oreos in a sealed zip-top bag and crush with a rolling pin until fine. Mix crumbs with cream cheese by hand in a bowl until combined.
- → Can I use different chocolate coatings?
-
Dark or milk chocolate work beautifully too. White chocolate provides that classic bunny look, but milk chocolate offers a richer flavor profile.
- → Why do the balls need freezing before dipping?
-
Freezing firms up the mixture so it holds its shape during coating. Cold balls also help the melted chocolate set quickly and evenly.
- → What's the easiest way to attach marshmallow ears?
-
Insert marshmallow slivers while the chocolate coating is still wet. The chocolate acts as glue, securing the pieces in place as it hardens.
