 Save to Pinterest
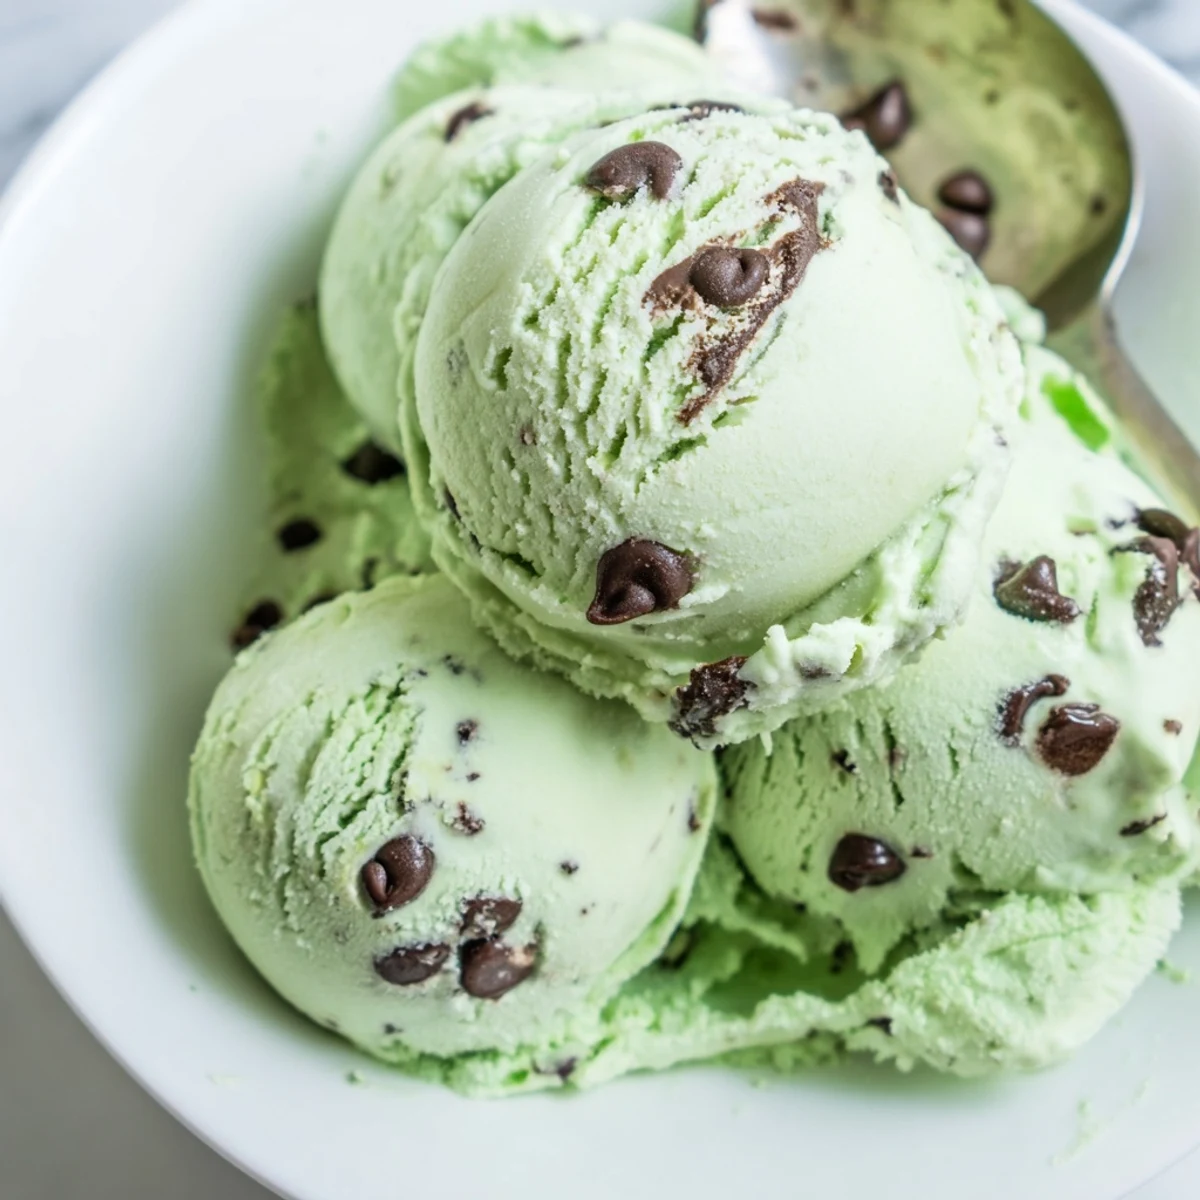
 This dessert combines fresh mint essence with smooth dairy and bursts of chocolate chips, creating a refreshing and creamy profile. A natural green tint brightens the appearance, achievable through subtle food coloring or a spinach infusion. The base is gently cooked and chilled before churning, allowing flavors to meld and texture to thicken. Ideal for a cool treat, it perfectly pairs with chocolate brownies or waffle cones.
The process includes tempering egg yolks with warm milk and sugar, forming a custard that's carefully heated to thicken without boiling. After cooling, peppermint and vanilla extracts add aromatic depth. Stirred chocolate chips provide a delightful contrast in texture and taste. With attention to chilling and freezing times, the final product is smooth, creamy, and packed with refreshing mint and chocolate notes.
Last summer my daughter decided we needed to make mint chocolate chip ice cream from scratch after she spotted fresh mint at the farmers market. I honestly thought it would be a complete disaster, especially when she convinced me to try blending spinach into the milk for that natural green color. To my surprise, the vibrant green custard looked incredible and the flavor was nothing like store-bought versions. Now it is become our Sunday evening tradition, even if spinach in ice cream still makes me laugh every single time.
My neighbor smelled peppermint wafting through open windows and came over thinking I was making holiday cookies in July. We ended up sitting on the back porch waiting for the ice cream maker to finish its churning. That first scoop straight from the machine was soft and perfect, the kind of moment that makes you appreciate slow summer afternoons.
Ingredients
- Heavy cream: The high fat content creates that luxurious mouthfeel that separates homemade ice cream from the commercial stuff
- Whole milk: Balances the richness while still contributing to a creamy final texture
- Granulated sugar: Essential not just for sweetness but for proper freezing and scoopability
- Egg yolks: These create the custard base that prevents ice crystals from forming during freezing
- Peppermint extract: Pure extract gives consistent flavor unlike fresh mint which can vary in intensity
- Vanilla extract: Adds depth and rounds out the sharp peppermint notes beautifully
- Salt: A small amount enhances all the flavors and makes the chocolate taste more chocolatey
- Chocolate chips: Semisweet provides the perfect contrast to the cool mint without being too bitter
Instructions
- Warm the dairy base:
- Combine the milk, sugar, and salt in a medium saucepan over medium heat, stirring until the sugar completely dissolves and the mixture feels warm to the touch but never reaches a boil.
- Temper the egg yolks:
- Whisk your egg yolks in a separate bowl, then slowly drizzle about half a cup of the warm milk into the yolks while whisking constantly to prevent scrambling.
- Cook the custard:
- Pour the warmed yolks back into the saucepan and cook over low heat, stirring continuously until the mixture thickens enough to coat the back of a spoon, around 170°F.
- Add flavorings:
- Remove from heat and stir in the heavy cream along with both extracts, adding food coloring now if you want that classic mint green appearance.
- Strain and chill:
- Pour the custard through a fine-mesh sieve into a clean bowl, then refrigerate for at least 4 hours until the mixture is thoroughly cold.
- Churn the ice cream:
- Freeze the chilled base in your ice cream maker according to the manufacturers instructions, adding chocolate chips during the final minute of churning.
- Firm up in freezer:
- Transfer the freshly churned ice cream to a freezer-safe container and freeze for at least 2 hours until it reaches scoopable consistency.
 Save to Pinterest
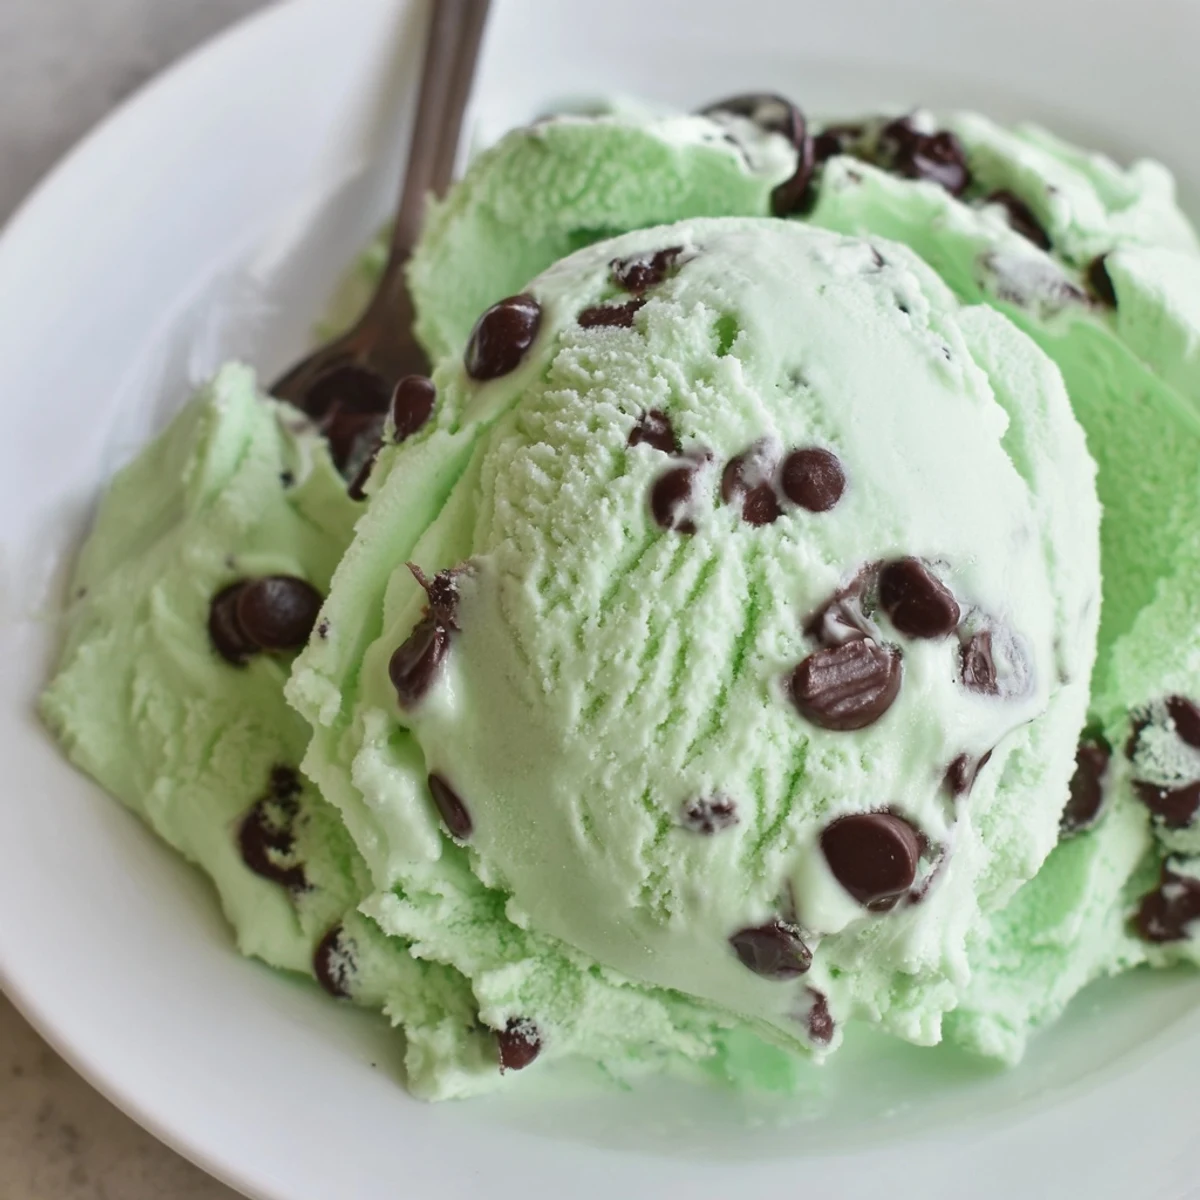
 Last week I forgot to put the chocolate chips in until after churning and had to fold them in by hand. The distribution was not perfect but honestly, having some bites with huge chocolate chunks and others with none became a fun little game.
Getting That Natural Green Color
The spinach method sounds strange but works beautifully because chlorophyll creates that perfect mint green without any vegetal flavor. Just blend a handful of fresh leaves with your milk before heating, then strain really well through cheesecloth or a fine sieve. Your ice cream will look like it came from an artisanal shop.
Chocolate Choices Matter
Regular sized chocolate chips can feel rock hard in frozen ice cream, so chop them slightly smaller if you want a more pleasant texture. Mini chips distribute more evenly throughout while chunks of chopped dark chocolate create those indulgent pockets that make people close their eyes when they eat them.
Serving Ideas
This ice cream transforms simple desserts into something special. Try it sandwiched between homemade brownies or served alongside warm chocolate cake. It also makes the most incredible milkshake you have ever tasted.
- Waffle cones dipped in chocolate and sprinkles turn this into an absolute showstopper
- A drizzle of chocolate sauce on top creates that hot fudge sundae experience
- Crushed peppermint candies sprinkled over bowls add festive holiday flair
 Save to Pinterest
 There is something almost magical about pulling out that container of homemade mint chip ice cream on a Tuesday night. It makes the house feel like the best ice cream shop in town.
Recipe FAQs
- → How can I achieve the green color naturally?
-
Blend a small amount of fresh spinach into the milk and strain before cooking to impart a natural green hue without affecting flavor.
- → What type of chocolate works best for this dish?
-
Semisweet chocolate chips or chopped dark chocolate add a balanced sweetness and rich texture when mixed in during churning.
- → Why is the milk mixture heated without boiling?
-
Heating gently dissolves sugar and warms the milk for proper tempering of egg yolks, preventing curdling and achieving a smooth custard.
- → Can I substitute any ingredients for dietary preferences?
-
This version is vegetarian and gluten-free; for dairy-free options, plant-based creams and milks could be tried, though texture and flavor may vary.
- → What is the purpose of tempering the egg yolks?
-
Tempering gradually warms the yolks to prevent scrambling, ensuring a silky custard base that thickens evenly during cooking.
