 Save to Pinterest
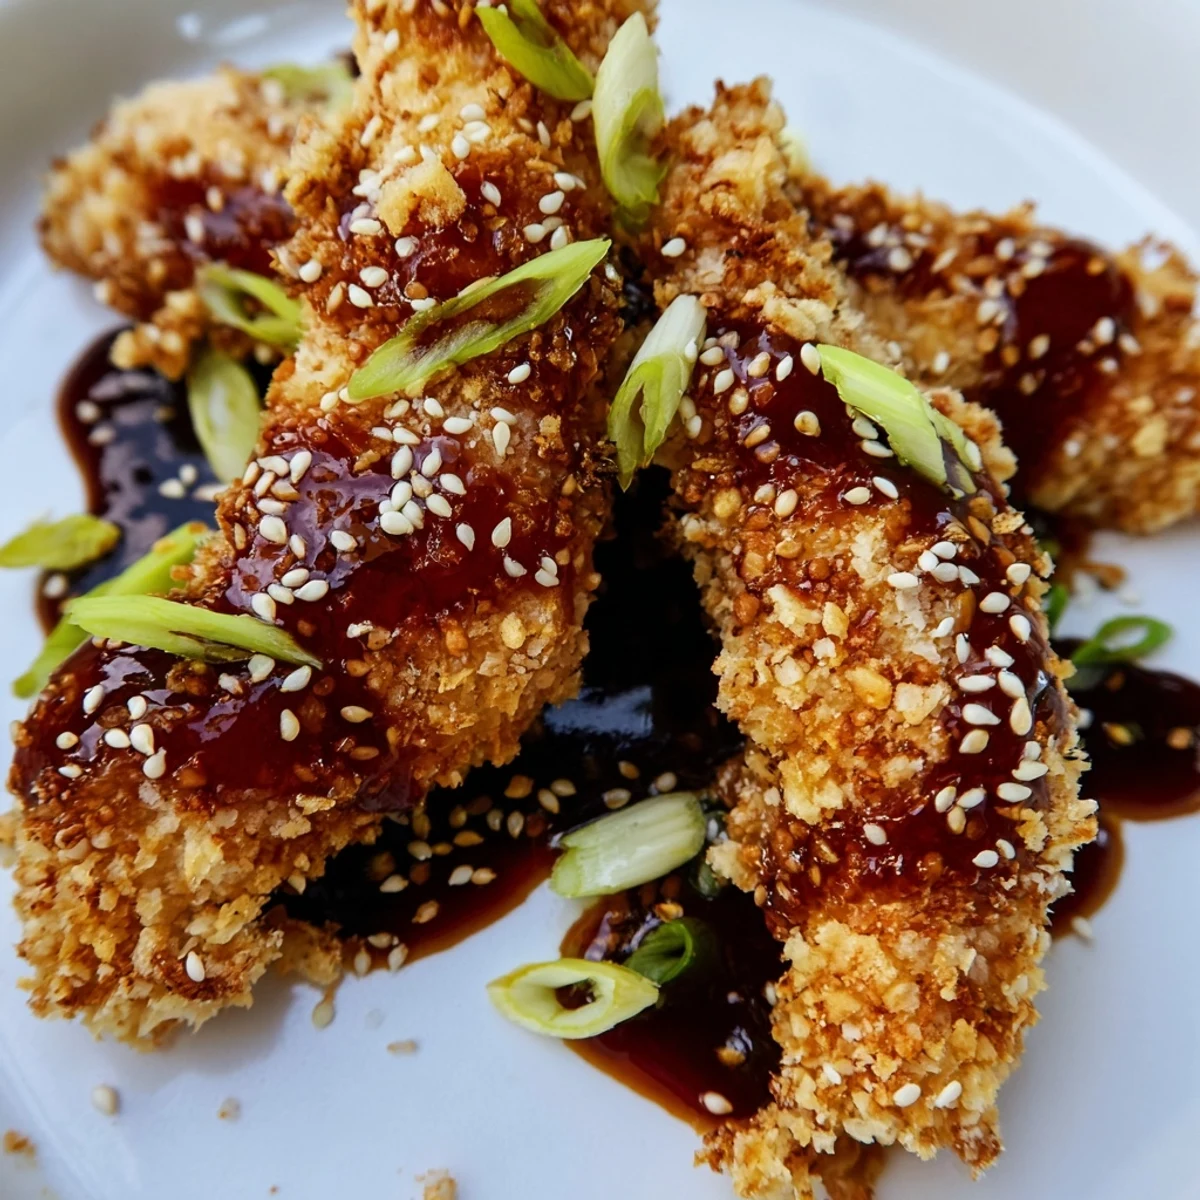
 These crispy chicken fingers feature a crunchy panko coating and get tossed in a homemade sticky Thai sauce just before serving. The sauce combines sweet chili sauce, soy sauce, honey, and rice vinegar with fresh garlic and ginger for that signature Thai flavor balance.
Baking instead of frying keeps these lighter while still achieving maximum crunch. The final toss in warm sauce coats each finger perfectly, and sesame seeds, spring onions, and fresh cilantro add beautiful color and texture.
Great for parties, game day, or as a fun family dinner. Serve alongside jasmine rice or fresh vegetable crudites for a complete meal.
My brother-in-law actually heckled me the first time I made these. He'd grabbed what he thought were regular chicken fingers from a party platter, then did this hilarious double-take mid-bite. Now he requests them for every family gathering and hovers by the oven until they're ready.
Last summer, I made a triple batch for my daughter's graduation party. My neighbor kept sneaking back to the kitchen 'just to check if they need more' and I found her eating them straight from the serving bowl with her fingers. That's when I knew this recipe was a permanent keeper.
Ingredients
- Chicken tenders: I prefer tenders over breasts because they stay juicier and have that perfect finger-friendly shape
- Salt and black pepper: Don't skip seasoning the raw chicken, it's the foundation of flavor
- All-purpose flour: Creates the essential first layer that helps everything else stick
- Eggs: Room temperature eggs work better for coating, I learned this after several coating failures
- Panko breadcrumbs: These Japanese breadcrumbs create the most incredible crispy crunch that regular crumbs can't match
- Garlic powder and smoked paprika: This combo adds a subtle smoky depth that keeps people guessing
- Sweet chili sauce: The base of our glaze, look for one with good chili flecks visible
- Soy sauce: Adds that essential savory umami balance to cut the sweetness
- Honey: Helps the sauce achieve that beautiful glossy finish and cling factor
- Rice vinegar: Brightens everything up and prevents the sauce from being cloying
- Sesame oil: A little goes a long way, use the toasted kind for maximum fragrance
- Sriracha: Even if you're sensitive to heat, this tiny amount wakes up all the other flavors
- Fresh garlic and ginger: Fresh is absolutely non-negotiable here, powder won't give you that punch
- Toasted sesame seeds: I toast mine in a dry pan for 2 minutes, the difference in nutty flavor is huge
- Spring onions and cilantro: These provide fresh pops that cut through the rich sticky coating
Instructions
- Get your oven ready:
- Preheat to 220°C (425°F) and line your baking tray with parchment paper for easy cleanup
- Season the chicken:
- Sprinkle salt and pepper over your chicken strips and let them sit while you prep everything else
- Set up your coating station:
- Arrange three shallow bowls: flour first, then beaten eggs, then panko mixed with garlic powder and smoked paprika
- Coat each chicken finger:
- Dredge in flour, shake off excess, dip in egg, then press firmly into the panko mixture
- Arrange and prep for baking:
- Place coated strips on your prepared tray and lightly spray or brush with oil
- Bake until golden:
- Cook for 20-25 minutes, flipping halfway through, until they're deeply golden and crisp
- Make the sticky sauce:
- Combine sweet chili sauce, soy sauce, honey, rice vinegar, sesame oil, sriracha, garlic, and ginger in a small saucepan
- Simmer to perfection:
- Bring to a simmer over medium heat, stirring constantly for 2-3 minutes until slightly thickened
- Coat and serve:
- Toss warm chicken fingers in the sauce until thoroughly coated, then garnish generously
 Save to Pinterest
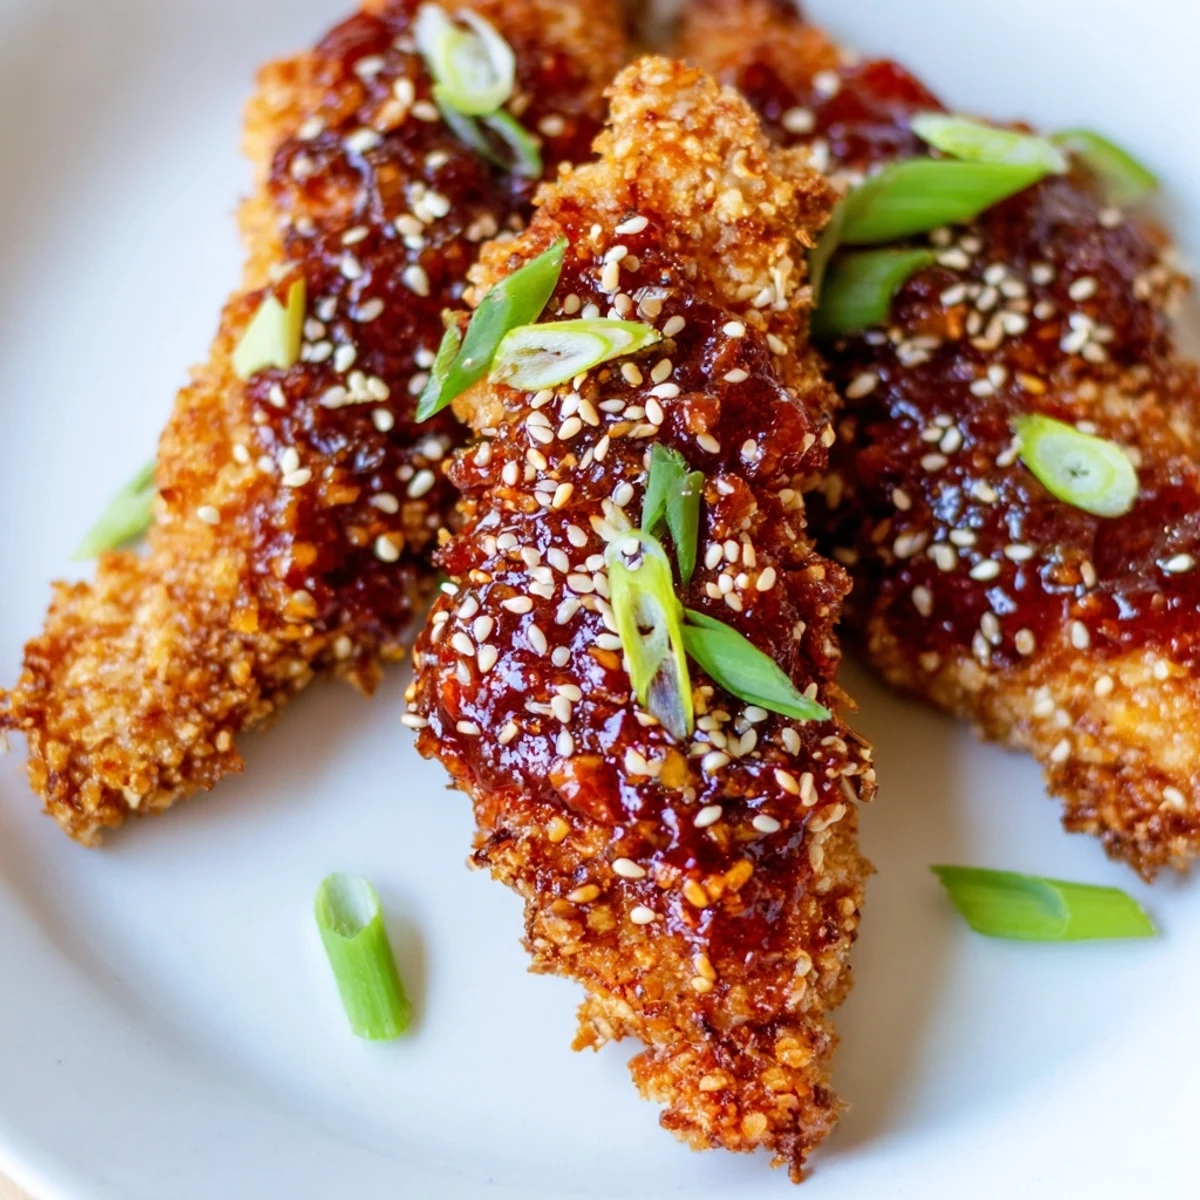
 These became our New Year's Eve tradition after the year we ordered takeout that never showed up. My teenage son who usually complains about 'fancy' food ate twelve of them and asked when I was making them again.
Make-Ahead Magic
I've learned to coat the chicken in the morning and keep it refrigerated on the prepared tray. The panko actually adheres even better after chilling, though you'll want to add an extra minute or two to the baking time since they're going in cold.
Sauce Secrets
Double the sauce recipe and keep half in the fridge. It's incredible on roasted vegetables, drizzled over meatloaf, or even as a quick glaze for salmon. I pour extra into small bowls for dipping because some people always want more.
Getting That Restaurant Crunch
The broiler trick mentioned in the notes is absolutely worth the extra two minutes. Watch it like a hawk though, I once got distracted by a phone call and came back to charred chicken that still tasted amazing but looked like a kitchen disaster.
- Let the sauce cool for just 30 seconds before tossing, it clings better when slightly thickened
- If you're making a huge batch, work in batches when coating to keep the panko from getting clumpy
- Leftovers reheat surprisingly well in the air fryer at 180°C for about 4 minutes
 Save to Pinterest
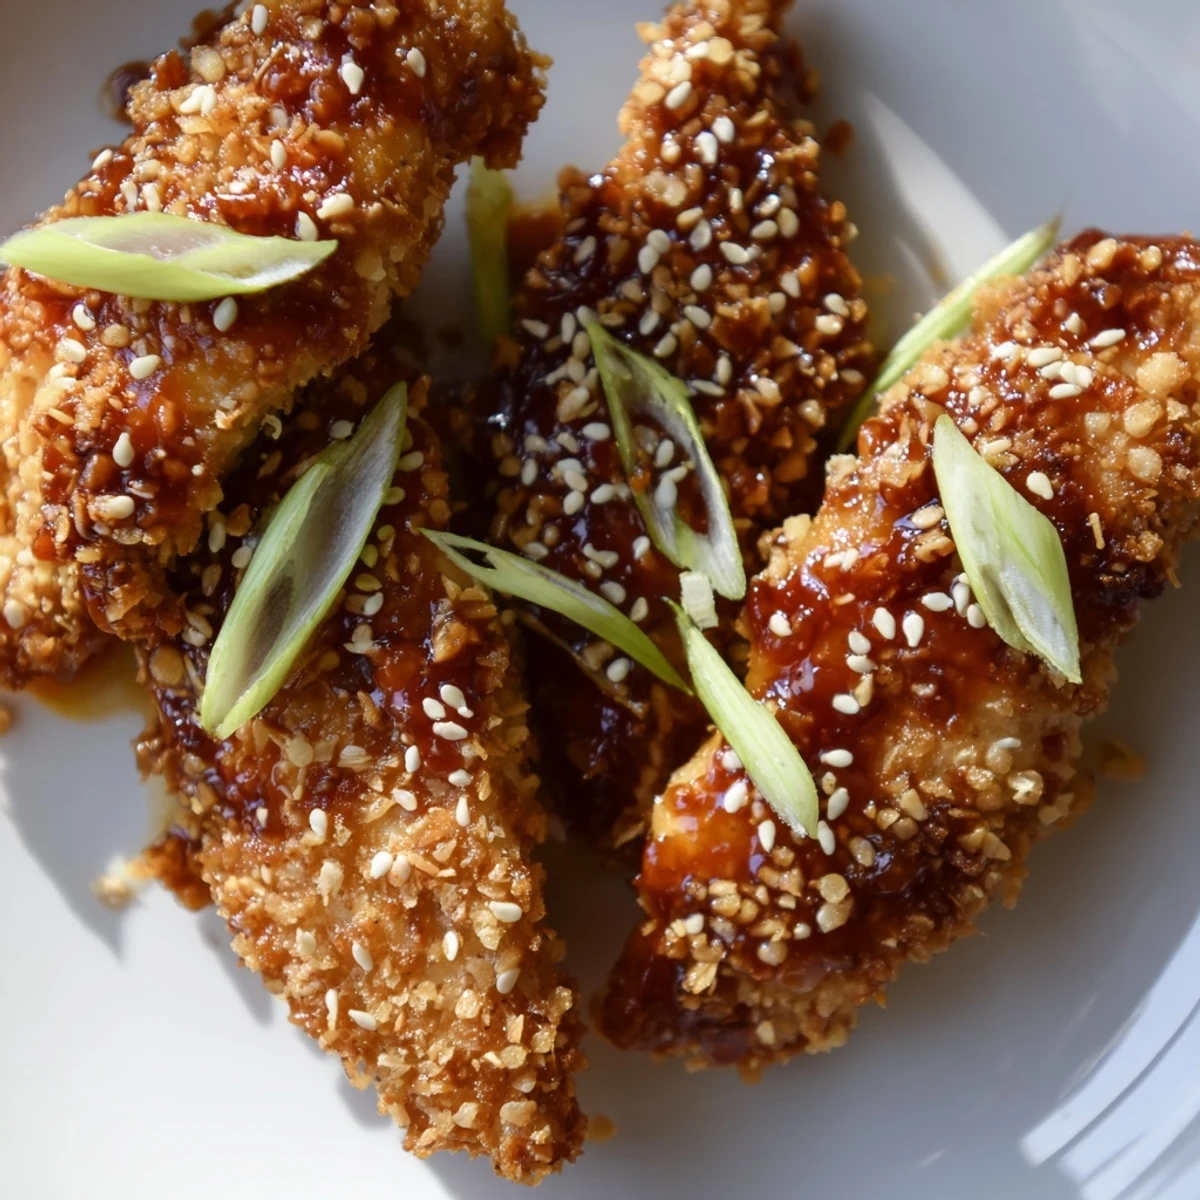
 Every time I serve these, at least three people ask for the recipe. Watch them disappear first, then decide if you're sharing your secret.
Recipe FAQs
- → Can I fry these instead of baking?
-
Yes, you can deep fry these at 350°F (175°C) for 3-4 minutes until golden brown and cooked through. Drain on paper towels before tossing with sauce.
- → How do I store leftovers?
-
Store cooled chicken in an airtight container in the refrigerator for up to 3 days. Reheat in a 350°F oven for 10 minutes to regain crispiness. Microwaving will make them soggy.
- → Can I make the sauce ahead of time?
-
Absolutely. The sauce keeps well in the refrigerator for up to 2 weeks. Gently reheat on the stove before tossing with the cooked chicken fingers.
- → What can I substitute for sweet chili sauce?
-
Mix equal parts apricot preserves and sriracha, or combine honey, red pepper flakes, and rice vinegar for a homemade alternative.
- → Is this gluten-free?
-
The traditional version is not gluten-free due to flour, breadcrumbs, and soy sauce. Use gluten-free flour, certified GF panko, and tamari to make it gluten-free.
