 Save to Pinterest
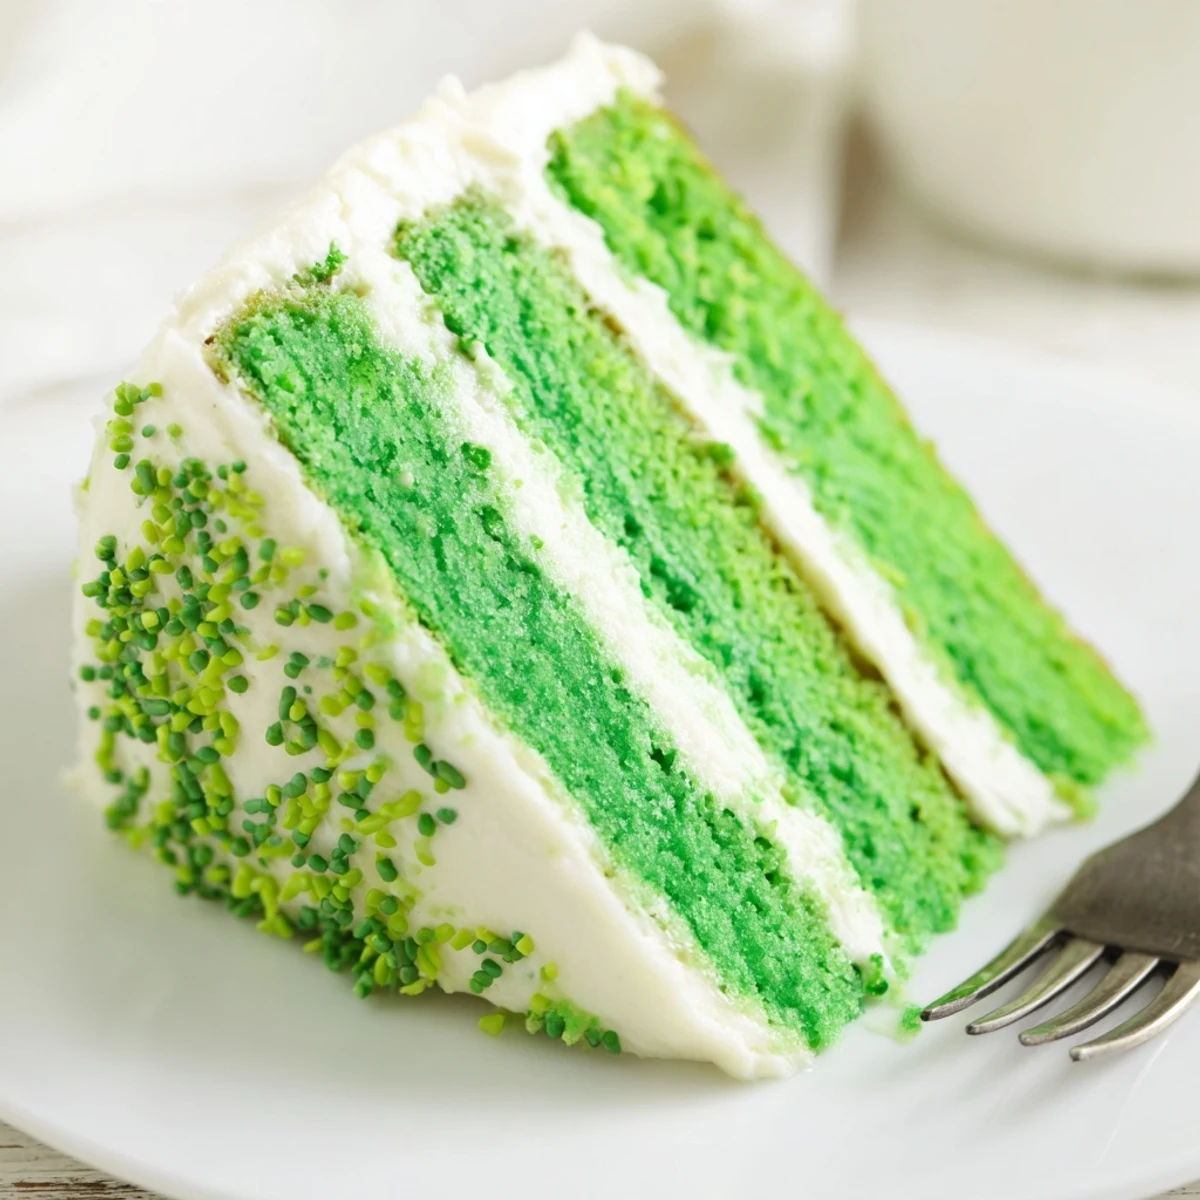
 This vibrant green layered cake brings festive cheer to any St Patricks Day gathering. The moist sponge gets its signature hue from gel food coloring, while fluffy vanilla frosting creates the perfect creamy finish. You'll bake three even layers, allow them to cool completely, then stack and frost for a stunning presentation.
The buttermilk ensures tenderness, while optional mint extract adds refreshing depth. Decorate with green sprinkles or edible shamrocks for extra celebration. This dessert serves twelve and pairs beautifully with Irish coffee.
The year my youngest declared March 17th as officially her favorite holiday, I knew I had to step up my game beyond shamrock shakes. We'd spent the morning watching parade coverage and she kept asking why everything festive was either drinks or soda bread. Her eyes lit up when I suggested cake, but with a twist that would make any leprechaun proud.
I remember the first time I attempted a colored cake for St. Patricks Day. The food coloring situation went wrong in the most spectacular way, turning my batter an alarming shade of swampy teal instead of cheerful green. But after some trial and error, I learned that gel coloring is absolutely non negotiable for that true celebratory hue.
Ingredients
- All purpose flour: The backbone of your cake layers, providing structure without being too dense or heavy
- Baking powder and baking soda: These work together to give the cake its lift and light texture
- Salt: Enhances all the flavors and balances the sweetness of both cake and frosting
- Unsalted butter: Use butter thats truly softened for both cake and frosting to achieve proper creaming and smooth results
- Granulated sugar: Creaming this with butter creates the air pockets that make the cake tender
- Large eggs: These must be at room temperature to properly emulsify into the batter
- Buttermilk: The acidity reacts with baking soda for extra tenderness and a subtle tang
- Pure vanilla extract: Use the good stuff here since it shines through in every bite
- Almond extract: Completely optional but adds a lovely warmth that pairs beautifully with vanilla
- Green gel food coloring: Gel coloring is much more concentrated than liquid and wont thin your batter
- Powdered sugar: Sift it first to avoid any lumps in your perfectly smooth frosting
- Whole milk or heavy cream: Adjust this to get your frosting to the perfect spreadable consistency
- Green sprinkles or edible shamrock decorations: Fun finishing touches that make the cake feel extra festive
Instructions
- Get your oven ready:
- Preheat to 350°F and prepare three 8 inch round cake pans with grease and parchment paper for easy release
- Whisk the dry ingredients:
- Combine flour, baking powder, baking soda, and salt in a medium bowl and set it aside
- Cream the butter and sugar:
- Beat them together for 3 to 4 minutes until the mixture is noticeably lighter and fluffy
- Add the eggs:
- Add them one at a time, beating well after each addition, then mix in both extracts
- Combine the mixtures:
- Alternate adding the flour mixture and buttermilk, starting and ending with the flour, mixing just until combined
- Add the color:
- Start with a small amount of green gel coloring and gradually add more until you reach your desired shade
- Bake the layers:
- Divide batter evenly among the pans and bake for 25 to 30 minutes until a toothpick comes out clean
- Cool completely:
- Let the cakes rest in pans for 10 minutes before turning them onto wire racks to cool fully
- Make the frosting:
- Beat butter until creamy, gradually add sifted powdered sugar, then mix in milk, vanilla, and salt until fluffy
- Assemble the cake:
- Spread frosting between layers, then frost the top and sides, adding sprinkles or shamrocks as a finishing touch
 Save to Pinterest
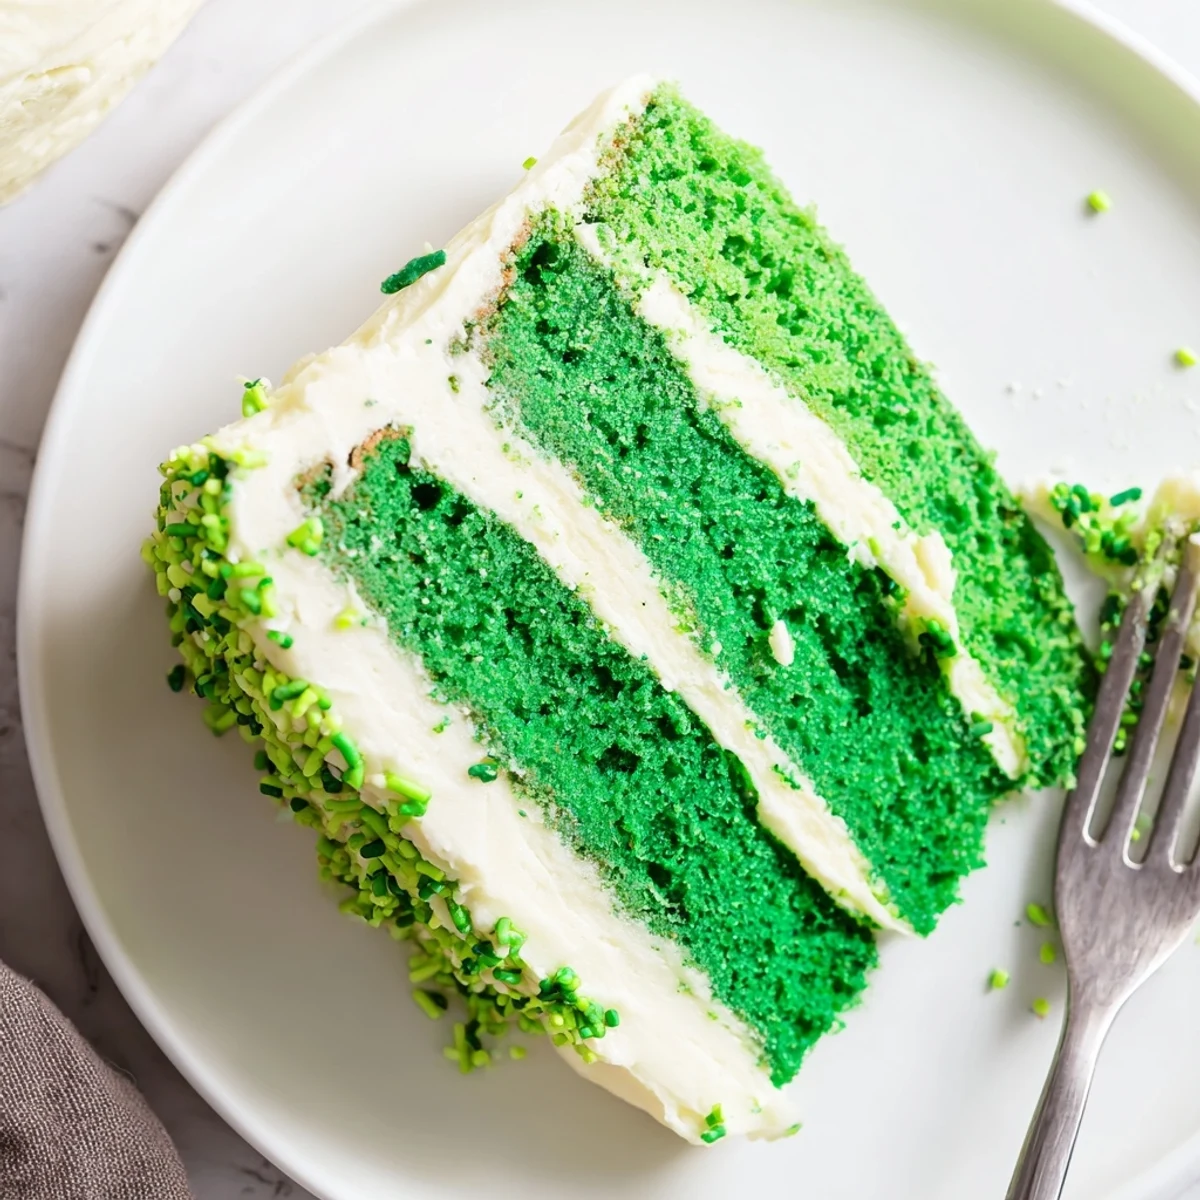
 Last year, my sister insisted on making this cake for her St. Patricks Day party. She called me midway through, panicked that her batter looked more like a muted sage than the vibrant green she wanted. We worked through the coloring process together, and when she sent photos of the finished cake, she admitted it was worth every moment of stress.
Getting That Perfect Green Shade
Start with less coloring than you think you need and build up gradually. Deep colors develop over time, so let the batter sit for a few minutes before adding more. Remember that the color will deepen slightly during baking, so aim for a shade or two lighter than your final goal.
Working With Buttermilk
If you dont have buttermilk on hand, mix regular milk with a tablespoon of lemon juice or vinegar and let it sit for 5 minutes. The acid is crucial for tenderizing the gluten and reacting with the baking soda. I keep powdered buttermilk in my pantry just for these moments.
Frosting Like a Pro
Apply a thin crumb coat first and refrigerate for 15 minutes before adding your final layer of frosting. This traps any loose crumbs and gives you that perfectly smooth professional finish. Work quickly once the cake comes out of the fridge.
- Chill your frosted cake for 30 minutes before slicing for cleaner cuts
- Run your knife under hot water and wipe dry between slices for perfect portions
- Store any leftovers covered at room temperature for up to 3 days
 Save to Pinterest
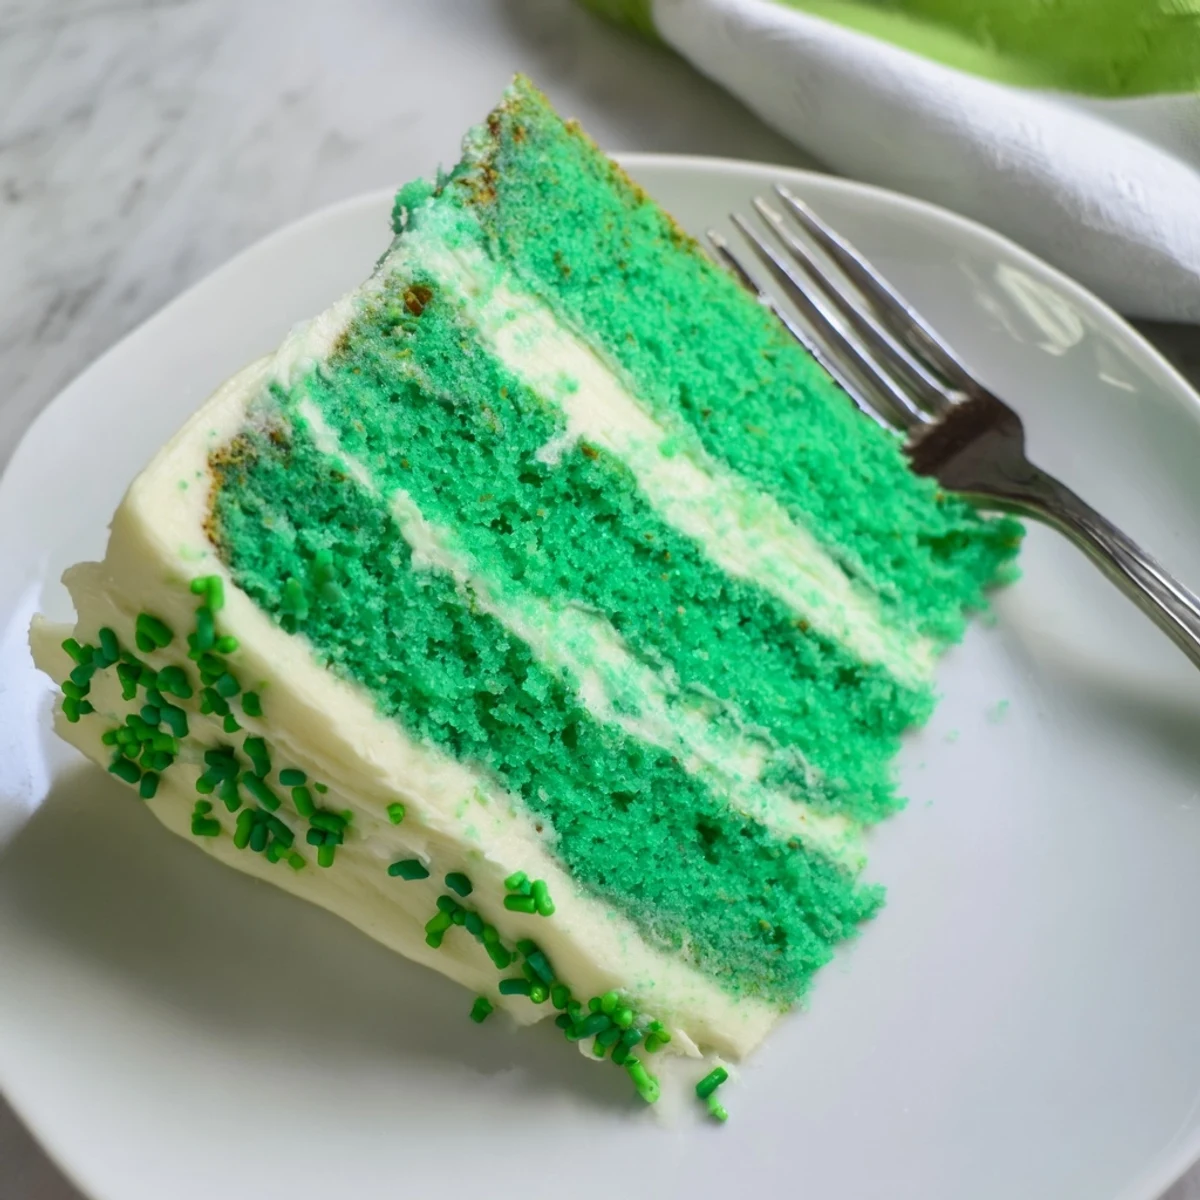
 Theres something magical about cutting into that first slice and seeing the bright green layers. Happy baking, and may your kitchen be filled with the luck of the Irish.
Recipe FAQs
- → How do I achieve the perfect green color?
-
Start with a small amount of green gel food coloring and gradually add more until you reach your desired shade. Gel coloring provides more vibrant results than liquid varieties and won't thin your batter.
- → Can I make this cake in advance?
-
Yes, bake the layers up to two days ahead and wrap tightly in plastic wrap at room temperature. The frosting can be prepared 24 hours in advance and stored refrigerated. Assemble and frost on the day of serving for best results.
- → What if I don't have buttermilk?
-
Substitute with regular milk mixed with one tablespoon of lemon juice or vinegar. Let the mixture sit for five minutes until it curdles slightly, creating an acidic alternative that provides similar tenderness.
- → How should I store leftovers?
-
Cover the assembled cake with a cake dome or store in an airtight container at room temperature for up to three days. For longer storage, refrigerate for up to a week, though bring to room temperature before serving.
- → Can I use two round pans instead of three?
-
Yes, but increase baking time to approximately 35-40 minutes since the layers will be thicker. Check for doneness by inserting a toothpick into the center. The resulting two layers will be thicker but equally delicious.
