 Save to Pinterest
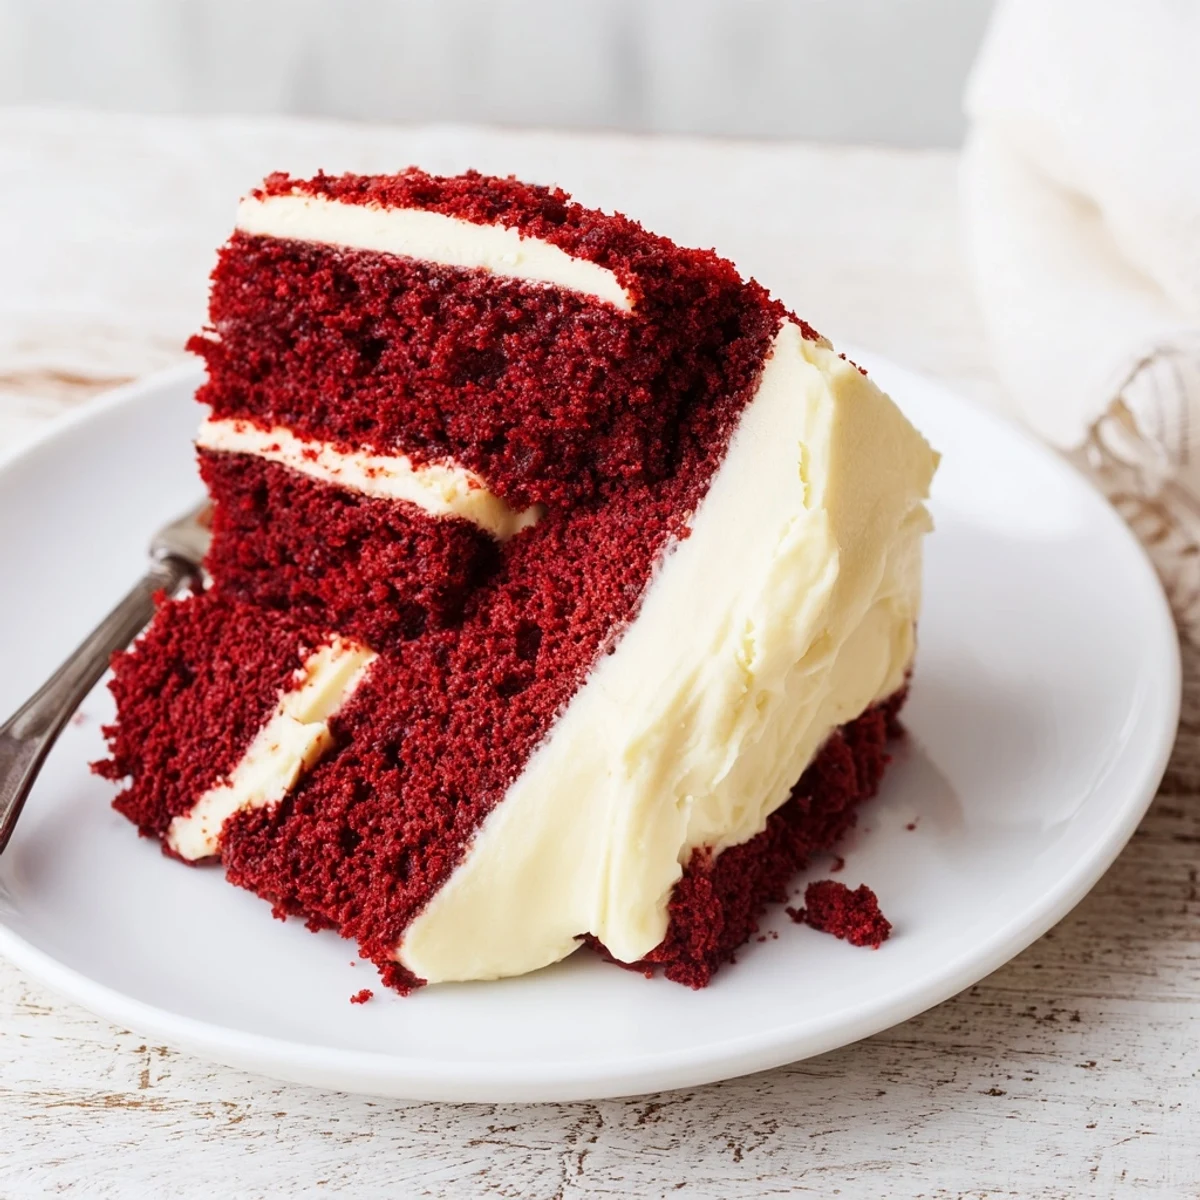
 This iconic American dessert features striking crimson-colored sponge layers with a subtle chocolate undertone. The buttermilk-based batter creates an incredibly tender crumb, while vegetable oil ensures lasting moisture. The crowning glory is a luscious cream cheese frosting that balances sweetness with pleasant tanginess. Ideal for birthdays, holidays, or any celebration calling for a showstopping centerpiece.
The first time I attempted red velvet, my kitchen looked like a crime scene because I spilled the dye. It was a mess, but that vibrant slice tasted like absolute heaven. I learned quickly that this cake is as much about the spectacle as it is the surprisingly subtle chocolate flavor.
I remember making this for a friend birthday dinner during a rainy October. The contrast between the gloomy weather and the shockingly red cake on the table made everyone smile. We stayed up late laughing over slices and scraping the last bits of frosting off our plates.
Ingredients
- All-purpose flour: Structure is key here to hold up those heavy layers.
- Unsweetened cocoa powder: Do not skip this, even though it is just a tablespoon, because it gives that classic depth.
- Vegetable oil: I use oil instead of butter to keep the crumb velvety soft for days.
- Buttermilk: The acidity activates the baking soda and reacts with the cocoa for that signature reddish tint.
- Red food coloring: Gel coloring gives you that true red hue without turning the batter too watery.
- Cream cheese: Make sure this is completely softened so your frosting turns out silky smooth.
- Powdered sugar: Sifting this prevents lumps and ensures a cloud like texture for the topping.
Instructions
- Preheat and Prep:
- Get your oven to 350 degrees F and grease those pans well so nothing sticks.
- Mix Dry Ingredients:
- Whisk the flour, sugar, baking soda, salt, and cocoa together in a large bowl.
- Combine Wet Ingredients:
- In a separate bowl, beat the oil, buttermilk, eggs, food coloring, vanilla, and vinegar until smooth.
- Bring It Together:
- Pour the wet mix into the dry ingredients and stir gently until just combined.
- Bake the Layers:
- Divide the batter between your pans and bake for about 30 minutes until a toothpick comes out clean.
- Cool Down:
- Let them rest in the pans for ten minutes before flipping them onto a wire rack to cool completely.
- Make the Frosting:
- Beat the cream cheese and butter until fluffy, then slowly mix in the powdered sugar and vanilla.
- Assemble the Cake:
- Stack the cooled layers with frosting in between and cover the outside generously.
- Chill and Serve:
- Pop the whole thing in the fridge for 30 minutes to set before slicing into pieces.
 Save to Pinterest
 There is something magical about the smell of cocoa and vinegar mixing in the bowl. It brings back childhood afternoons spent waiting for the oven timer to ding. This cake feels like a hug in dessert form.
Perfecting The Frosting
Getting the frosting consistency right is an art form I learned through trial and error. If it is too runny, chill the bowl for ten minutes before whipping it again. This little trick saves the day every single time.
Serving With Style
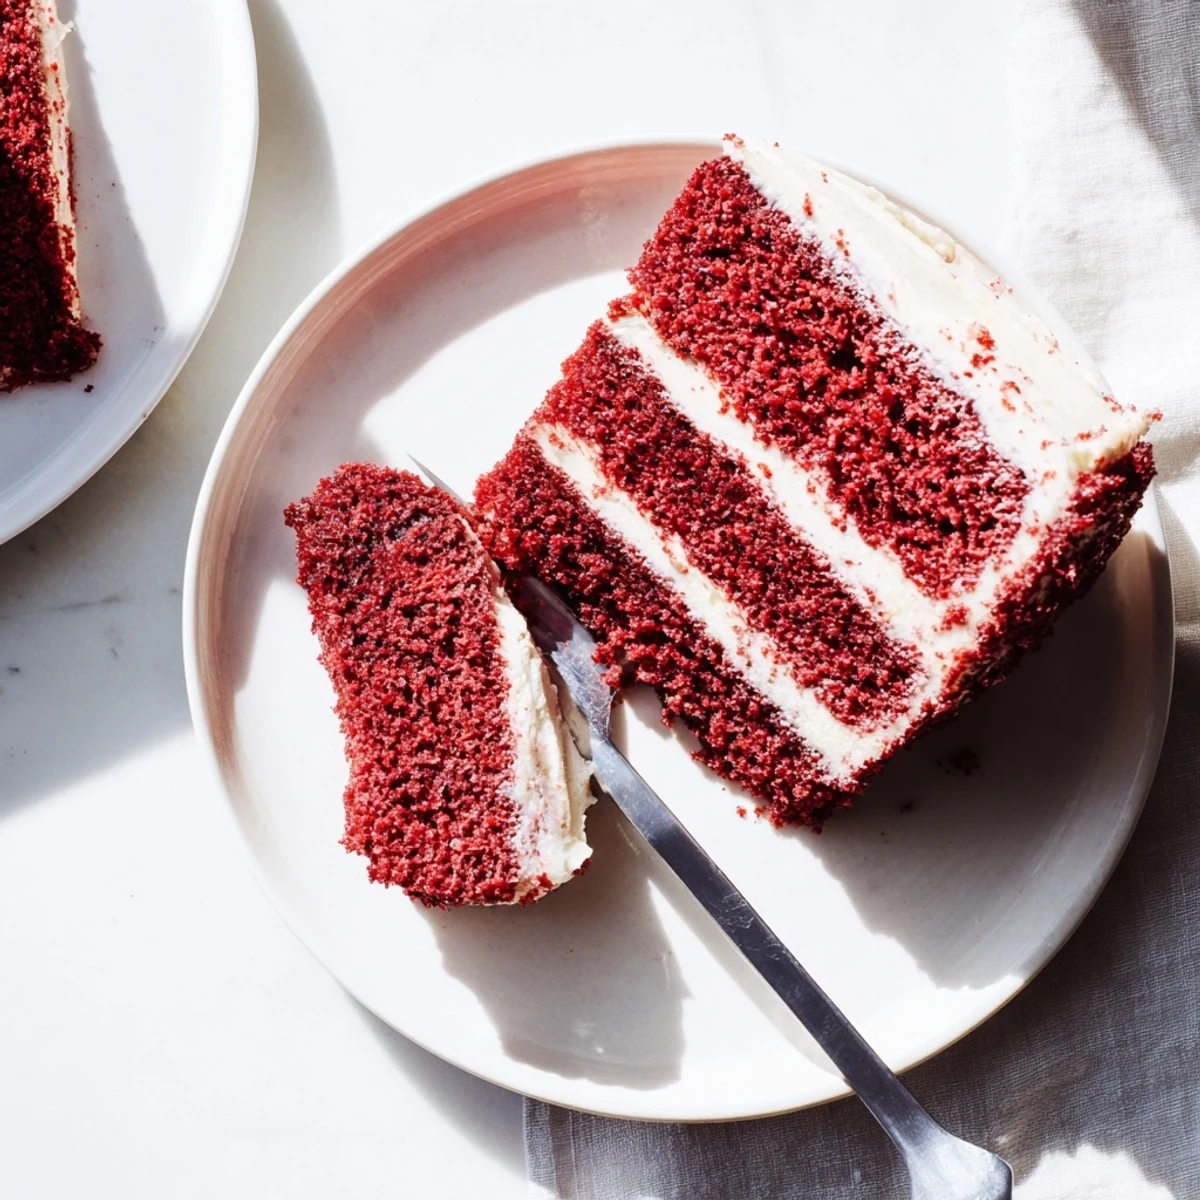
Presentation makes this cake feel extra special for any occasion. I like to wipe the edges of the plate with a damp cloth to catch any rogue crumbs or frosting drips. A clean plate makes the red color pop even more.
Keeping It Fresh
Storing the cake properly ensures it stays moist and delicious for days.
- Keep the cake covered in the refrigerator because of the dairy frosting.
- You can freeze unfrosted layers for up to three months if you want to prep ahead.
- Bring slices to room temperature for ten minutes before eating for the best flavor.
 Save to Pinterest
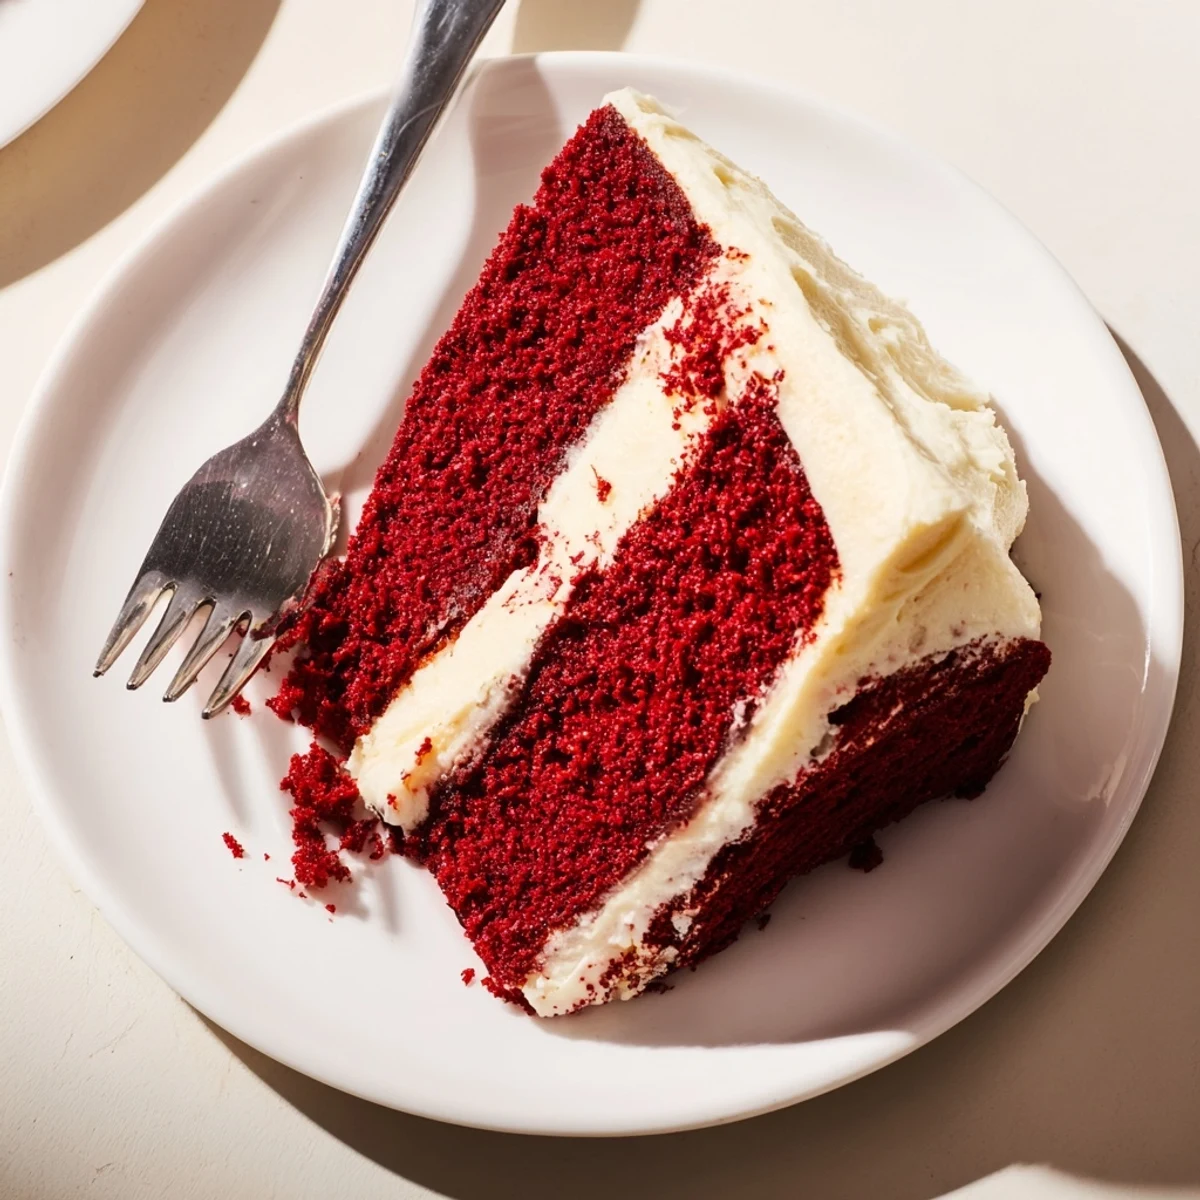
 Enjoy every bite of this rich and tangy masterpiece. It really is the perfect way to celebrate any moment.
Recipe FAQs
- → Why is red velvet cake called red velvet?
-
The name comes from the velvety texture created by the chemical reaction between buttermilk and vinegar, while the red color traditionally came from cocoa anthocyanins reacting with acidic ingredients. Modern versions use food coloring to achieve the vibrant hue.
- → Can I make red velvet cake ahead of time?
-
Yes, the cooled cake layers can be wrapped in plastic and stored at room temperature for one day or frozen for up to three months. Frost the cake the day of serving for optimal texture and appearance.
- → What makes red velvet different from chocolate cake?
-
Red velvet uses significantly less cocoa than chocolate cake, creating just a subtle chocolate note. The buttermilk and vinegar produce a finer, more tender crumb texture, while oil instead of butter keeps the cake exceptionally moist.
- → How do I prevent the cream cheese frosting from melting?
-
Ensure your cake layers are completely cool before frosting. Chill the frosted cake for 30 minutes before serving to set the frosting. Store in the refrigerator, but bring to room temperature 20 minutes before slicing.
- → Can I use natural food coloring instead of red dye?
-
Beet juice or pomegranate juice can provide red tint, though the color will be more rust-toned than vibrant red. Gel-based natural colorings work better than liquid alternatives for achieving deeper hues.
