 Save to Pinterest
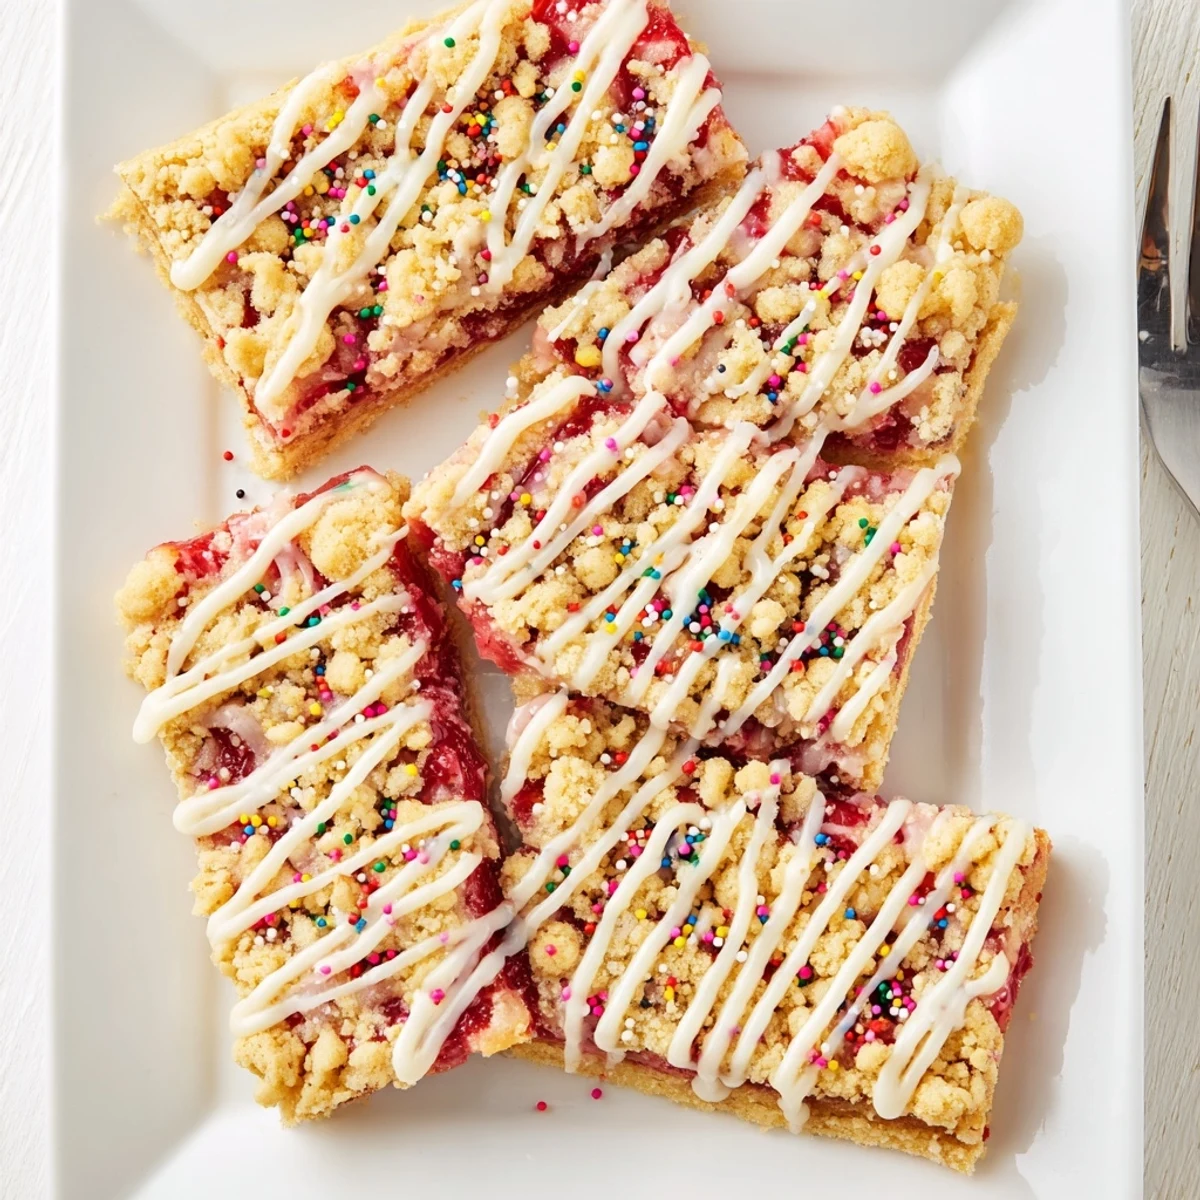
 These nostalgic dessert bars combine a soft, buttery sugar cookie base with sweet strawberry jam filling and a classic vanilla glaze. The crumble topping adds texture while the colorful sprinkles bring back childhood memories of everyone's favorite breakfast pastry.
Perfect for bake sales, potlucks, or weekend treats, these bars come together in under an hour. The dough presses easily into the pan, and the jam layer creates that signature poptart experience. You can customize with different jam flavors like raspberry, blueberry, or apricot to suit your taste.
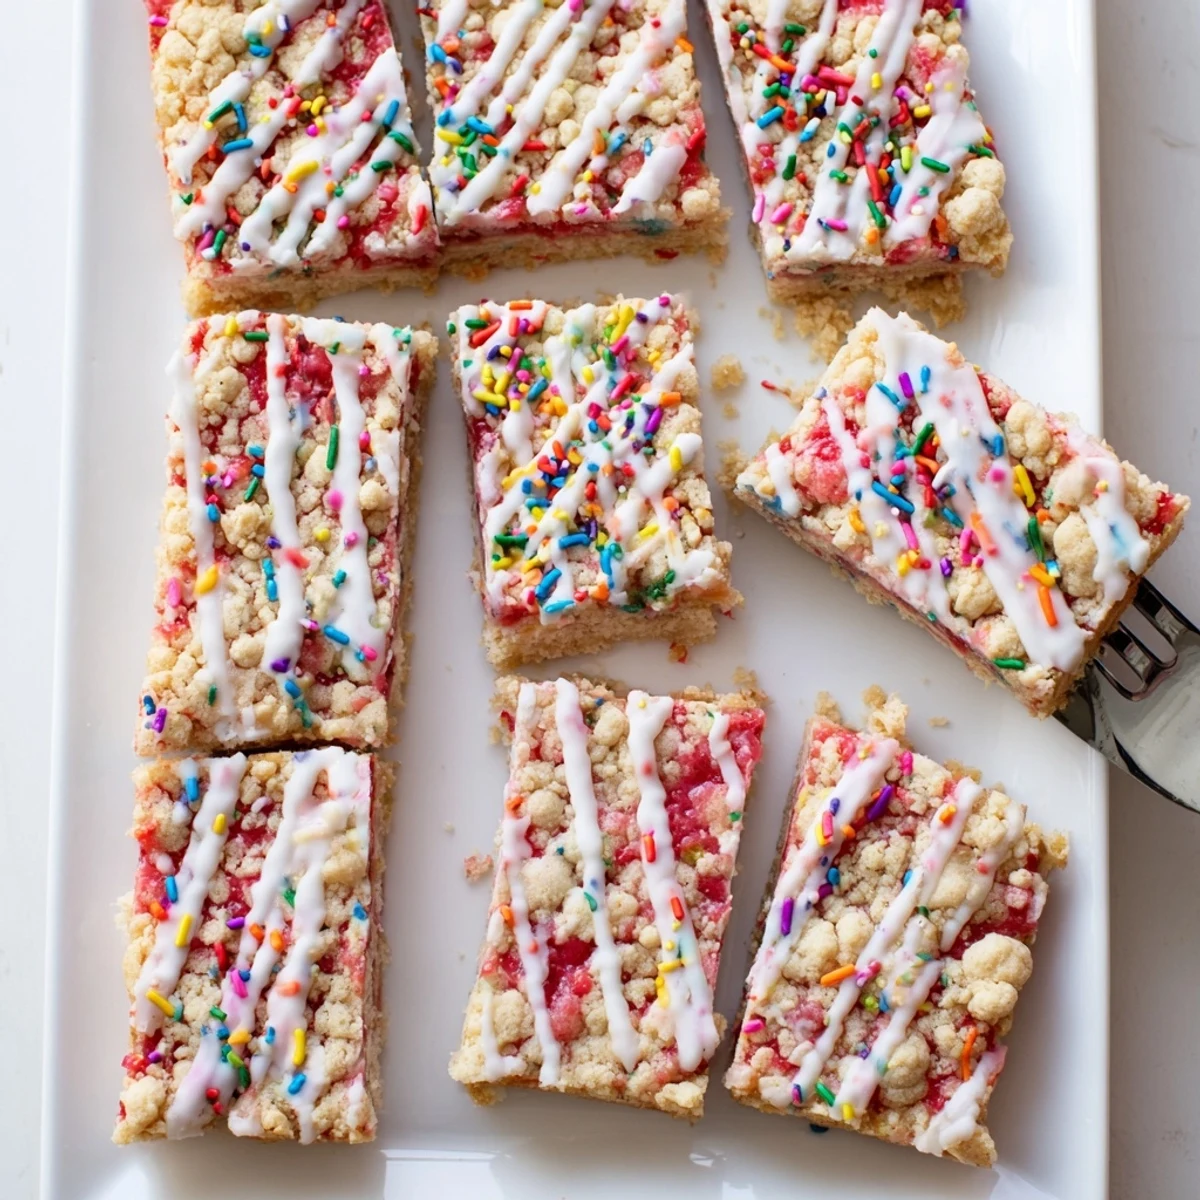
The glaze sets beautifully once cooled, making these bars easy to stack and transport. Each bite delivers the perfect balance of sweet cookie, tangy fruit, and creamy frosting.
Last summer my daughter asked why we couldn't have breakfast for dessert, and I stood there with mixing bowls already out, realizing she had accidentally invented the best idea ever. We tore through the pantry finding strawberry jam and sprinkles, turning a simple cookie dough into something that made the whole kitchen smell like a bakery at 8pm. Now whenever friends come over, these are the first thing that disappears from the platter, usually with someone asking if there's more hidden somewhere.
My neighbor texted me at 9pm one night saying her kids were begging for something sweet and she had zero ingredients. I told her to grab whatever jam she had and some butter, walked her through these bars over the phone, and she texted back thirty minutes later with a photo of three happy faces covered in pink frosting. Now she makes them for every school function and claims she invented the recipe.
Ingredients
- Unsalted butter: Softened to room temperature so it creams properly with the sugar, creating that tender cookie texture that melts in your mouth
- Granulated sugar: Sweetens the base and helps create that slightly crisp edge while keeping the center soft
- Large eggs: Bind everything together and add structure so the bars hold their shape when you cut them
- Vanilla extract: Use pure vanilla here because it shines through the simple cookie base
- All-purpose flour: The foundation of the dough, providing structure without making the bars too dense
- Baking powder: Gives the cookie base just enough lift to stay tender rather than flat
- Salt: Balances the sweetness and brings out all the flavors
- Strawberry jam: Use a good quality jam with real fruit pieces for the best texture and flavor
- Powdered sugar: Creates that smooth, pourable glaze that hardens just enough to stack the bars
- Milk: Adjust the amount to get your glaze to the perfect consistency
- Sprinkles: Add them immediately after glazing so they stick while everything is still wet
Instructions
- Preheat your oven to 350°F (175°C) and line a 9x13-inch baking pan:
- Lining with parchment paper is not optional here because the jam layer makes these bars tricky to remove and you will thank yourself later when they lift out perfectly
- Cream together softened butter and sugar:
- Beat them for about 3 minutes until the mixture looks pale and fluffy, which incorporates air for a lighter texture
- Add eggs and vanilla:
- Beat in one egg at a time, letting each fully incorporate before adding the next, then pour in the vanilla
- Whisk the dry ingredients:
- In a separate bowl, combine flour, baking powder, and salt so they are evenly distributed
- Combine wet and dry ingredients:
- Mix gradually until just combined, being careful not to overwork the dough which could make the bars tough
- Press dough into the pan:
- Use about two-thirds of the dough to create an even layer at the bottom, pressing with your hands or the back of a measuring cup
- Spread the jam:
- Dollop the jam over the dough and gently spread it, leaving a tiny border around the edges to prevent bubbling over
- Add the topping:
- Crumble the remaining dough over the jam with your fingers, pressing gently so it adheres but still looks rustic
- Bake until golden:
- The edges should be lightly golden and the center set, which usually takes 23 to 27 minutes
- Cool completely:
- This is the hardest part but letting them cool completely in the pan ensures clean cuts and prevents the glaze from melting
- Make the glaze:
- Whisk powdered sugar, milk, and vanilla until smooth and pourable, adding more milk if needed
- Glaze and sprinkle:
- Drizzle the glaze over the cooled bars and immediately add sprinkles because once that glaze hardens, nothing will stick
- Let set and cut:
- Wait 15 minutes for the glaze to set before cutting into bars
 Save to Pinterest
 My sister called me after making these for her book club, saying everyone went silent when they took their first bite. She sent me a photo of an empty pan with just a few crumbs, telling me she had to promise to bring them to every gathering from now on. That is the highest compliment a recipe can get in our family.
Choosing Your Jam
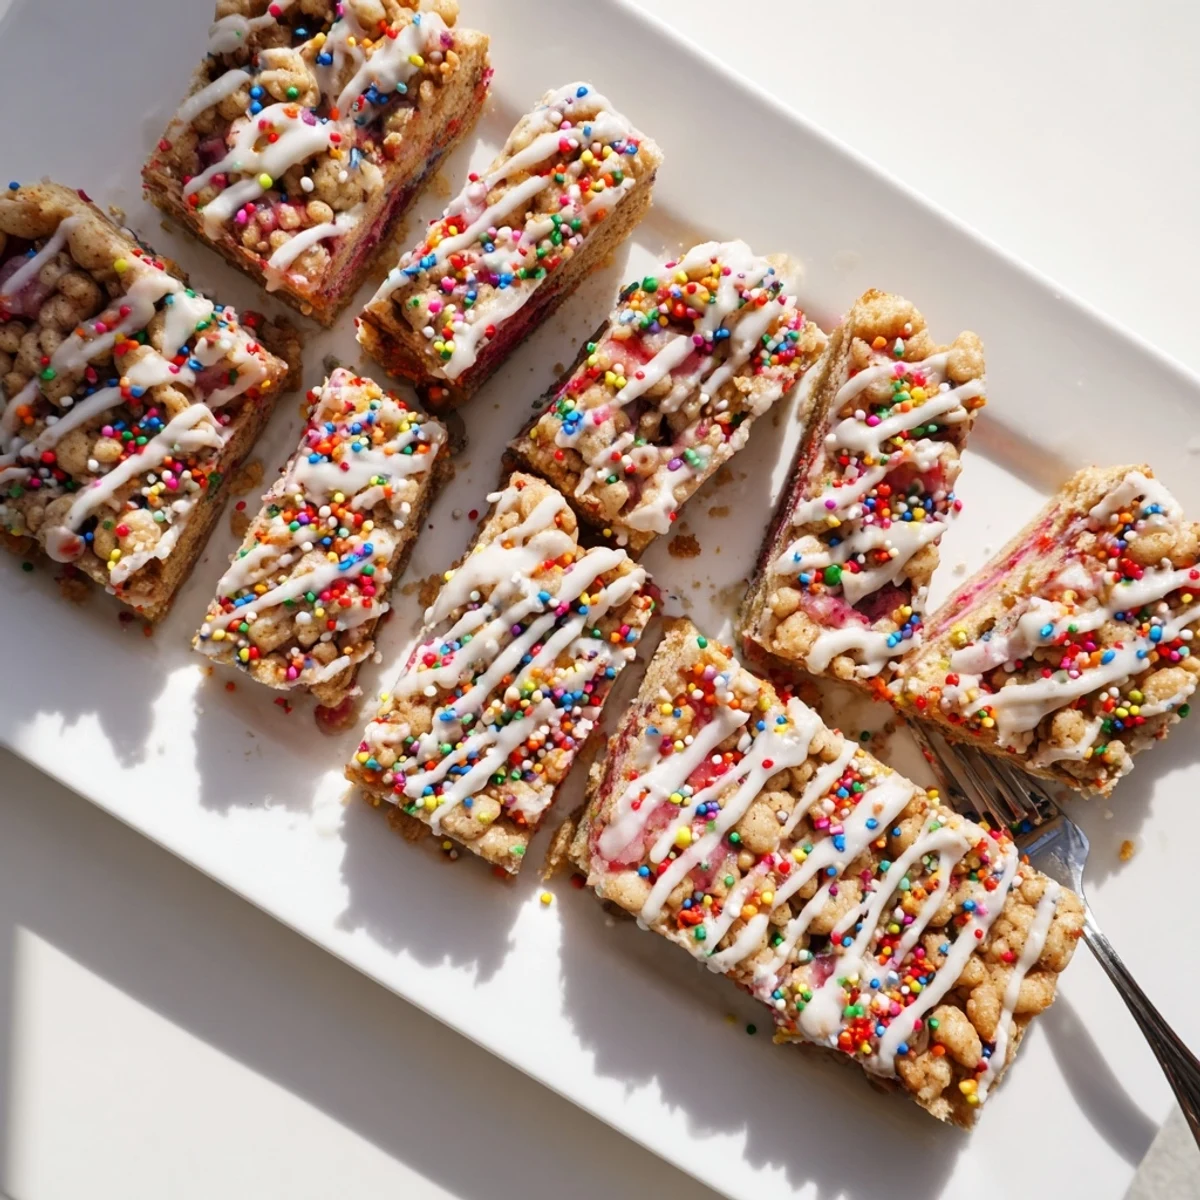
While strawberry jam is the classic choice that reminds everyone of those toaster pastries we grew up with, do not be afraid to experiment. Raspberry adds a beautiful tartness, apricot brings a sophisticated sweetness, and mixed berry creates a gorgeous purple color variation. The important thing is using a jam you genuinely love eating straight from the jar because that flavor will shine through.
Making Them Gluten Free
Several friends have made these successfully with a 1:1 gluten-free flour blend and reported that no one could tell the difference. The texture stays remarkably close to the original, though the dough might feel slightly softer when you are pressing it into the pan. Just keep the same baking time and you will have a treat everyone can enjoy regardless of dietary restrictions.
Storage and Freezing
These bars store beautifully at room temperature for up to three days in an airtight container, with the glaze staying perfectly set. For longer storage, they freeze exceptionally well, just wrap individual portions in plastic and then place them in a freezer bag. When you need a quick dessert, they thaw in about thirty minutes on the counter and taste just as fresh as the day you made them.
- Place a piece of parchment paper between layers if you are stacking them
- Add the glaze after freezing if you prefer it pristine
- These never last longer than a day in my house anyway
 Save to Pinterest
 There is something magical about taking a childhood favorite and transforming it into something even better, a dessert that brings back memories while creating new ones. Every time I make these, I remember my daughter's face when she first suggested breakfast for dessert, and I am so glad I listened.
Recipe FAQs
- → Can I use different jam flavors?
-
Absolutely! While strawberry jam is classic, you can use raspberry, blueberry, apricot, or even mixed berry jam. Feel free to experiment with your family's favorite flavors.
- → How should I store these bars?
-
Store in an airtight container at room temperature for up to 3 days. For longer storage, refrigerate for up to a week. The bars can also be frozen for up to 3 months - just wrap individually in plastic wrap.
- → Can I make these gluten-free?
-
Yes! Substitute the all-purpose flour with a 1:1 gluten-free flour blend. The texture and taste will remain very similar to the original version.
- → Why press two-thirds of the dough first?
-
Creating a solid base layer with two-thirds of the dough provides structure for the jam filling. The remaining dough crumbled on top creates that classic poptart appearance and adds texture.
- → Can I make the glaze thicker or thinner?
-
Yes! Add more powdered sugar for a thicker glaze that sets more firmly, or increase the milk slightly for a thinner, more drizzly consistency. Start with less liquid and adjust gradually.
- → Do these need to be refrigerated?
-
They don't require refrigeration due to the cooked jam filling. Room temperature storage is fine for up to 3 days. Refrigerate only if your kitchen is particularly warm or if you prefer them chilled.
