 Save to Pinterest
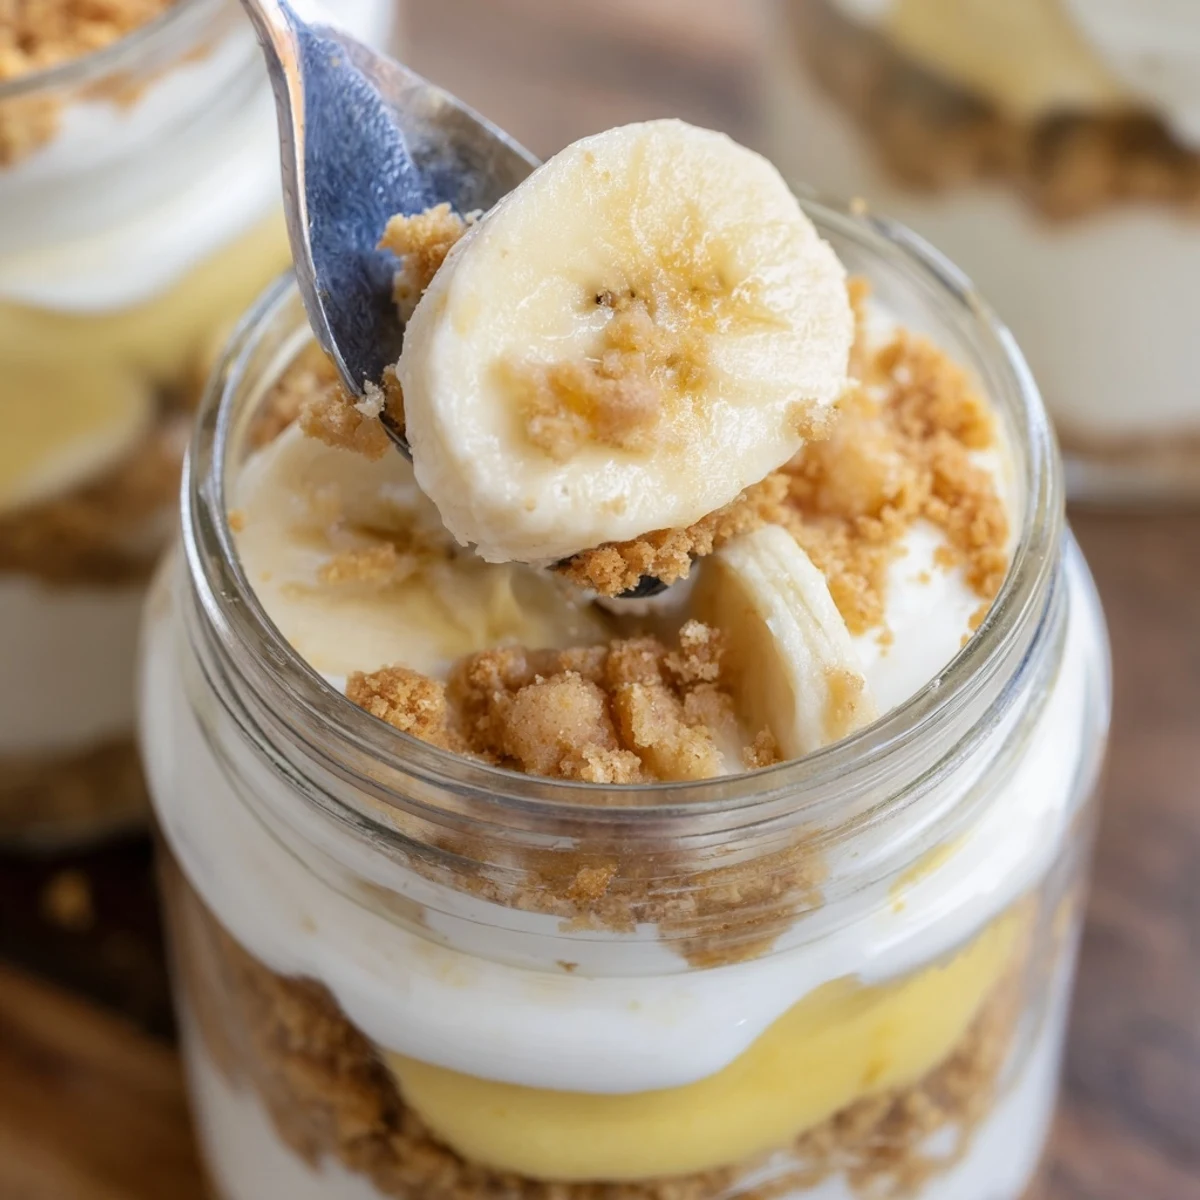
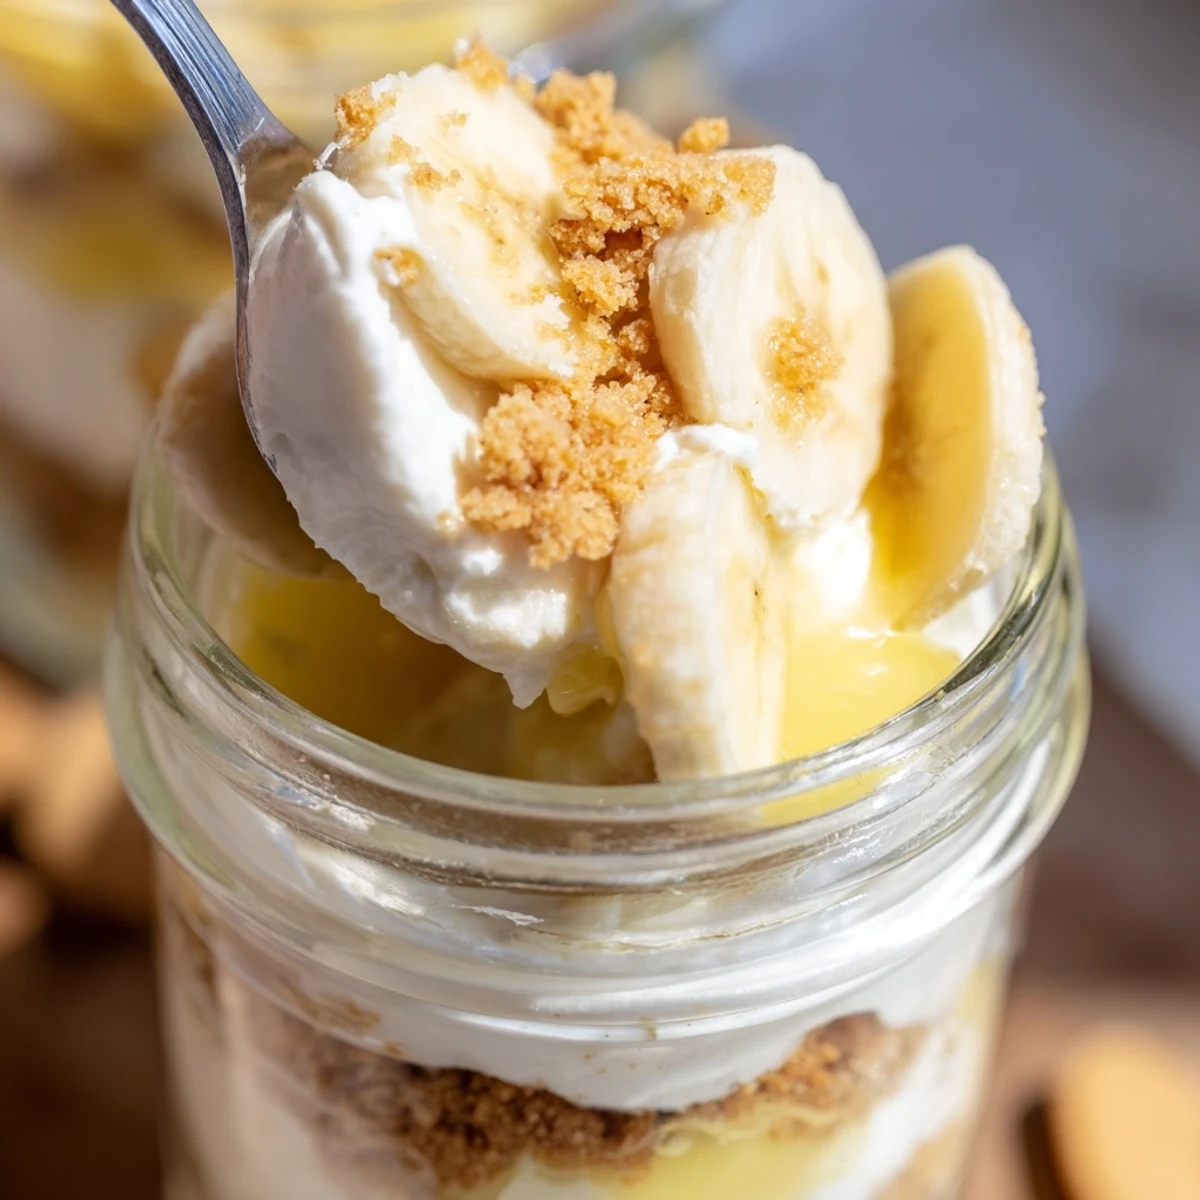
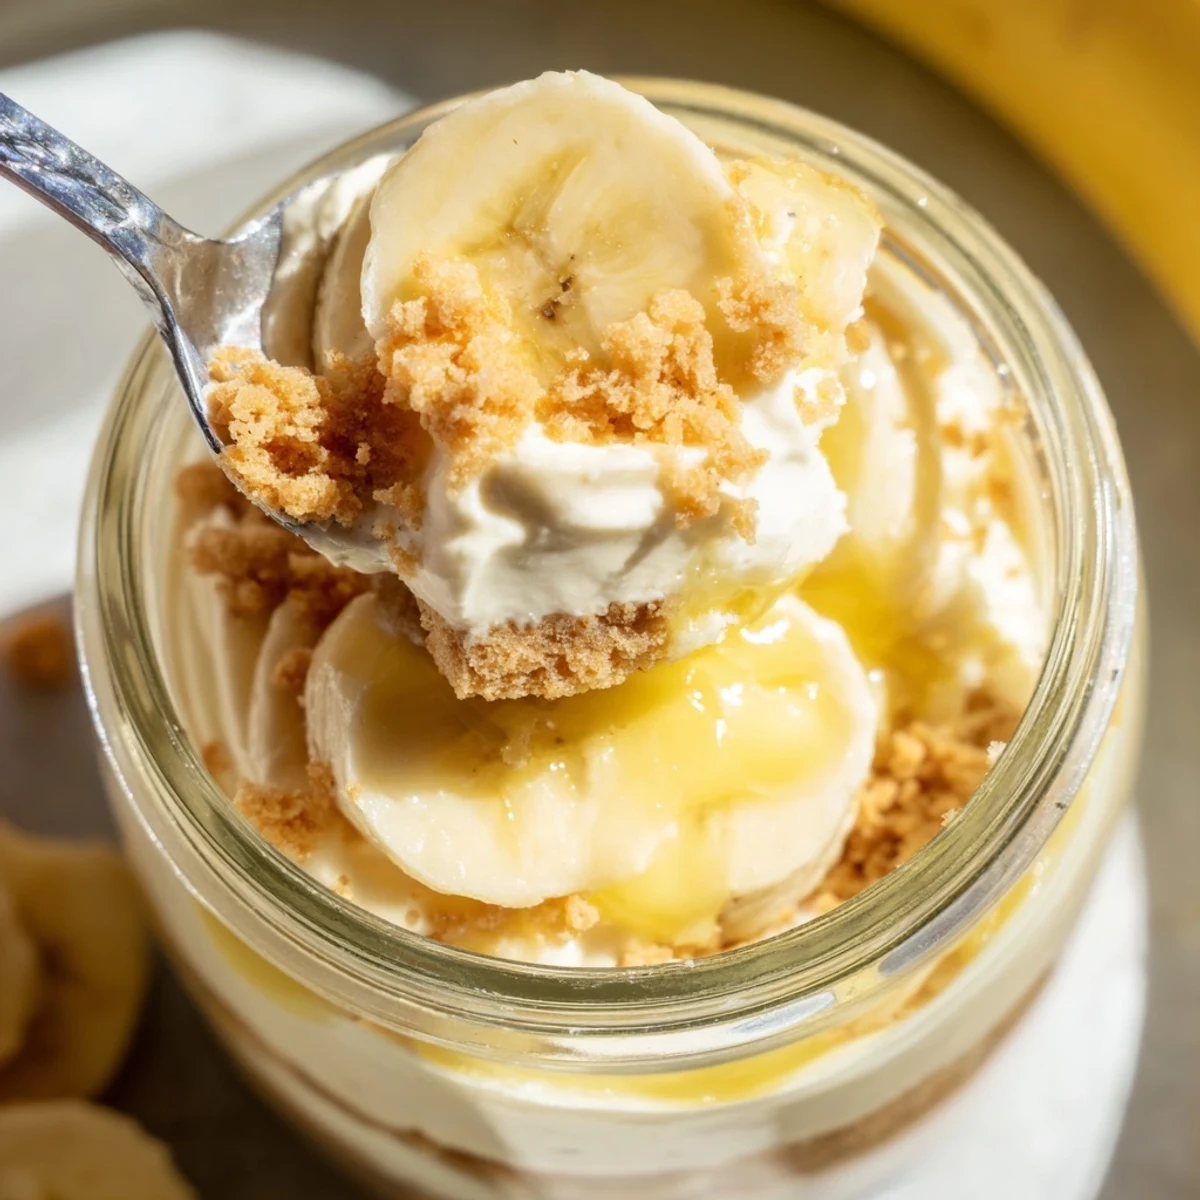
 These individual cups feature a buttery vanilla wafer crust topped with velvety cheesecake filling and sweet banana pudding layers. Fresh banana slices add natural sweetness while crunchy wafer crumbs provide delightful texture contrast. This no-bake dessert comes together in just 20 minutes of active prep time, requiring only refrigeration to set. The result is an elegant, portion-controlled treat that combines the nostalgic flavors of banana pudding with the rich indulgence of cheesecake. Perfect for entertaining or meal prep, these cups can be made up to 24 hours in advance and are always a crowd-pleasing finish to any meal.
Last summer my niece asked for help making something special for her birthday party, but it was ninety degrees out and nobody wanted to touch the oven. These little cups ended up being the hero of the day, and honestly, I think they taste even better than a full-sized cheesecake.
My friend Sarah brought a similar version to our book club meeting once, and I literally stopped listening to the discussion after the first bite. I immediately texted her for the recipe and have been making them for every gathering since, from baby showers to Tuesday night dessert.
Ingredients
- Vanilla wafer cookies (1 cup, crushed): These create the classic Nilla Wafer flavor that makes banana pudding so nostalgic
- Unsalted butter (2 tbsp, melted): Helps the crust hold together without overpowering the delicate vanilla flavor
- Cream cheese (8 oz, softened): Room temperature cream cheese blends smoothly without any lumps
- Granulated sugar (1/3 cup): Just enough sweetness to balance the tanginess of the cream cheese
- Pure vanilla extract (1 tsp): Real vanilla makes a noticeable difference in the creamy layers
- Heavy whipping cream (1 cup, cold): Cold cream whips up faster and holds its structure longer
- Instant banana pudding mix (3.4 oz): Creates that unmistakable banana pudding flavor we all love
- Cold whole milk (1 1/4 cups): Whole milk gives the pudding layer a richer, more luxurious texture
- Ripe bananas (2, sliced): Perfectly ripe bananas with some brown spots are naturally sweeter and creamier
Instructions
- Prepare the crust base:
- Mix the crushed vanilla wafers and melted butter until it feels like damp sand, then press about two tablespoons into the bottom of each serving cup using the back of a spoon.
- Make the cheesecake filling:
- Beat the softened cream cheese, sugar, and vanilla until completely smooth and fluffy, which usually takes about two to three minutes on medium speed.
- Whip the heavy cream:
- In a separate bowl, whip the cold cream until stiff peaks form, then gently fold it into the cream cheese mixture until no white streaks remain.
- Prepare the banana pudding:
- Whisk the instant pudding mix and cold milk together for exactly two minutes until it thickens into a creamy consistency.
- Layer the cups:
- Start with half the cheesecake mixture, add a layer of sliced bananas, spoon the banana pudding over the bananas, and finish with the remaining cheesecake filling.
- Add the finishing touches:
- Sprinkle extra wafer crumbs on top, add fresh banana slices, and add a dollop of whipped cream if you are feeling extra fancy.
- Chill before serving:
- Cover the cups and refrigerate for at least two hours, giving the flavors time to meld and the layers to set properly.
 Save to Pinterest
 These cups have become my go-to when someone needs a pickmeup or when I want to impress without spending hours in the kitchen. There is something about that first spoonful with all the layers together that just makes people pause and smile.
Make Ahead Magic
I have learned that these cups actually taste better after sitting overnight in the fridge, which makes them perfect for stressfree entertaining. The flavors have time to marry together and the textures set up beautifully.
Serving Suggestions
Clear glass cups or mason jars show off the beautiful layers and make these feel extra special. Small shot glasses work perfectly if you want to serve them as bite sized treats at a party.
Creative Variations
Sometimes I swap in chocolate wafers for the crust or add a layer of crushed pineapple between the banana and pudding. A sprinkle of toasted coconut on top takes these to a tropical level that people go crazy for.
- Try adding a tablespoon of cream cheese to the pudding layer for extra richness
- A dash of cinnamon in the crust adds warmth and depth
- Drizzle with caramel sauce right before serving for an indulgent finish
 Save to Pinterest
 There is something so satisfying about serving these and watching everyone light up when they take that first bite. Hope they become a favorite in your house too.
Recipe FAQs
- → Can I make these cups ahead of time?
-
Yes, you can prepare these cups up to 24 hours in advance. Simply assemble, cover tightly, and refrigerate. Add fresh banana slices and whipped cream just before serving to prevent browning and maintain texture.
- → What's the best way to prevent banana slices from turning brown?
-
Toss banana slices lightly in lemon juice before adding them to the cups. The citrus acid helps prevent oxidation. Alternatively, add bananas immediately before serving if preparing in advance.
- → Can I substitute instant pudding with homemade banana pudding?
-
While instant pudding provides convenience and sets firmly, you can use homemade custard-style banana pudding. Just ensure it's fully cooled and thickened before layering to prevent the cups from becoming runny.
- → What type of cups work best for this dessert?
-
Clear glass jars, ramekins, or dessert cups work beautifully as they showcase the layered presentation. Look for vessels that hold 6-8 ounces each and have straight sides for clean layers.
- → Can I freeze these cheesecake cups?
-
Freezing is not recommended as the texture of the banana pudding and fresh bananas will be compromised. The whipped cream may also separate upon thawing. These cups are best enjoyed fresh from the refrigerator within 2-3 days.
- → How do I get clean layers when assembling?
-
Use a spoon or small spatula to gently spread each layer. Work slowly and avoid pressing too deeply which can cause layers to blur. Chill the crust briefly before adding fillings to help maintain distinct layers.
