 Save to Pinterest
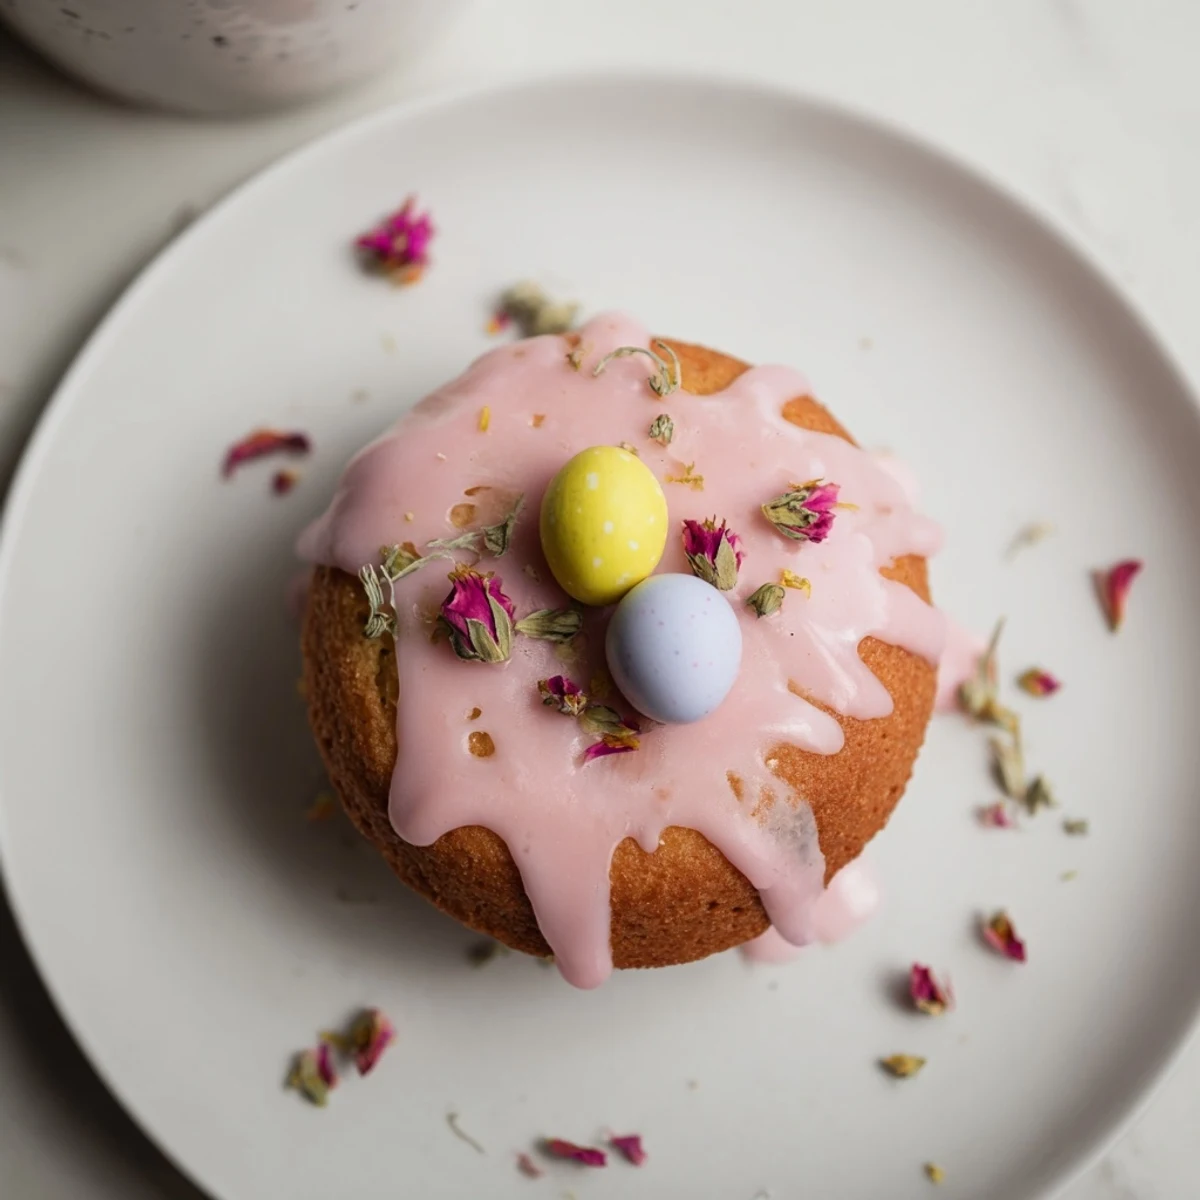
 These delightful mini sponge cakes bring festive charm to any Easter celebration. The tender vanilla sponge is topped with silky pastel icing in soft spring hues, then decorated with mini chocolate eggs, edible flowers, or colorful sprinkles. Each bite-sized treat offers the perfect balance of sweet buttery cake and smooth, creamy glaze.
Ready in just 45 minutes, these European-style cakes are simple enough for bakers of all skill levels. The versatile batter can be enhanced with citrus zest, while the decorations offer endless creative possibilities to match your holiday table.
Last spring, my kitchen became a pastel laboratory when I decided to surprise my niece with tiny Easter cakes instead of the usual full sized one. The way she lit up seeing her very own cake, complete with a drizzle of pale pink icing and exactly three chocolate eggs on top, made all the extra bowls worth washing. Now I cannot imagine Easter without these little treasures crowding my counter in all their soft hued glory.
I made these for a brunch potluck and watched my friend Sarah, who claims she does not have a sweet tooth, go back for thirds. The conversation around the table turned into a debate about which pastel color tasted best, a question no one actually answered but everyone had opinions about. Those little cakes became the anchor of the whole gathering.
Ingredients
- 1 cup all purpose flour: The foundation of our tender sponge, sift it aerates for an extra light crumb
- 1 tsp baking powder: This gives our mini cakes their lift without making them too dense
- 1/4 tsp salt: Just enough to balance the sweetness and bring out the vanilla
- 1/2 cup unsalted butter softened: Room temperature butter creates that perfectly fluffy texture we want
- 2/3 cup granulated sugar: Sweetens and tenderizes while creating a golden crust
- 2 large eggs room temperature: Essential for structure, they bind everything together beautifully
- 1 tsp vanilla extract: The aromatic backbone that makes these cakes taste homemade
- 1/3 cup milk: Adds moisture and helps create a tender crumb
- 1 1/2 cups powdered sugar sifted: Forms the base of our silky smooth pastel icing
- 2 3 tbsp milk: Adjust this to get your icing to the perfect pourable consistency
- Assorted pastel food coloring: Gel colors work best for those soft Easter shades without thinning the icing
- Mini chocolate eggs or sugar decorations: The crowning glory that makes these unmistakably Easter
Instructions
- Getting Started:
- Preheat your oven to 350°F and prepare a 12 cup muffin tin with paper liners or a light coating of butter
- Mixing the Dry Ingredients:
- Whisk together the flour, baking powder, and salt in a medium bowl until everything is evenly combined
- Creaming Butter and Sugar:
- Beat the softened butter and sugar until the mixture turns pale and fluffy, about 3 minutes of patience pays off here
- Adding Eggs and Vanilla:
- Add eggs one at a time, beating well after each addition, then mix in the vanilla until fragrant
- Combining Everything:
- Gently fold in half the flour mixture, then the milk, then the remaining flour, mixing just until you no longer see dry streaks
- Filling the Tins:
- Divide the batter among the muffin cups, filling each about two thirds full for perfectly domed tops
- Baking to Golden:
- Bake for 18 to 20 minutes until a toothpick comes out clean and the tops spring back when touched
- Cooling Completely:
- Let them rest in the pan for 5 minutes, then move to a wire rack until completely cool before icing
- Making the Icing:
- Whisk powdered sugar with milk until smooth and thick but pourable, then divide into bowls and tint each with pastel colors
- The Fun Part:
- Drizzle or spoon the colored icing over each cake, letting it drip down the sides, then top with decorations while wet
- Setting Time:
- Let the icing set for about 30 minutes before serving, though testing one for quality control is encouraged
 Save to Pinterest
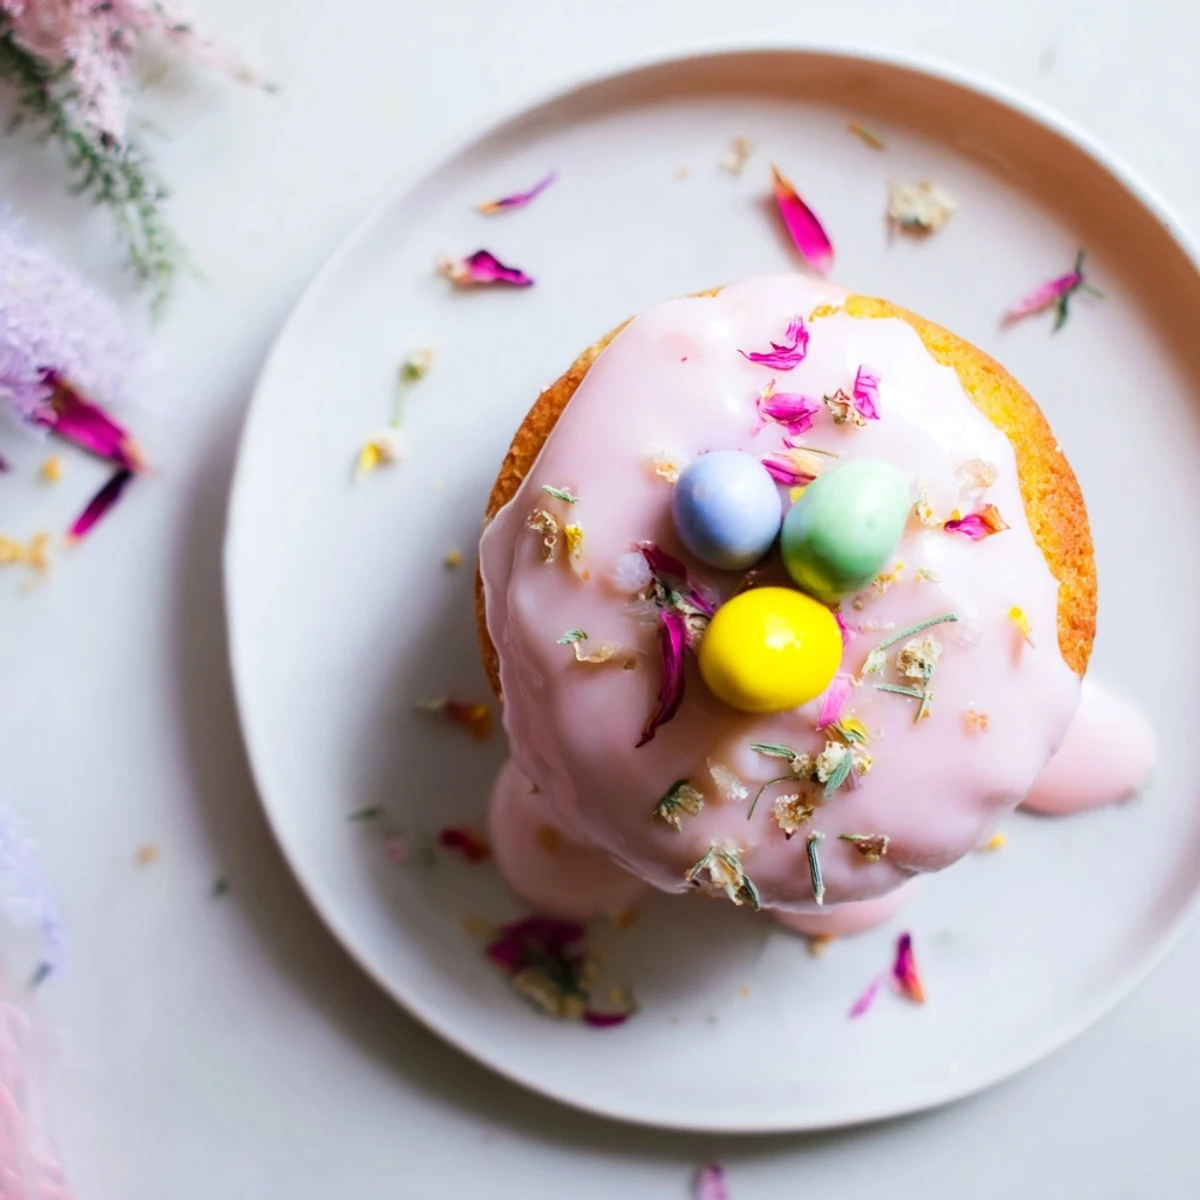
 My grandmother always said the prettiest desserts taste the best, and I have found there is some truth to that. When these emerge from the kitchen with their pastel tops catching the light, people smile before they even take a bite. Food that brings joy before it reaches your mouth is doing something right.
Making Them Ahead
I bake these a day ahead and store them in an airtight container, then ice them the morning of our gathering. The cakes stay incredibly moist, and the icing looks freshly done. This trick saved me when I hosted Easter brunch and wanted to actually enjoy my own party instead of being stuck in the kitchen.
Color Perfection
After years of muddy colored icing, I finally learned that gel food coloring is worth the extra trip to the baking aisle. Start with a tiny amount on a toothpick, you can always add more but cannot take it back. Soft pinks, buttery yellows, and pale blues create that dreamy Easter aesthetic everyone loves.
Serving Ideas
These little cakes pair beautifully with fresh berries and a dollop of lightly sweetened whipped cream. I have also served them alongside a platter of cut fruit for a brunch that feels special without being overly heavy.
- Try placing each cake on a small doily or paper liner for extra charm
- Set up a decorating station and let guests add their own toppings
- Package them in clear boxes tied with ribbon for the sweetest hostess gift
 Save to Pinterest
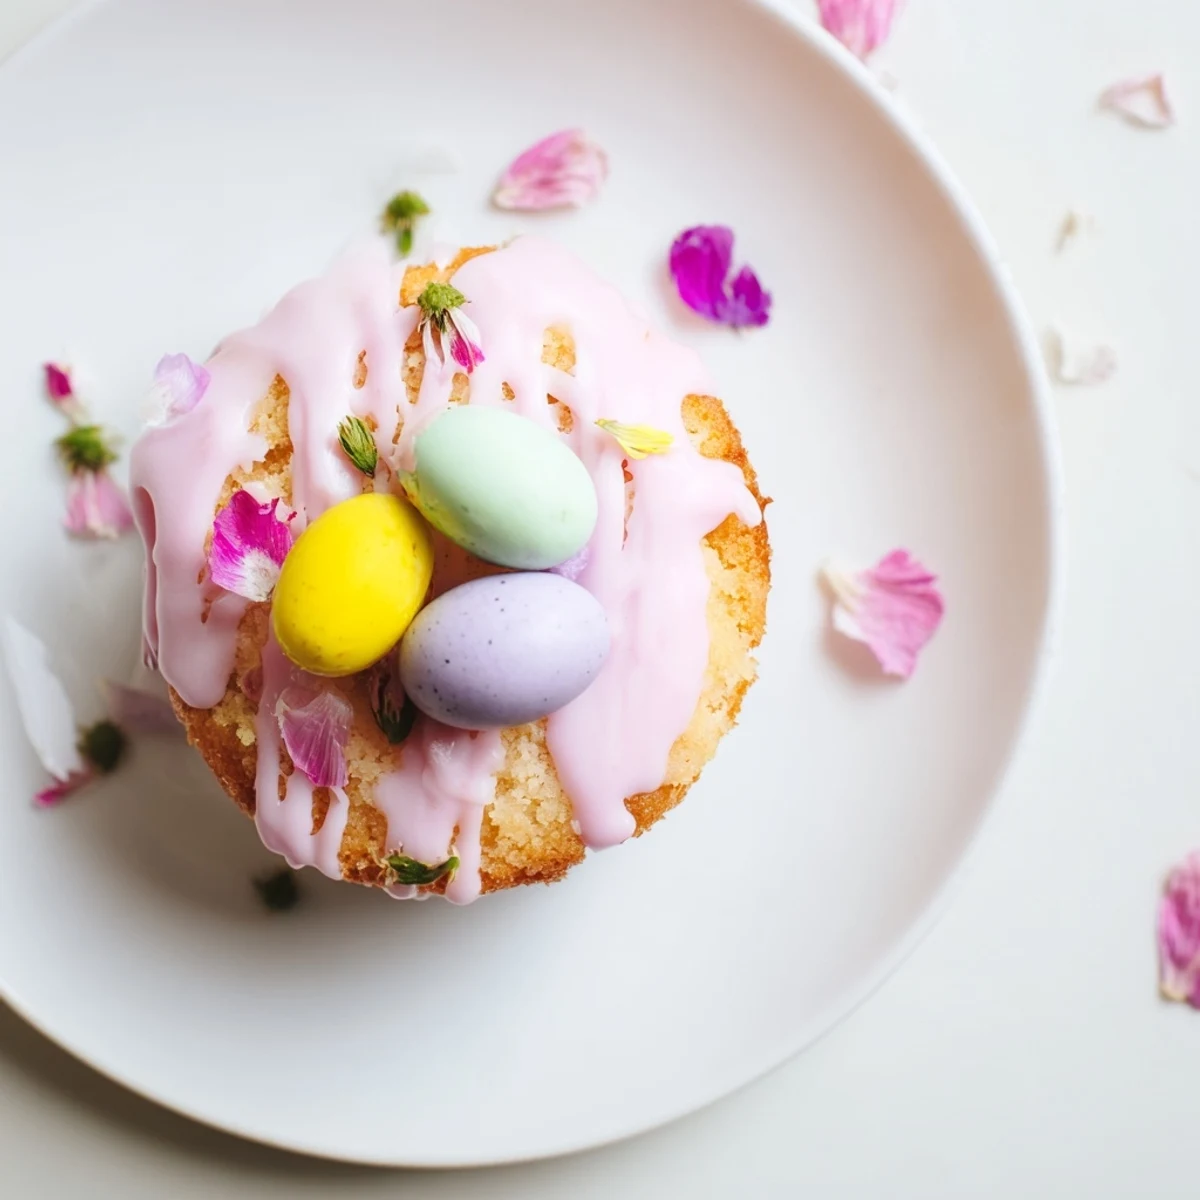
 These mini cakes have become such a treasured part of my Easter traditions, and I hope they find a place at your table too. Happy baking, and may your Easter be filled with sweet moments.
Recipe FAQs
- → How far in advance can I make these?
-
Bake the sponge cakes up to 2 days ahead and store in an airtight container. Ice and decorate them the day of serving for the freshest appearance and texture.
- → Can I freeze the unfilled cakes?
-
Yes, wrap each cooled cake tightly in plastic wrap and freeze for up to 3 months. Thaw at room temperature before icing and decorating.
- → What other decorations work well?
-
Consider shredded coconut, crushed cookies, candied citrus peel, fresh berries, or marzipan shapes. Edible glitter adds a lovely sparkle for special occasions.
- → How do I achieve the perfect icing consistency?
-
The icing should flow slowly from the spoon but hold its shape on the cake. Add milk one teaspoon at a time until reaching the desired pourable thickness.
- → Can I make these gluten-free?
-
Substitute the all-purpose flour with a 1-to-1 gluten-free baking blend. The texture remains tender and the baking time stays the same.
- → What's the best way to store leftovers?
-
Keep decorated cakes in a single layer in an airtight container at room temperature for up to 3 days. Refrigeration may cause the icing to soften.
