 Save to Pinterest
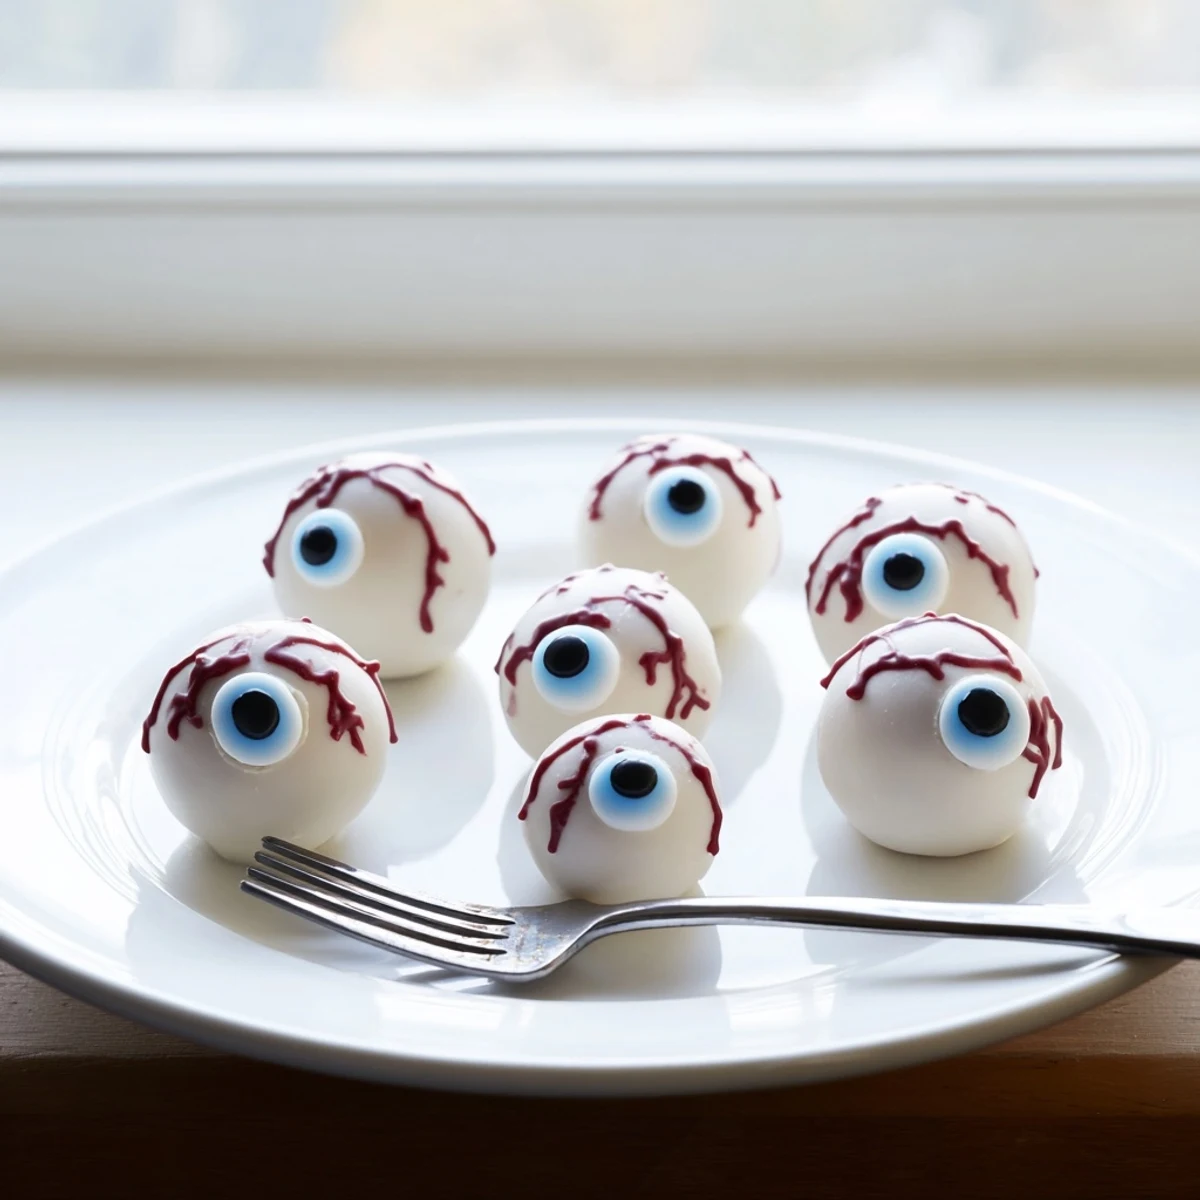
 These Halloween cake eyeballs transform moist vanilla cake mixed with creamy cream cheese frosting into spooky party treats. Each ball is coated in smooth white chocolate, topped with colorful irises made from candy melts, and finished with dramatic red gel veins. The preparation involves baking a vanilla cake, crumbling it, mixing with frosting, rolling into spheres, chilling, and decorating with melted chocolate. Perfect for Halloween gatherings, these treats combine the rich flavors of cake and chocolate with playful presentation that will delight both children and adults.
Last October, my daughter announced she wanted a Halloween treat that would actually scare people. We spent a rainy Sunday afternoon smashing baked cake into crumbs, our hands absolutely covered in sticky frosting. When the first batch came out with these googly eyes staring back at us, she squealed and immediately texted all her friends. Now every guest at our Halloween party gets startled by these little guys on the dessert table.
I brought these to my office potluck and placed them carefully on a platter near the coffee machine. My coworker Mike jumped back so dramatically he nearly spilled his latte, and honestly, that reaction made my entire week. The best part was watching everyone go from horrified to delighted after their first bite.
Ingredients
- Vanilla cake mix or homemade cake: I learned the hard way that the cake must be completely cool before crumbling or you end up with a gooey mess
- Cream cheese and butter: Room temperature is nonnegotiable here for that silky smooth frosting that holds everything together
- Powdered sugar: Sift it first to avoid any lumpy surprises in your filling
- White candy melts: These actually coat better than real white chocolate and set up firmer
- Colored candy melts: Having both blue and green options makes your eyeball collection look way more realistic
- Red decorating gel: The veins are what truly transform these from cute to completely creepy
Instructions
- Bake and completely cool your cake:
- Follow your cake mix directions or use your favorite vanilla cake recipe, but let it cool fully before moving forward
- Create fine cake crumbs:
- Use your clean hands to break the cake into tiny pieces in a large bowl until you have uniform crumbs
- Make the creamy frosting:
- Beat together the softened cream cheese, butter, powdered sugar, and vanilla until completely smooth and fluffy
- Combine and test the mixture:
- Mix the frosting into the cake crumbs until it holds together when you squeeze a handful
- Roll and chill the eyeballs:
- Form 24 equal balls and place them on a parchment lined tray, then freeze for 20 minutes so they are firm enough to dip
- Dip in white coating:
- Melt the white chocolate gently and submerge each chilled ball completely, tapping off any excess before returning to the tray
- Add colorful irises:
- Work quickly while the coating is still soft to pipe or place colored candy circles in the center of each ball
- Create pupils:
- Once the iris has set slightly, add a small dark dot in the center for that staring right through you effect
- Draw spooky veins:
- Use red gel to squiggle irregular lines radiating from the iris to make them look bloodshot and creepy
- Let everything set completely:
- Allow the decorations to harden fully before serving so they do not smudge or lose their eerie detail
 Save to Pinterest
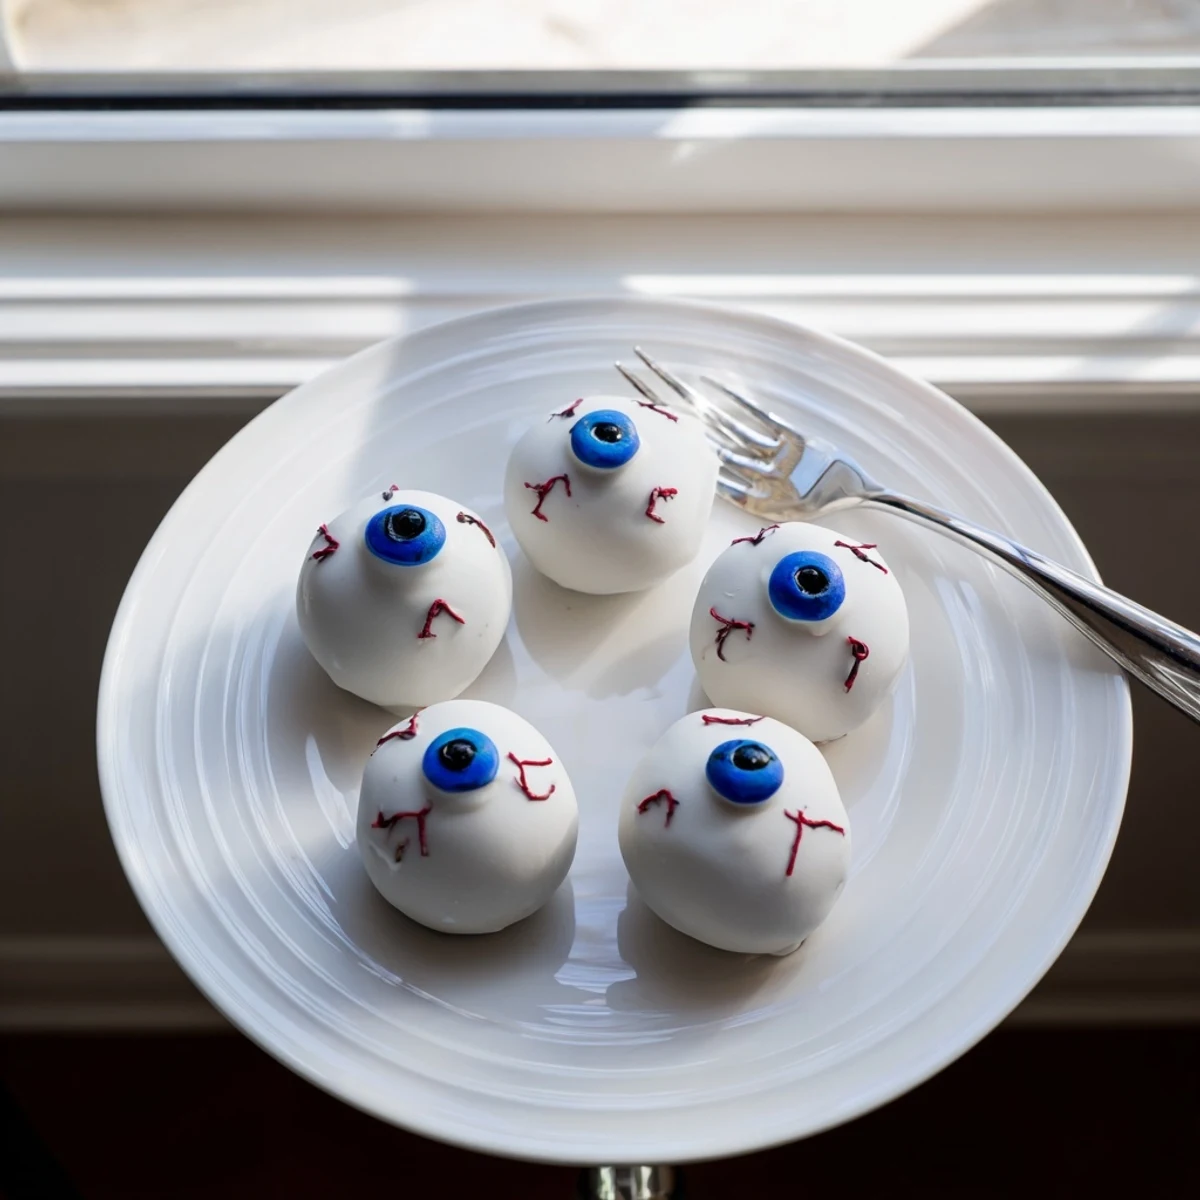
 My niece helped me make a batch last year and insisted we give each eyeball a different personality using the gel. We ended up with angry ones, surprised ones, and one that looked suspiciously like it was winking. Her dad refused to eat them at first, but once he tried one, he went back for three more.
Making Them Ahead
I have learned that making the cake balls and chilling them up to two days in advance saves so much party day stress. You can store them in an airtight container in the refrigerator and just do the dipping and decorating when you are ready. The coating actually adheres better to the chilled surface.
Coating Troubleshooting
If your white chocolate starts getting too thick while dipping, add just a teaspoon of vegetable oil to thin it out again. I tried water once and absolutely ruined the entire batch. The oil trick has saved me more times than I care to admit.
Serving Suggestions
These look absolutely terrifying arranged on a black serving platter or scattered among plastic spiders. I have also stuck them in small votive holders so they stand up and stare at guests from across the table.
- Place them near dim lighting for maximum spookiness
- Serve with black napkins for the full effect
- Consider making a sign that says Eat if you dare
 Save to Pinterest
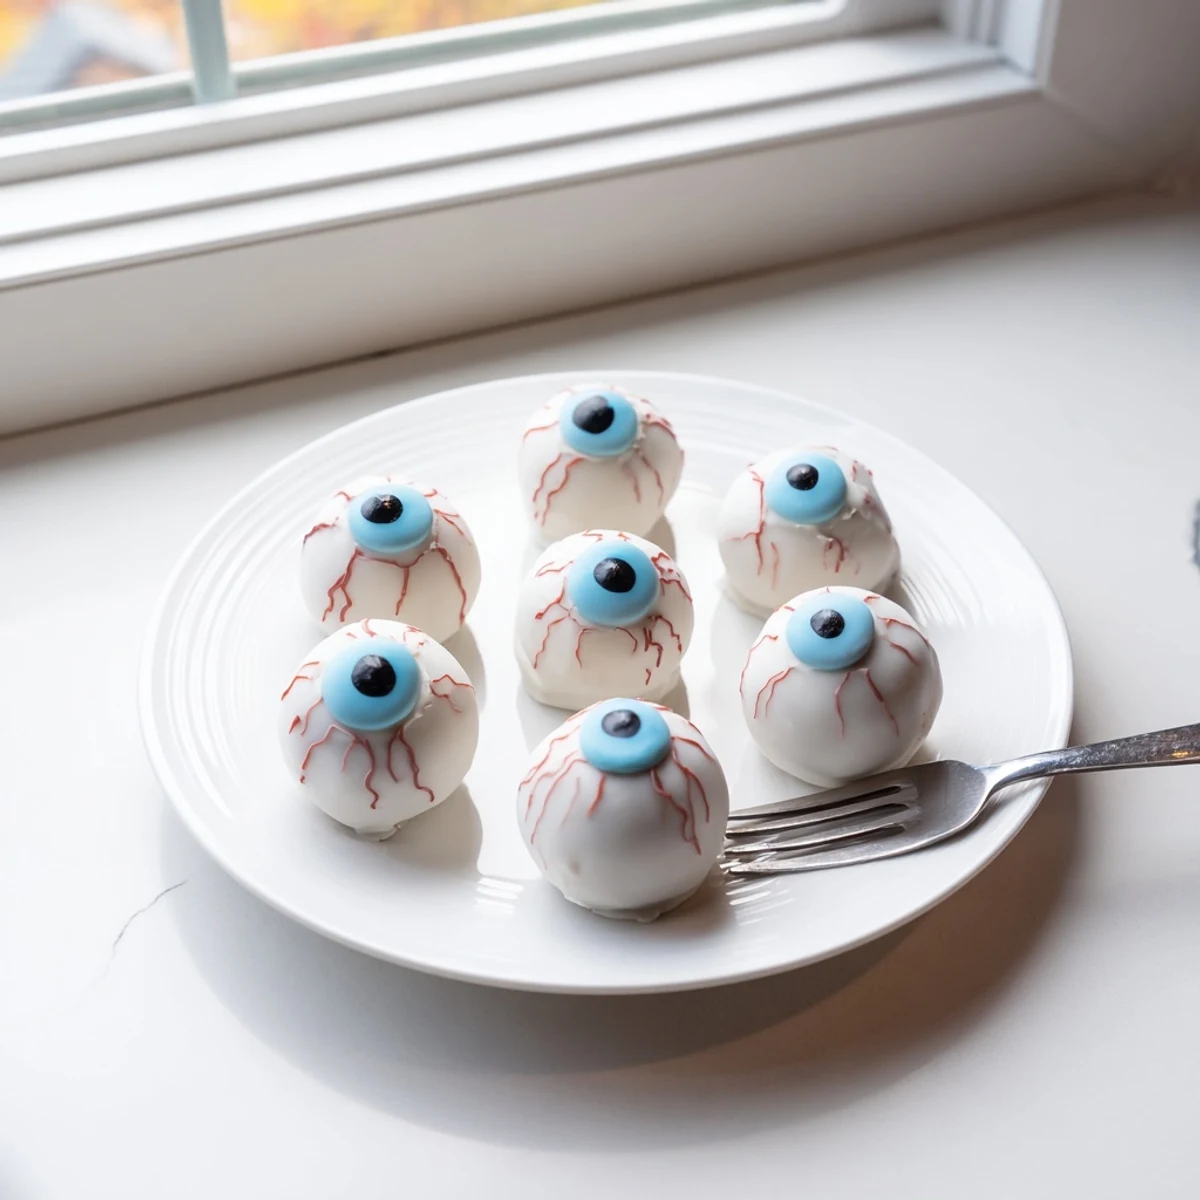
 These Halloween cake eyeballs have become such a tradition that my friends start asking about them in September. There is something deeply satisfying about serving food that makes people laugh while simultaneously looking slightly horrified.
Recipe FAQs
- → How long do Halloween cake eyeballs stay fresh?
-
Store in an airtight container in the refrigerator for up to 5 days. The chilling helps maintain their shape and keeps the chocolate coating firm.
- → Can I make these ahead of time?
-
Yes, prepare the cake balls and freeze them undecorated for up to 2 weeks. Thaw in refrigerator before coating with chocolate and adding decorations.
- → What type of chocolate works best for coating?
-
White candy melts or white chocolate chips work best as they create a smooth white base. Candy melts tend to set firmer and are easier to work with for beginners.
- → How do I prevent the cake balls from falling apart?
-
Ensure the cake crumbs are fine and the frosting mixture is thoroughly combined. Chilling the formed balls for at least 20 minutes before dipping helps them hold their shape.
- → Can I use different cake flavors?
-
Absolutely. Chocolate, red velvet, or funfetti cake work wonderfully. The red velvet creates an especially dramatic effect when you bite into these spooky treats.
- → What's the best way to create realistic veins?
-
Use red gel food coloring with a fine-tip brush or toothpick. Start from the center and create branching lines outward while the white chocolate is slightly tacky.
