 Save to Pinterest
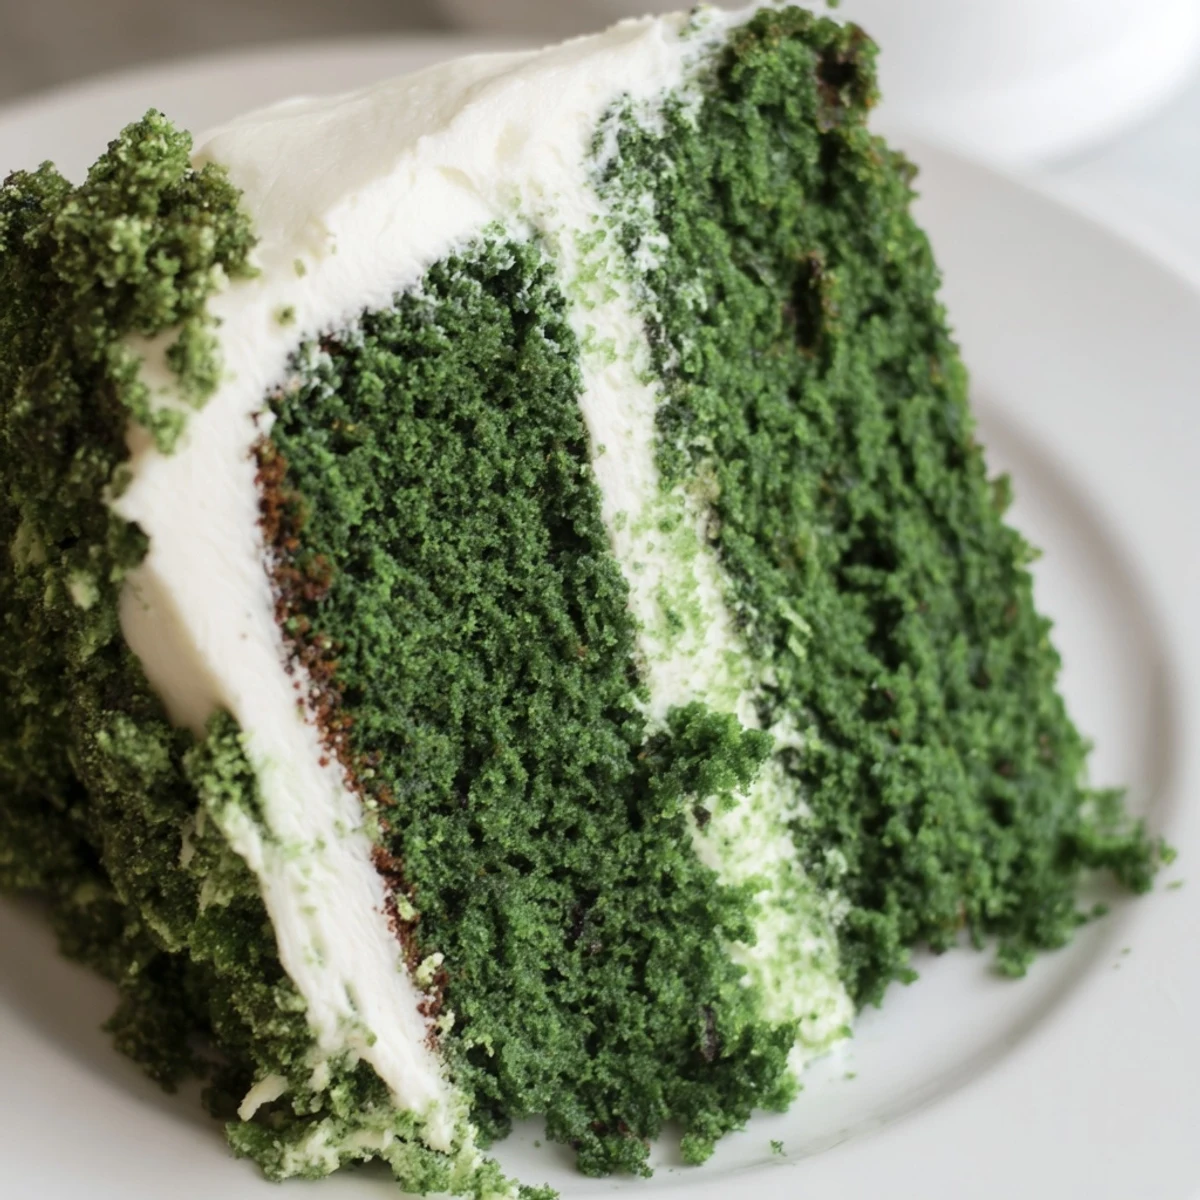
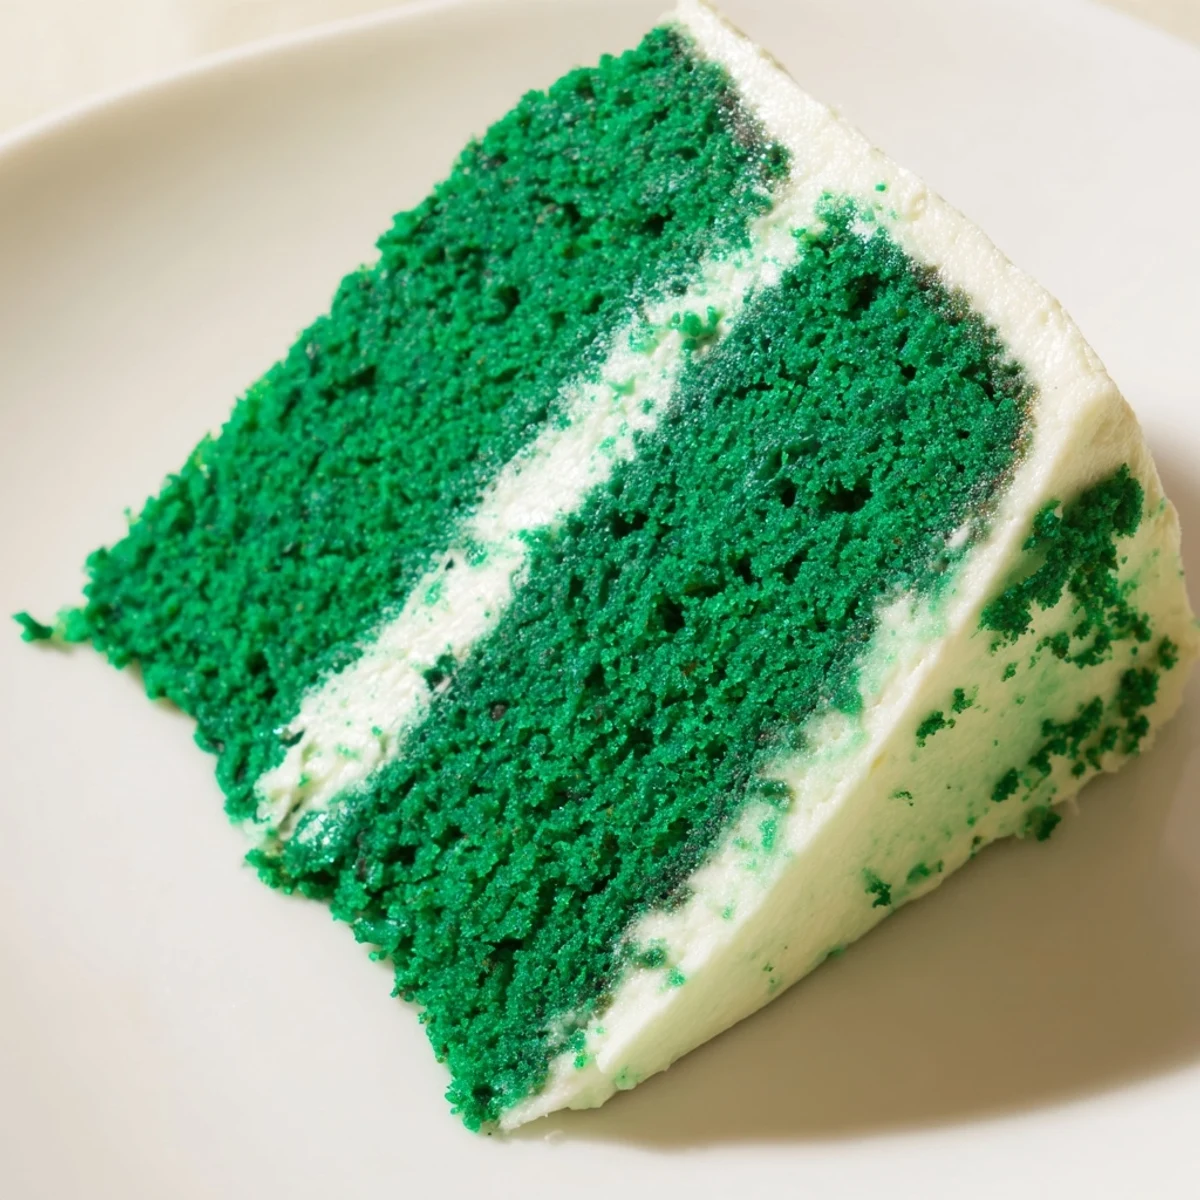
 This stunning emerald dessert offers a vibrant twist on the classic red velvet, featuring a tender cocoa-infused crumb that delivers subtle chocolate depth while maintaining the beloved velvety texture. The striking green hue makes it an impressive centerpiece for St. Patrick's Day or spring celebrations. A generous layer of tangy cream cheese frosting perfectly balances the sweetness, while the buttermilk ensures exceptional moisture. The batter comes together quickly, though proper cooling is essential for clean frosting application. Consider serving with green tea or chilled Moscato to complement the rich, creamy flavors.
The first time I attempted green velvet cake, my kitchen looked like a leprechaun explosion. Green food coloring everywhere, batter streaked across my forehead, and this gorgeous emerald cake rising in the oven while I frantically scrubbed the counter. My roommate walked in, took one look at the chaos, and asked if I'd been fighting a vegetable. We laughed so hard we almost forgot to take it out on time, but that cake became legendary in our apartment.
Last St. Patrick's Day, I made three of these cakes. One for my family, one for coworkers, and one I somehow ended up delivering to my neighbor at 11pm when her original dessert collapsed. She opened the door in pajamas, eyes wide at this neon green masterpiece, and we ended up eating slices standing right there in her entryway. Sometimes the best baking moments are the unplanned ones.
Ingredients
- 2½ cups all-purpose flour: The foundation of that tender velvet crumb we're after
- 2 tbsp unsweetened cocoa powder: Just enough for depth without overpowering the delicate flavor
- 1 tsp baking soda: Gives the cake its rise and helps create that signature velvet texture
- ½ tsp salt: Enhances all the flavors and balances the sweetness
- 1½ cups granulated sugar: Sweetens while keeping the crumb tender and moist
- 1 cup vegetable oil: The secret to incredibly moist cake that stays fresh for days
- 2 large eggs: Room temperature eggs blend more smoothly into the batter
- 1 cup buttermilk: Adds tanginess and tenderness, plus reacts with the soda for extra lift
- 2 tsp pure vanilla extract: Pure vanilla makes all the difference in flavor
- 1 tsp white vinegar: Reacts with buttermilk to enhance the velvet texture
- 1–1½ tbsp green gel food coloring: Gel coloring gives that vibrant emerald hue without thinning the batter
- 8 oz cream cheese: Make sure it's properly softened for silky smooth frosting
- ½ cup unsalted butter: Room temperature butter blends perfectly into the frosting
- 3½ cups powdered sugar: Sifted first to prevent any lumps in your frosting
- 2 tsp vanilla extract: Adds warmth and depth to the frosting
- Pinch of salt: Just enough to brighten the frosting flavor
Instructions
- Preheat your oven to 350°F and prepare your pans:
- Grease two 9-inch round cake pans thoroughly and line the bottoms with parchment paper. This step is worth the extra thirty seconds, trust me.
- Whisk together your dry ingredients:
- In a medium bowl, combine the flour, cocoa powder, baking soda, and salt until well blended. Set this aside while you work on the wet ingredients.
- Beat the sugar and oil together:
- In a large bowl, mix the sugar and oil until they're fully combined. The mixture will look sandy and thick, which is exactly what you want.
- Add the eggs one at a time:
- Beat in each egg completely before adding the next. This creates a stable emulsion that makes for a better texture in the finished cake.
- Stir in the liquid ingredients and coloring:
- Add the buttermilk, vanilla, vinegar, and green food coloring to the oil mixture. Whisk until the batter is an even, gorgeous shade of emerald green.
- Combine wet and dry ingredients:
- Add the dry ingredients to the wet in two batches, mixing just until you don't see any dry flour. Overmixing will make the cake tough, so gentle is key here.
- Bake the cakes:
- Divide the batter evenly between your prepared pans and bake for 28 to 32 minutes. The cake is done when a toothpick inserted in the center comes out clean.
- Cool the layers completely:
- Let the cakes cool in their pans for 10 minutes, then turn them out onto wire racks. Wait until they're completely cool before frosting, or the frosting will melt right off.
- Make the cream cheese frosting:
- Beat the softened cream cheese and butter together until absolutely smooth. Add the powdered sugar, vanilla, and salt, then beat until light and fluffy.
- Frost your cake:
- Place one cooled cake layer on your serving plate and spread frosting over the top. Add the second layer and frost the entire cake, swirling the frosting prettily on top.
 Save to Pinterest
 My grandmother always said that a cake baked with love tastes different than one baked in a hurry. The first time I served this at a family gathering, my usually skeptical uncle took three slices and asked if I'd put some kind of magic in the batter. I just winked and said it was the leprechaun dust, but we both knew it was just a recipe made with care.
Getting That Perfect Green Color
Start with less food coloring than you think you need. You can always add more, but you cannot take it back. I learned this the hard way when my first attempt turned out an alarming shade of radioactive green that glowed under fluorescent lights. A soft emerald is much more appetizing than something that looks like it belongs in a sci-fi movie.
Making It Ahead
The cake layers can be wrapped well and frozen for up to a month. Thaw them overnight in the refrigerator before frosting. This actually makes the cake easier to work with because cold layers are more stable and less likely to slide around while you're frosting.
Serving Suggestions
This cake deserves a proper presentation. A simple dusting of green sprinkles or some carefully placed chocolate shamrocks on top make it feel extra special.
- Chill the frosted cake for 30 minutes before slicing for cleaner cuts
- Use a hot knife to get those perfectly smooth frosting swoops
- Let the cake come to room temperature before serving for the best texture
 Save to Pinterest
 Every time I slice into this cake, that vibrant green against the snowy frosting makes me smile, and I remember that chaotic first attempt in my tiny apartment kitchen. Some recipes are just worth the mess.
Recipe FAQs
- → What makes green velvet different from red velvet?
-
The primary difference is the food coloring used. Both share the same foundational ingredients including buttermilk, cocoa powder, and vinegar, creating that characteristic tender crumb and subtle tanginess. The green variation simply swaps red food coloring for green gel, resulting in an equally moist and flavorful dessert with a vibrant emerald appearance perfect for St. Patrick's Day celebrations.
- → Can I use liquid food coloring instead of gel?
-
While liquid food coloring works, gel coloring is highly recommended for achieving the vibrant emerald hue without altering the batter consistency. Liquid coloring requires larger quantities to achieve the same intensity, which can throw off the delicate moisture balance and affect the final texture. If only liquid is available, add it gradually and consider reducing another liquid ingredient slightly to compensate.
- → How should I store the finished cake?
-
Due to the cream cheese frosting, this dessert requires refrigeration. Store in an airtight container or cover well with plastic wrap for up to 5 days. Bring slices to room temperature for 20-30 minutes before serving to achieve the best texture and flavor. For longer storage, unfrosted layers can be wrapped tightly in plastic and frozen for up to 3 months.
- → Why is vinegar included in the batter?
-
White vinegar serves two important purposes in this preparation. First, it reacts with the baking soda to create additional lift, contributing to the tender, velvety crumb. Second, the acidity enhances the cocoa flavor and helps balance the sweetness. The vinegar taste is not detectable in the finished product but plays a crucial role in achieving the classic velvet texture and subtle tang that distinguishes this style of cake.
- → What can I substitute for buttermilk?
-
If you don't have buttermilk on hand, you can create an effective substitute by combining 1 cup of regular milk with 1 tablespoon of white vinegar or lemon juice. Let the mixture sit for 5-10 minutes until it thickens slightly and curdles. This homemade alternative provides the necessary acidity to activate the baking soda and tenderize the gluten, ensuring your final result maintains the desired moisture and texture.
- → How do I know when the layers are fully baked?
-
The layers are done when a toothpick inserted into the center comes out clean or with just a few moist crumbs. The edges should pull away slightly from the pan, and the tops should spring back when gently touched. Avoid opening the oven door during the first 25 minutes of baking, as this can cause the layers to collapse. Let them cool in the pans for exactly 10 minutes before removing to prevent breaking.
