
 Save to Pinterest
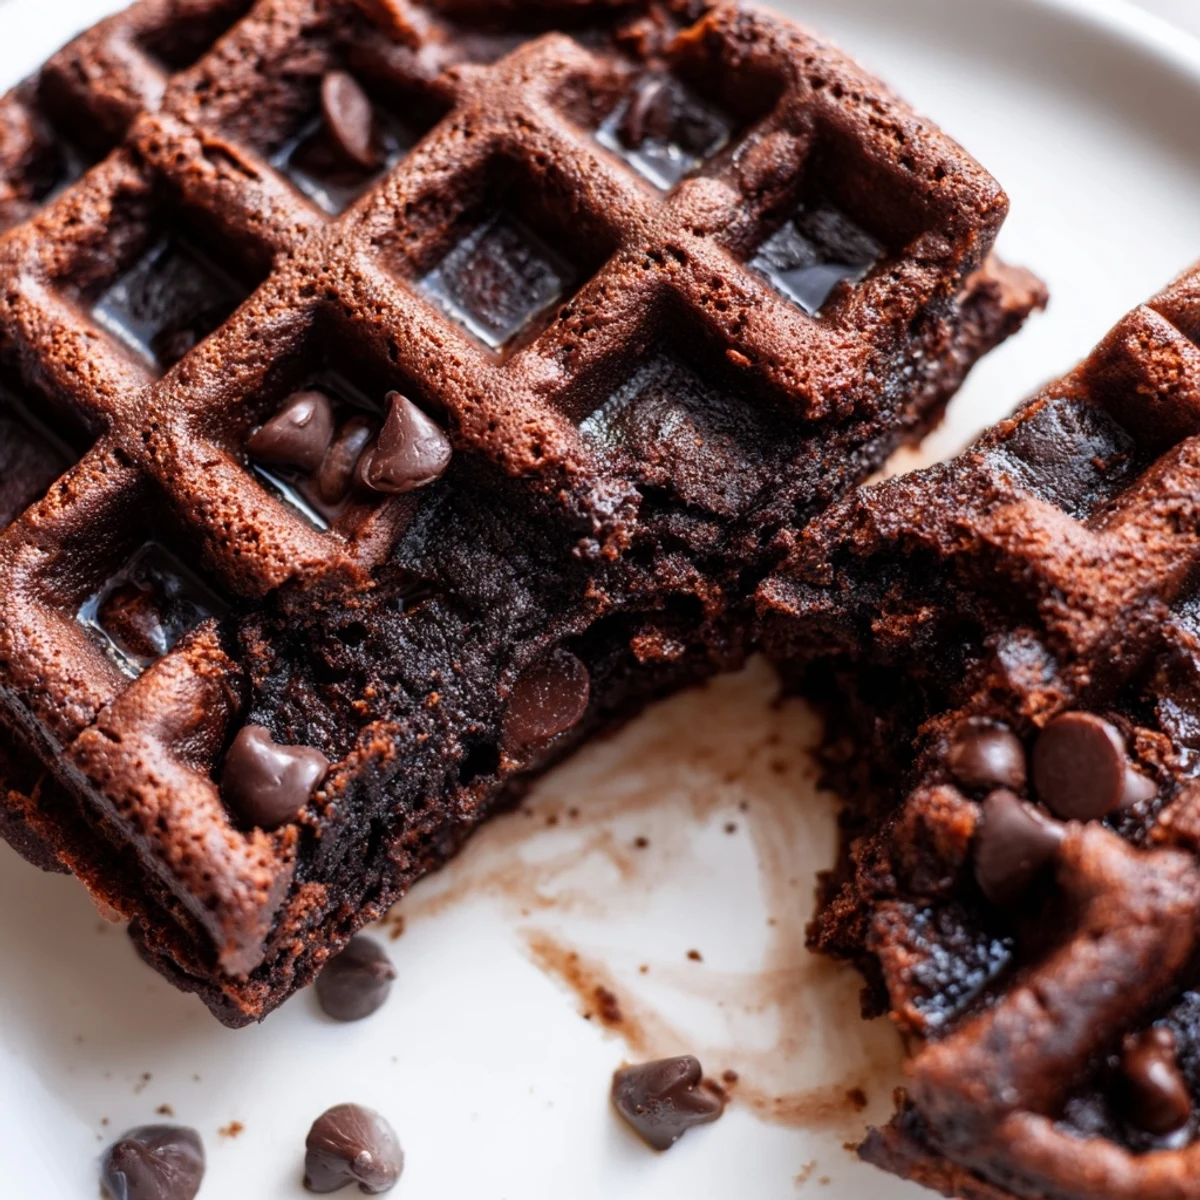
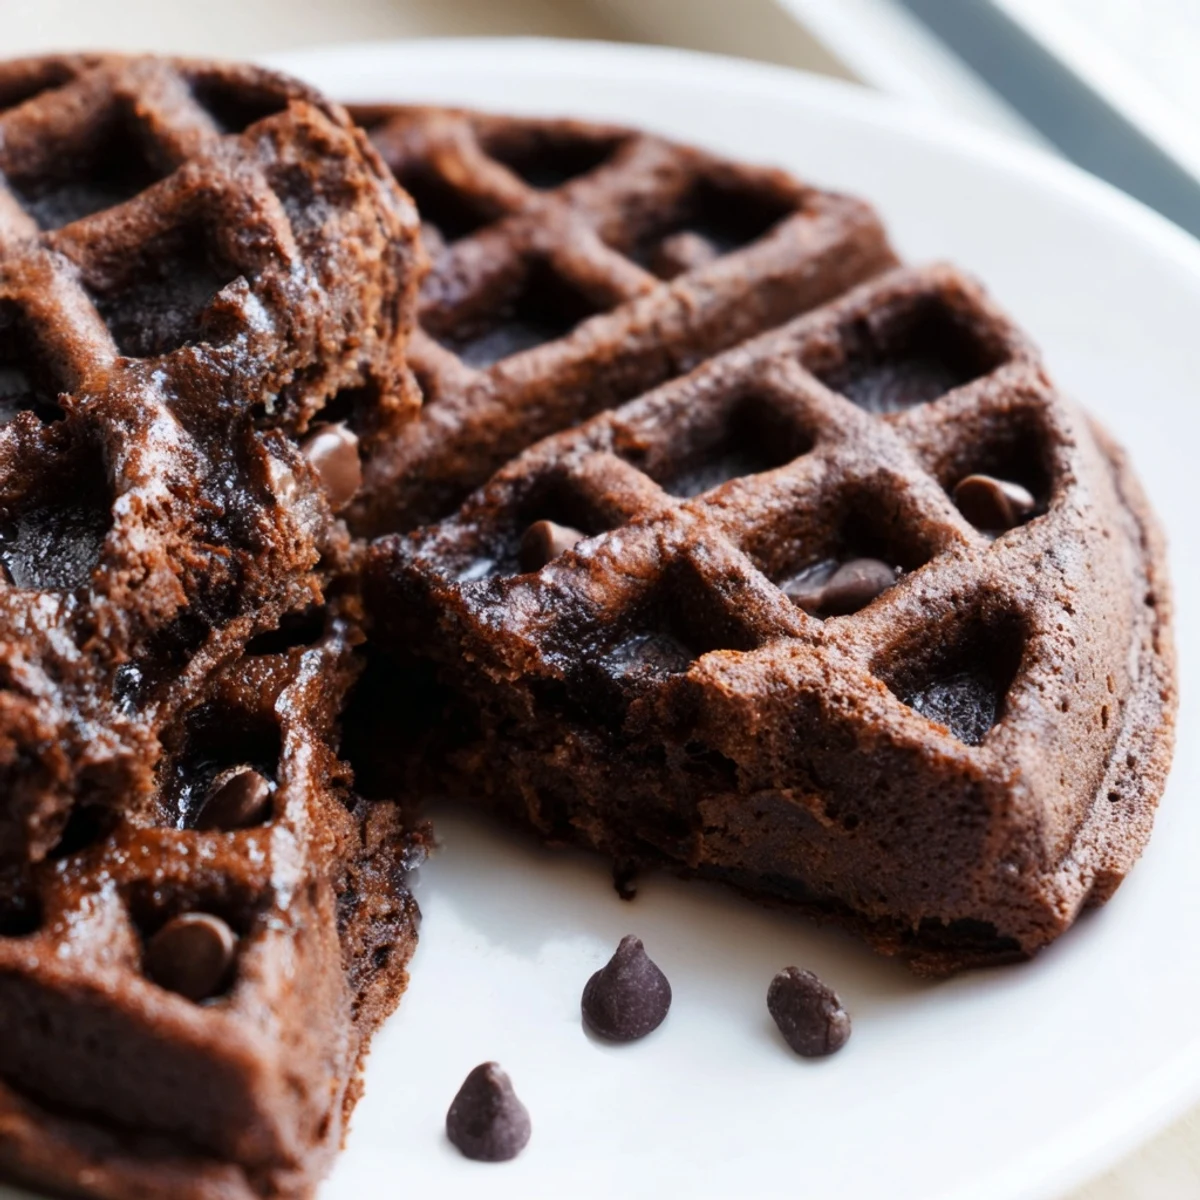
 These fudgy brownie waffles combine the best of both worlds: a crispy waffle exterior with a rich, dense brownie-like interior. Made with real butter, cocoa powder, and studded with semisweet chocolate chips, they're ready in just 30 minutes.
Simply whisk together wet ingredients, fold in the dry mixture, and cook in your waffle iron. Each batch yields 6 generously sized waffles perfect for a decadent brunch or an indulgent dessert topped with whipped cream, fresh berries, or a scoop of vanilla ice cream.
My waffle iron sat untouched for two years until a rainy Sunday experiment changed everything. I had been craving brownies but could not justify turning on the oven in the middle of a humid afternoon, so I poured brownie batter straight onto the hot iron plates instead. The smell that filled my kitchen was somewhere between a bakery and a dream, rich and deeply chocolatey with edges that crisped up in ways no oven brownie ever managed for me.
I served these to my neighbor Sarah after she helped me carry groceries up three flights of stairs, and she stood in my kitchen eating two of them straight off the plate with her bare hands. No fork, no plate, no shame. We just leaned against the counter and laughed at how quickly they disappeared.
Ingredients
- Unsalted butter (100 g, melted): Melted rather than softened because it blends seamlessly into the batter and keeps the interior dense and rich.
- Whole milk (120 ml): Whole milk matters here for moisture and tenderness, so avoid skim if you can.
- Eggs (2 large): They bind everything together and give the waffles that slight chew that makes brownies irresistible.
- Vanilla extract (1 tsp): A small amount that quietly rounds out the chocolate flavor in the background.
- Granulated sugar (150 g): Essential for that crispy edge and sweet fudgy crumb.
- Unsweetened cocoa powder (60 g): This is where all the deep chocolate character comes from, so use a quality brand you trust.
- All-purpose flour (120 g): Just enough structure to hold things together without turning cakey.
- Baking powder (1/2 tsp): A tiny lift to keep them from turning into hockey pucks.
- Salt (1/4 tsp): Do not skip this, because salt makes chocolate taste like more of itself.
- Semisweet chocolate chips (100 g): These melt into little pools inside the waffle pockets and create pure joy.
Instructions
- Wake up the waffle iron:
- Plug in your waffle iron and let it get fully hot while you mix the batter, because a properly heated iron is the secret to that crisp outside.
- Blend the wet ingredients:
- Pour the melted butter, milk, eggs, and vanilla into a large bowl and whisk until smooth and glossy.
- Sift the dry team:
- In a separate bowl, sift together the sugar, cocoa powder, flour, baking powder, and salt to break up any lumps and aerate the cocoa.
- Bring it all together:
- Gradually fold the dry mixture into the wet, stirring gently until just combined and stopping before the batter becomes smooth and overworked.
- Add the chocolate chips:
- Fold in the chocolate chips with a few gentle strokes so they distribute evenly without sinking.
- Cook the waffles:
- Lightly grease the hot iron, pour about half a cup of batter into the center, close the lid, and cook for three to four minutes until set outside but still soft within.
- Repeat and serve:
- Carefully remove each waffle, repeat with the remaining batter, and serve them warm with whatever toppings make you happiest.
 Save to Pinterest
 The second time I made these, my partner walked in, saw the waffle iron out, and assumed I was making breakfast. When he bit into one, he just closed his eyes and whispered that this was not breakfast, this was a life event.
Serving Ideas Worth Trying
A scoop of vanilla ice cream on top of a warm brownie waffle will make you feel like you are eating at a restaurant even if you are standing in your sock feet at the kitchen counter. Fresh berries add a bright tartness that cuts through the richness beautifully. A drizzle of chocolate sauce is never a mistake, and neither is a dollop of whipped cream with a scatter of chopped nuts.
Making It Your Own
You can swap the all-purpose flour for a one-to-one gluten-free blend and the results stay nearly identical, which I discovered when cooking for a friend who cannot tolerate gluten. Chopped walnuts or pecans folded in with the chocolate chips add a satisfying crunch that plays beautifully against the soft center. A pinch of espresso powder in the dry ingredients will deepen the chocolate flavor without making it taste like coffee.
Storage and Reheating
These waffles are best eaten the day you make them, but life happens and sometimes you need leftovers. Here are a few things that help.
- Store cooled waffles in an airtight container at room temperature for up to one day.
- Reheat in a toaster or a hot oven for a few minutes to bring back that crispy edge.
- Avoid the microwave because it will make them soft and soggy instead of crisp.
 Save to Pinterest
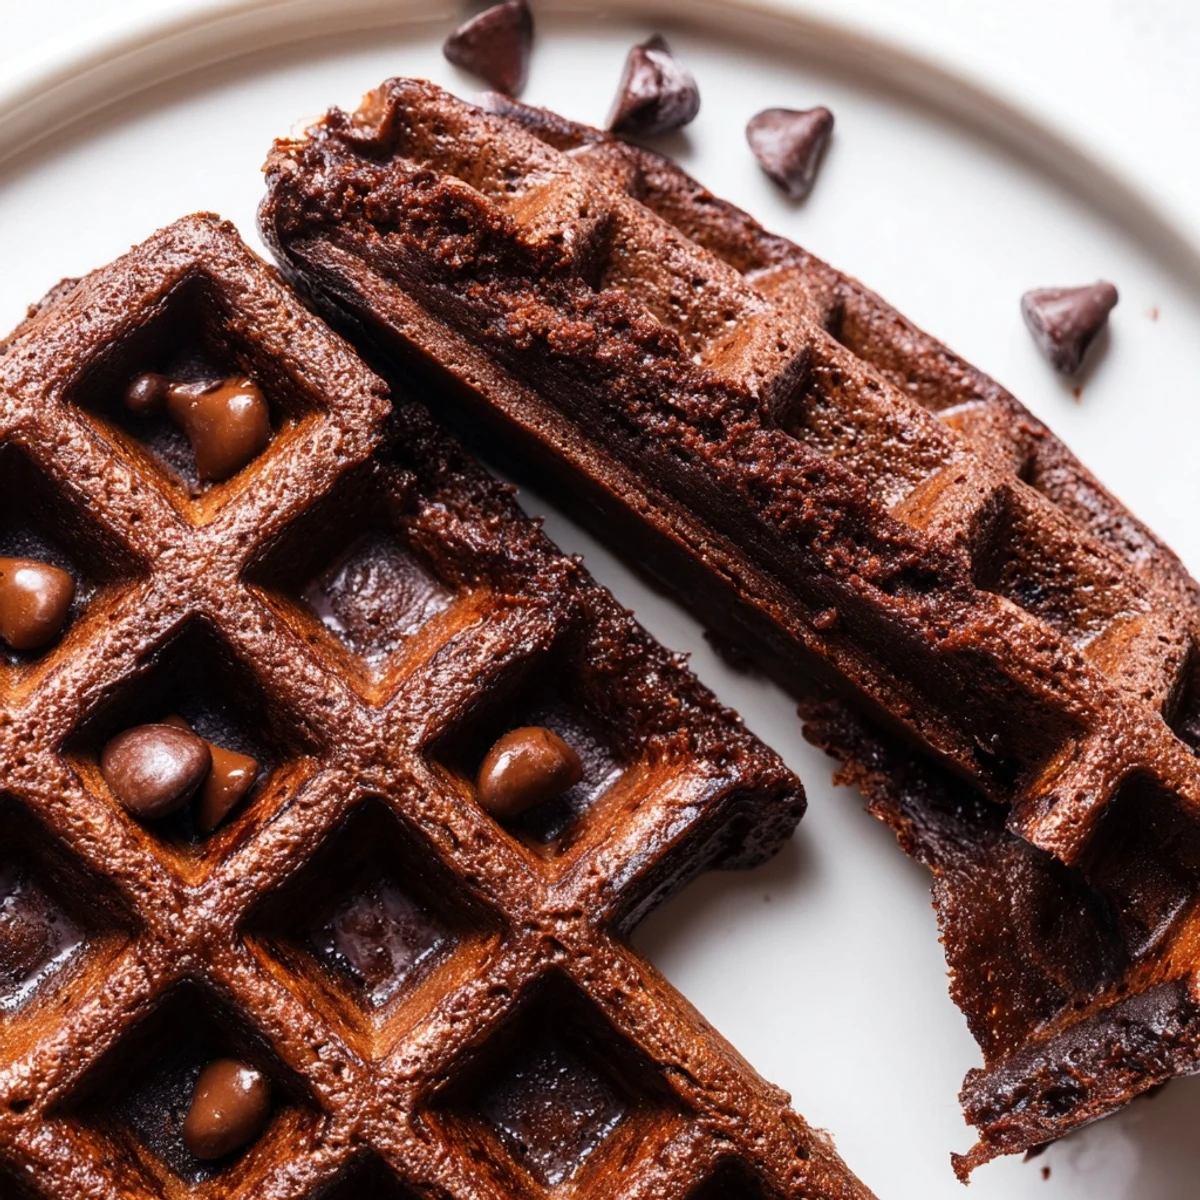
 Keep a fork nearby but do not be surprised if you never actually use it. These brownie waffles have a way of disappearing faster than any dessert deserves to.
Recipe FAQs
- → Can I make the batter ahead of time?
-
Yes, you can prepare the batter up to 24 hours in advance. Store it covered in the refrigerator and give it a gentle stir before cooking. The batter may thicken slightly, so you can add a splash of milk to loosen it if needed.
- → Why are my waffles sticking to the iron?
-
Make sure to lightly grease your waffle iron before each pour, even if it has a non-stick coating. The chocolate chips can cause sticking, so brush or spray the plates with oil or melted butter before adding batter.
- → Can I freeze leftover waffles?
-
Absolutely. Let the cooked waffles cool completely on a wire rack, then place them in a single layer on a baking sheet to freeze. Once solid, transfer to a freezer-safe bag. They keep well for up to 3 months. Reheat directly in a toaster or oven.
- → What waffle iron setting works best?
-
A medium to medium-high heat setting works best for these brownie waffles. You want the exterior to crisp up while the interior stays fudgy. Cooking for about 3 to 4 minutes usually yields the perfect texture, but follow your specific iron's instructions.
- → Can I make these gluten-free?
-
Yes, you can substitute the all-purpose flour with a 1-to-1 gluten-free flour blend. The texture may be slightly different but still delicious. Also check that your cocoa powder and chocolate chips are certified gluten-free.
- → What toppings pair well with these waffles?
-
These pair beautifully with whipped cream, fresh berries, vanilla ice cream, a drizzle of chocolate sauce, or a dusting of powdered sugar. Chopped nuts add a nice crunch, and a warm cup of coffee complements the rich chocolate flavor perfectly.