 Save to Pinterest
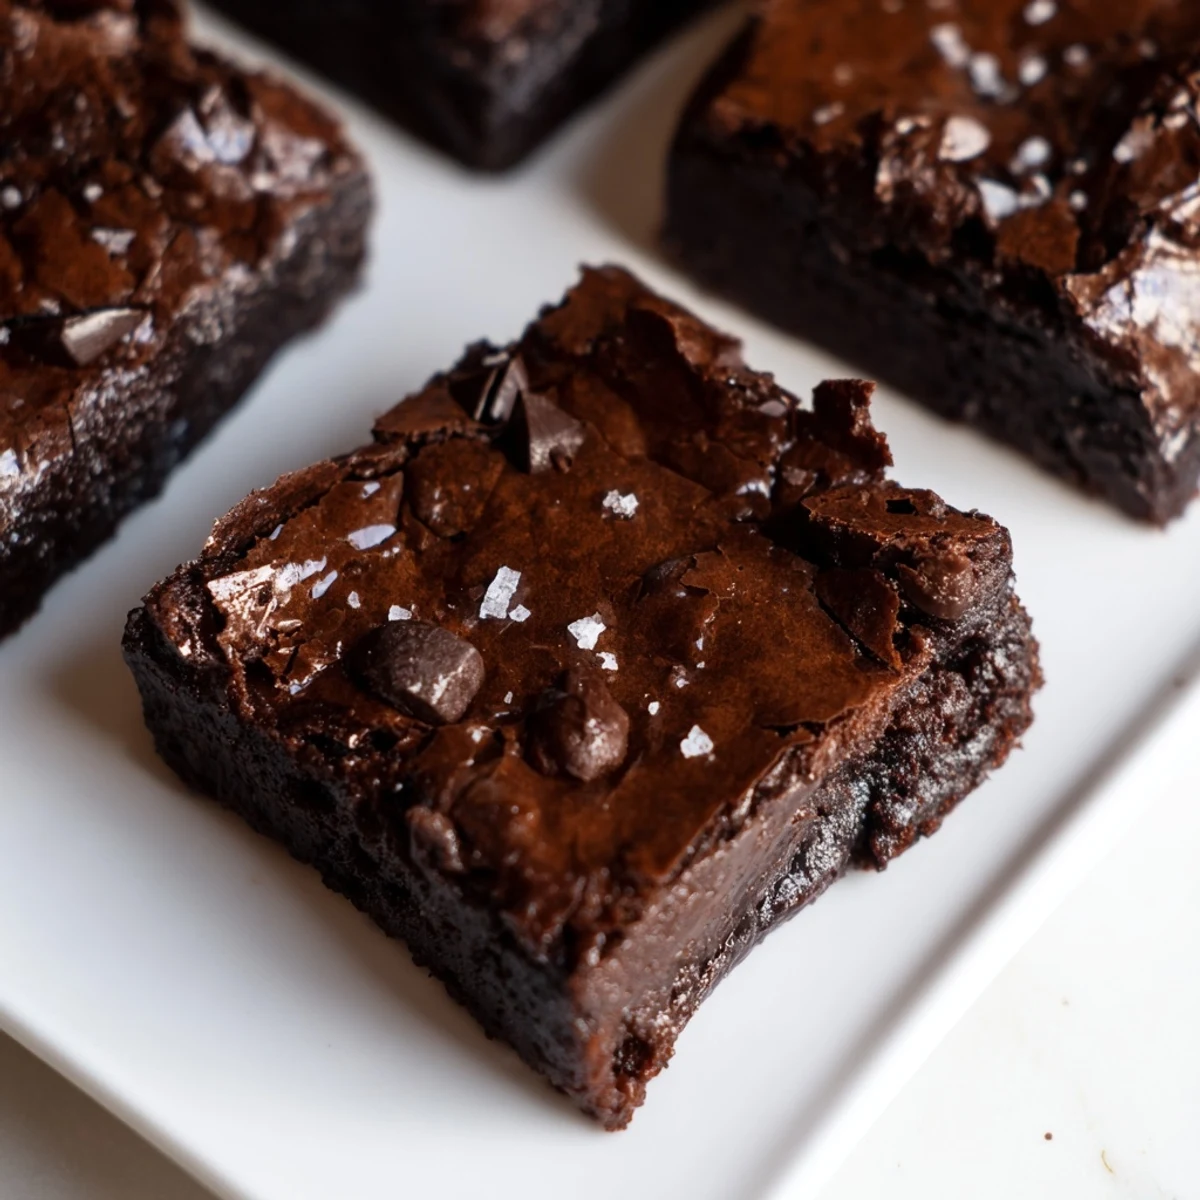
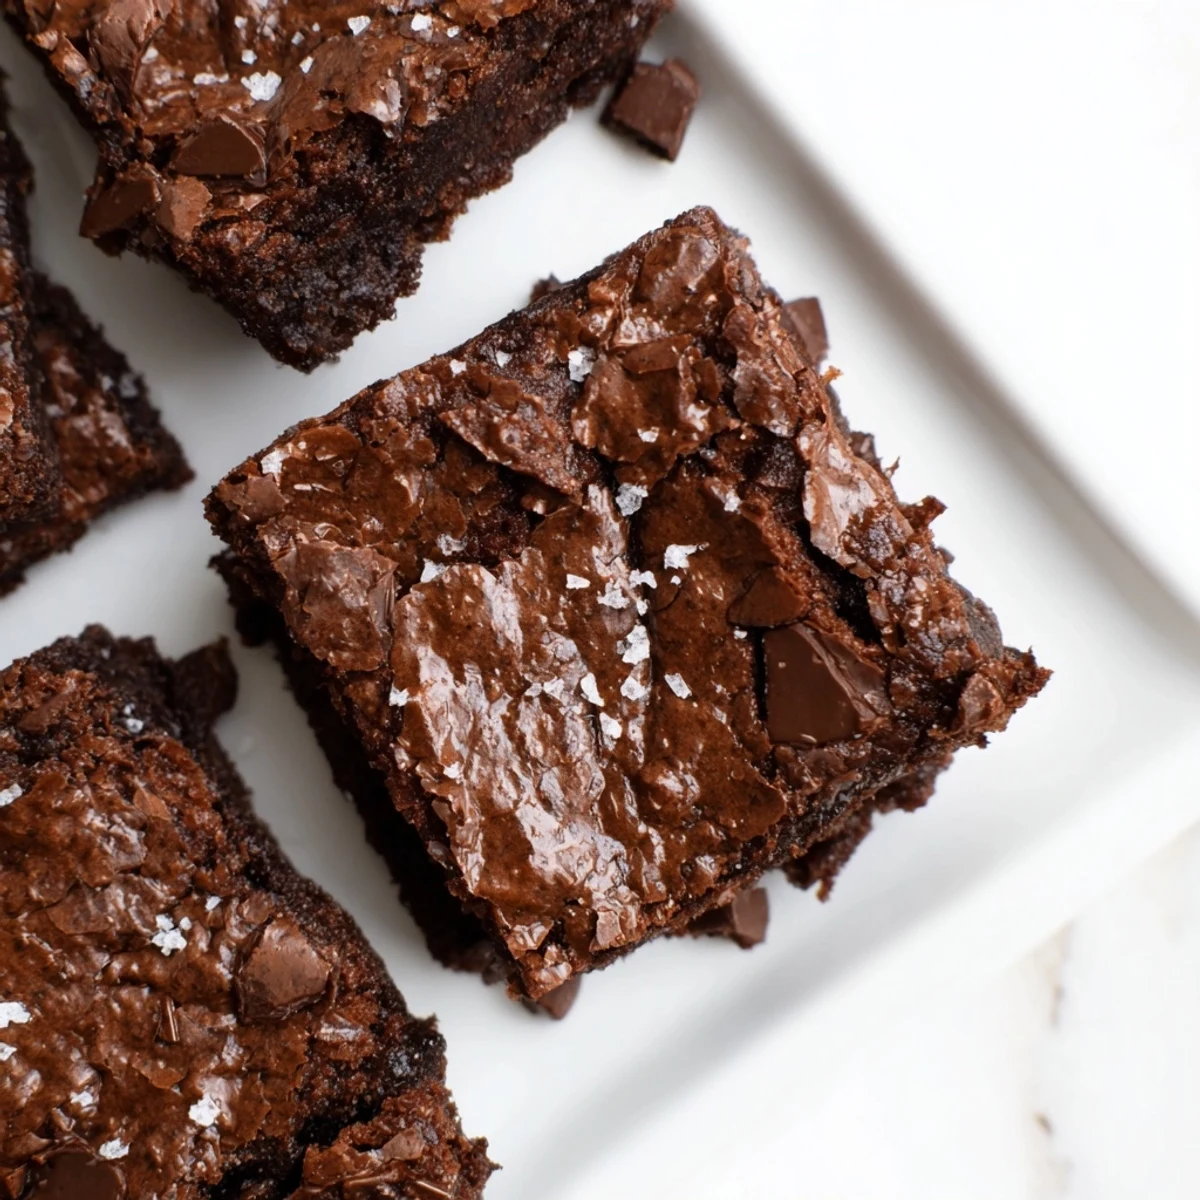
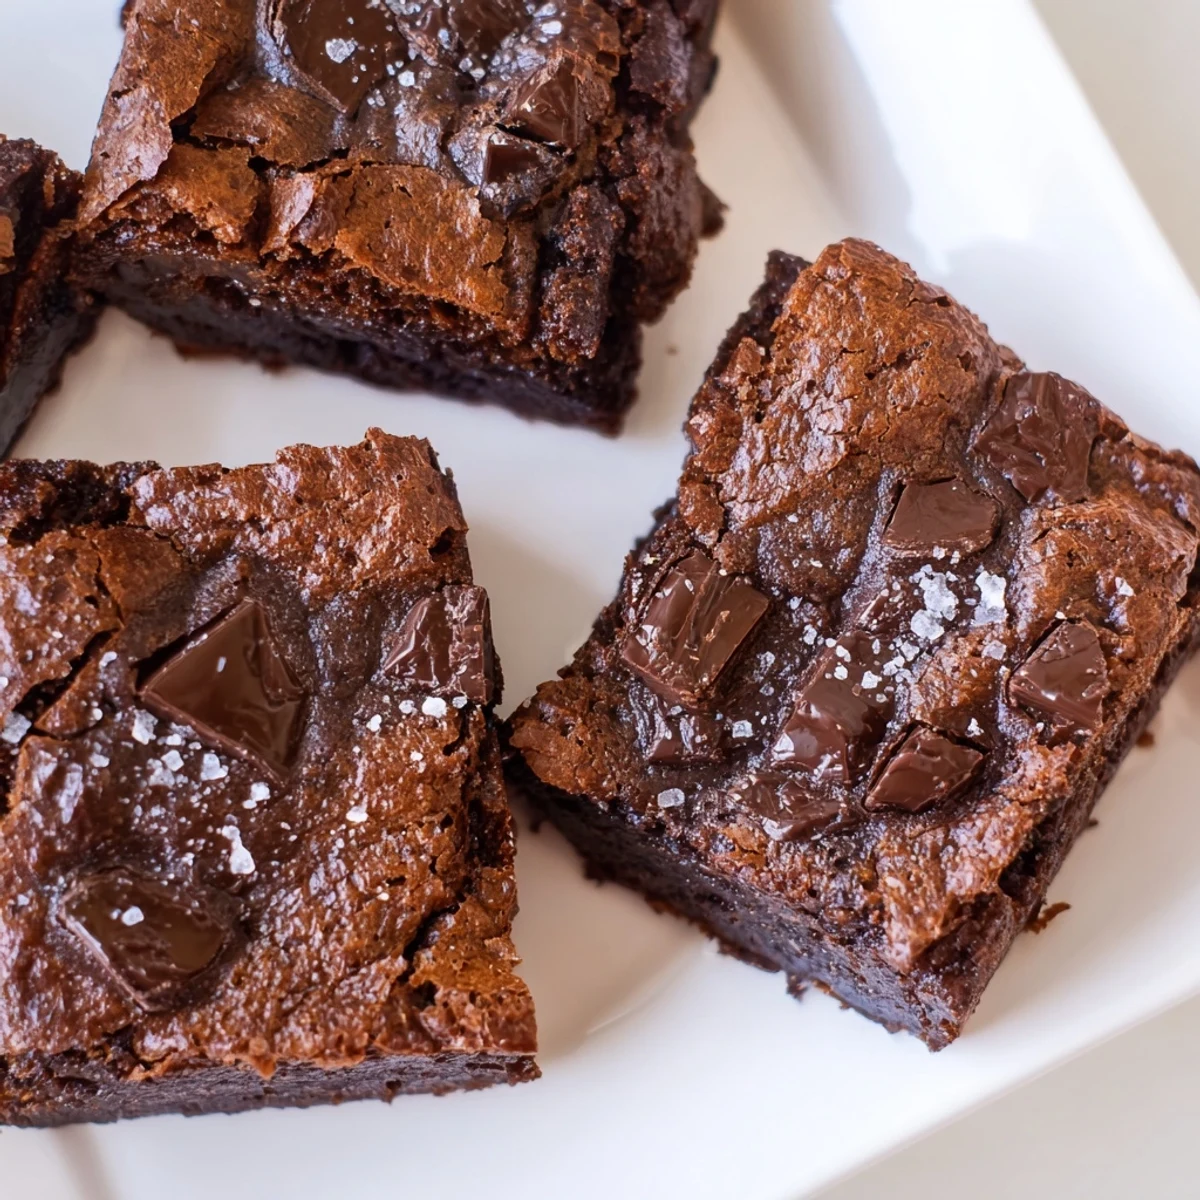
 These ultra-fudgy brownies combine the best of American and Japanese desserts, featuring a uniquely chewy mochi texture from sweet rice flour. The brown butter adds a nutty depth that perfectly complements the rich bittersweet chocolate. With a crisp top and incredibly chewy interior, each square delivers an irresistible texture you won't find in traditional brownies. The gluten-free sweet rice flour creates that signature mochi bounce while keeping these naturally gluten-free. Perfect for chocolate lovers seeking something new and exciting.
The smell of brown butter bubbling on the stove instantly transports me to my tiny apartment kitchen, where I first attempted to marry American brownies with Japanese mochi texture. I remember nervously swirling the pan, watching those golden brown flecks appear like magic, hoping this cross-cultural experiment would actually work. When my roommate took her first bite and declared it the best thing Id ever made, I knew Id stumbled onto something special. Now its the one dessert that disappears first at every gathering, a chewy, fudgy bridge between two worlds I never want to cross back from.
I brought these to a potluck last fall and watched my friends face transform from polite curiosity to absolute shock after that first chewy bite. She made me promise to write down the recipe right there on a napkin, which I found tucked into my cookbook months later, chocolate-stained and treasured. Thats the thing about these brownies they create these little moments of connection that only really good food can spark between people.
Ingredients
- Sweet rice flour (mochiko): This is the secret weapon that gives these brownies their signature chew, do not attempt substitution with regular rice flour or you will lose the mochi magic completely
- Bittersweet chocolate: Choose something between 60 and 70% cacao for that perfect balance between intense chocolate flavor and sweetness
- Unsalted butter: Brown this yourself in a saucepan until it smells like toasted nuts and turns golden amber
- Granulated and light brown sugar: The combination creates texture and depth that one sugar alone cannot achieve
- Eggs: Make sure they are at room temperature so they incorporate properly into the chocolate mixture
- Cocoa powder: Use unsweetened for the deepest chocolate flavor possible
- Baking powder: Just a touch helps give these a slight lift while maintaining their dense fudgy nature
- Kosher salt: Balances all the sweetness and makes the chocolate sing
- Whole milk and heavy cream: This duo creates the most tender crumb while keeping things incredibly moist
- Vanilla extract: Pure vanilla only here, it matters
Instructions
- Get your oven ready:
- Preheat to 350°F and line an 8x8 pan with parchment paper, letting some hang over the edges so you can lift these beauties out easily later.
- Make the brown butter:
- Melt the butter in a small saucepan over medium heat, swirling constantly until it foams, smells nutty, and turns deep golden brown.
- Melt the chocolate:
- Pour that hot brown butter into a large bowl, add the chopped chocolate, and stir until silky smooth.
- Whisk in the sugars:
- Add both sugars and whisk until everything is glossy and combined.
- Add the eggs:
- Beat in eggs one at a time, really whisking well after each one, then stir in the vanilla.
- Mix the dry ingredients:
- In another bowl, whisk together the sweet rice flour, cocoa powder, baking powder, and salt until evenly combined.
- Start combining:
- Stir half the dry mixture into the chocolate mixture just until you cannot see flour anymore.
- Add the dairy:
- Pour in the milk and heavy cream, mixing until everything is smooth and glossy.
- Finish the batter:
- Gently fold in the remaining dry ingredients until no streaks remain but be careful not to overmix.
- Bake:
- Pour into your prepared pan, smooth the top, and bake for 40 to 45 minutes until the top is set but still slightly soft.
- Cool completely:
- Let these cool completely in the pan before lifting them out and cutting into squares.
 Save to Pinterest
 My dad who claims he does not like chocolate desserts at all ate three of these in one sitting and asked if I could make them for his birthday instead of cake. That was the moment I realized these brownies are not just good, they are convert people who think they do not like brownies good.
Making Them Extra Gooey
If you are someone who lives for that almost underbaked center, reduce the baking time by 3 to 5 minutes. The edges will still be set while the middle stays deliciously soft and fudgy. Just keep in mind they will be more delicate to cut but completely worth it.
Serving Ideas
A sprinkle of flaky sea salt on top before baking creates this incredible sweet and salty contrast. I have also served these warm with vanilla ice cream melting into the crevices, or alongside fresh berries to cut through all that richness.
Storage And Make Ahead
These actually improve with time, making them perfect for making a day ahead. Store them in an airtight container at room temperature for up to 3 days, or refrigerate for up to a week if you prefer them cold and even more fudgy. You can also wrap individual squares and freeze them for up to 3 months.
- Let them come to room temperature before serving for the best texture
- A quick 10 second zap in the microwave brings back that freshly baked warmth
- These freeze exceptionally well, perfect for last minute dessert emergencies
 Save to Pinterest
 These brownies have become my go-to for everything from dinner parties to bad days when only something deeply chocolatey will do. Hope they become a staple in your kitchen too.
Recipe FAQs
- → What makes these brownies chewy?
-
The chewy texture comes from sweet rice flour (mochiko), which creates that signature mochi-like bounce. Unlike wheat flour, sweet rice flour develops a delightfully chewy, elastic texture when baked.
- → Can I substitute the sweet rice flour?
-
No, sweet rice flour is essential for the mochi texture. Regular rice flour, almond flour, or gluten-free blends won't produce the same chewy result. Mochiko flour is specifically required for this unique texture.
- → Why brown the butter?
-
Browning butter removes water content and creates toasted milk solids, adding a nutty, caramel-like flavor that deepens the chocolate taste. It's a simple technique that makes a huge difference in richness.
- → How do I know when they're done baking?
-
The brownies are done when the top is set and a toothpick inserted in the center comes out with a few moist crumbs. They shouldn't be completely clean—those moist crumbs ensure that fudgy texture.
- → Can I make these dairy-free?
-
You can substitute coconut oil or vegan butter for the butter, and use plant-based milk alternatives. However, the brown butter flavor will be missing, so consider adding toasted coconut or chopped nuts to maintain that nutty element.
- → Why is there both milk and heavy cream?
-
The combination provides the right balance of moisture and fat content. Milk adds necessary liquid for the batter, while heavy cream contributes richness that helps create that fudgy, dense texture we love.
