 Save to Pinterest
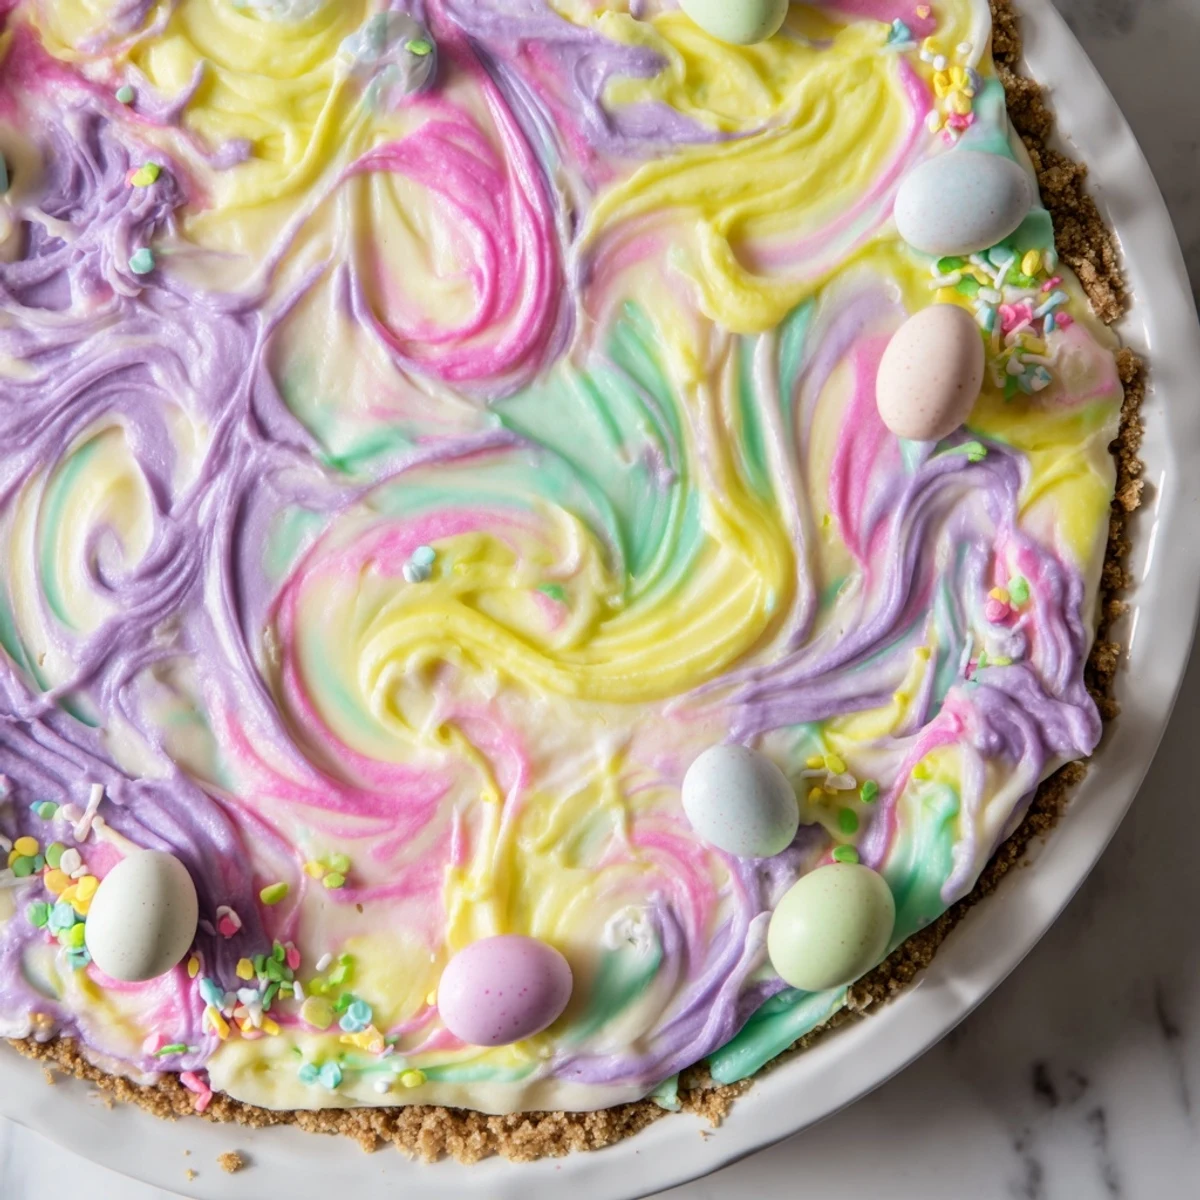
 This stunning dessert combines a buttery graham cracker crust with a luscious cream cheese and mascarpone filling. The creamy base gets divided and tinted with soft pastel colors—pink, yellow, purple, and green—then swirled together to create a beautiful marbled effect. After chilling until set, the result is both visually impressive and incredibly delicious. Each slice delivers the perfect balance of sweet, creamy filling and crunchy crust.
The first time I made this pie, my kitchen looked like a pastel explosion had gone off, but the moment I pulled it from the refrigerator, all those colorful swirls caught the light and somehow made everything feel like spring had arrived early. My daughter stood on her tiptoes to see into the pie dish, announcing it was the most beautiful thing shed ever seen, and honestly, I couldnt argue with that assessment. Now it has become our Easter centerpiece, though the real fun happens when everyone leans in to see which slice has the best swirl pattern.
Last year I made this for our neighborhood Easter potluck, and I watched three different adults take pictures of it before anyone even touched the dessert table. The best part was cutting into it and seeing those marble patterns revealed for the first time. Someone asked if I had special training in pastry arts, which made me laugh because the swirling technique takes about two minutes and zero actual skill.
Ingredients
- Graham crackers or digestive biscuits: The slightly honeyed flavor of digestive biscuits creates a more complex crust, but traditional graham crackers work beautifully too.
- Unsalted butter: Melt it completely so it coats every crumb evenly, which prevents those frustrating soggy spots in the crust.
- Cream cheese: Make sure it sits at room temperature for at least an hour, otherwise you will end up with tiny lumps that no amount of mixing can fix.
- Mascarpone cheese: This Italian cream cheese adds a subtle tang and makes the filling feel much more luxurious than cream cheese alone.
- Powdered sugar: Sift it before adding to prevent any stubborn clumps from disrupting the smooth texture.
- Vanilla extract: Use pure vanilla extract rather than imitation, as the flavor really shines through the delicate filling.
- Heavy cream: Cold cream whips up faster and holds its structure better when folded into the cheese mixture.
- Gel food coloring: Gel colors are much more concentrated than liquid varieties, so start with a tiny amount on a toothpick.
- Pastel sprinkles or mini chocolate eggs: These add crunch and visual interest, though the pie is stunning even without them.
Instructions
- Bake the cookie crust:
- Press the crumb mixture firmly into the pie dish using the back of a measuring cup, then bake until golden and fragrant. Let it cool completely before adding any filling, otherwise the colors will melt and lose their definition.
- Prepare the creamy base:
- Beat the cheeses and sugar until completely smooth, then whip the heavy cream separately before folding it in gently. This two-step method keeps the filling light and airy rather than dense.
- Create your pastel palette:
- Divide the filling into small bowls and add gel coloring with a toothpick, mixing until you have soft shades that remind you of Easter eggs. Less is more here because the colors intensify slightly as they chill.
- Swirl the colors:
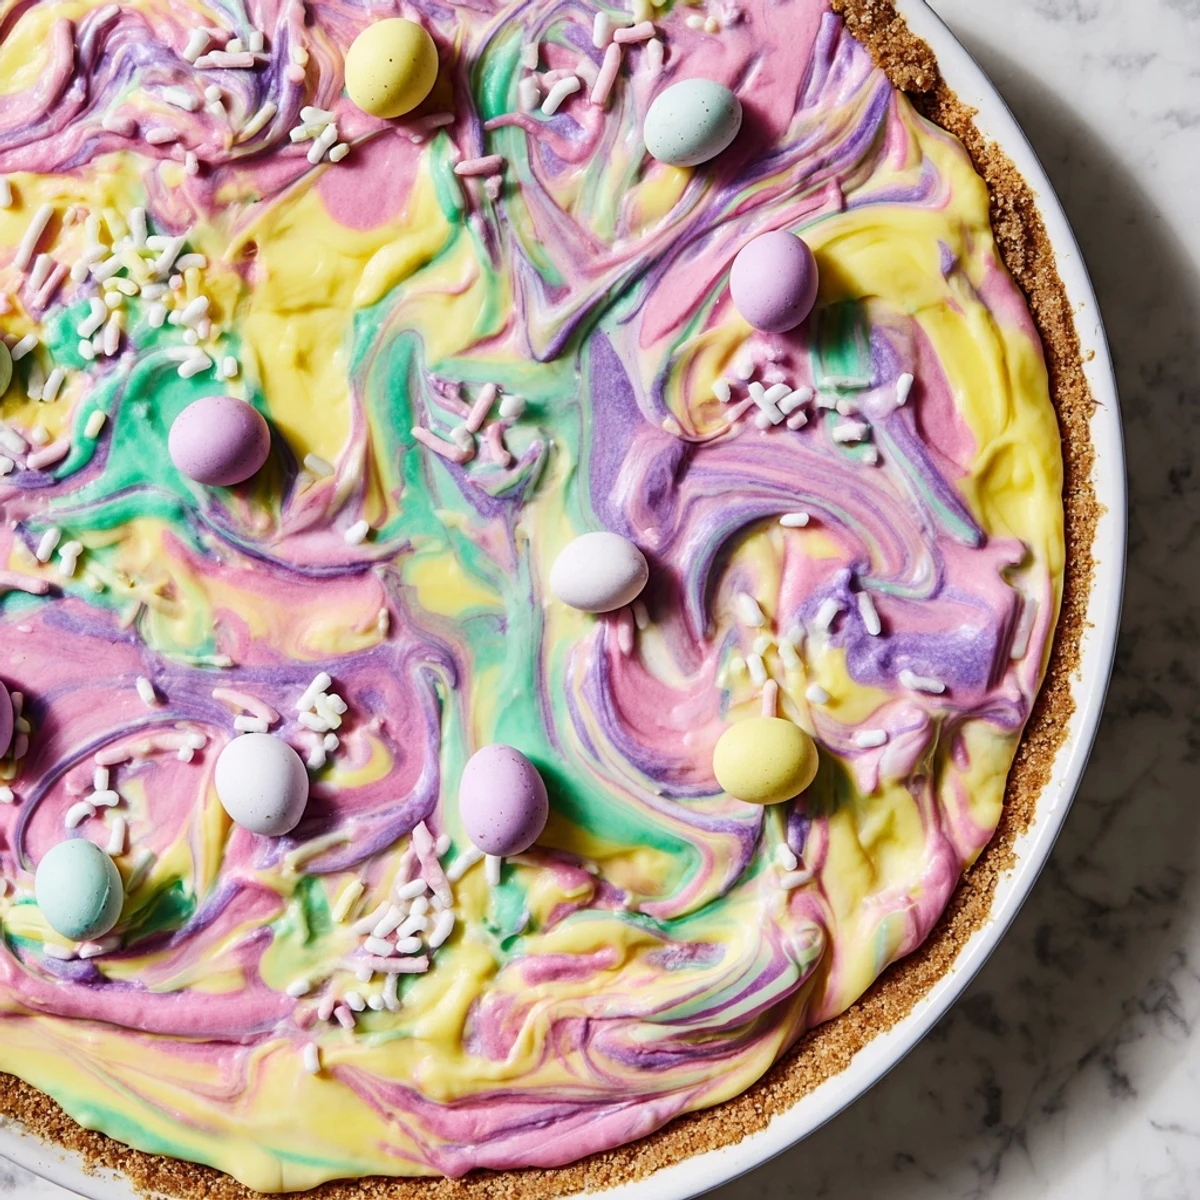
- Spoon the colored filling randomly over the crust, then drag a skewer through the surface in gentle curves. The key is to stop before the colors blend into muddy gray.
- Chill until set:
- Cover the pie and refrigerate for at least two hours, though overnight is even better for clean slices. The filling firms up beautifully while the crust stays perfectly crisp.
 Save to Pinterest
 My grandmother initially scoffed at the idea of colored food in her traditional Easter spread, but after one bite she admitted this might be her new favorite holiday dessert. Theres something about cutting into those swirled colors that makes people smile before they even take a bite.
Making It Your Own
While the pastel Easter palette is classic, this pie adapts beautifully to any occasion or color scheme. I have made it in graduation colors, baby shower pastels, and even patriotic red, white, and blue for July Fourth. The technique remains exactly the same, just adjust your food coloring to match the celebration.
Getting the Perfect Swirl
The secret to those professional looking marbled patterns is working with slightly chilled filling and using a light touch. Do not be afraid to experiment with different swirling motions, circles, waves, or even random squiggles all create unique patterns. Just remember that less swirling is always better than too much.
Make Ahead and Storage
This pie actually improves after sitting overnight, making it an excellent choice for holiday entertaining when you want to minimize day of cooking stress. The flavors meld together beautifully and the texture becomes even creamier.
- Prepare the crust up to two days in advance and store it tightly wrapped at room temperature.
- The filling can be made and colored a day ahead, but keep each color in a separate bowl until ready to assemble.
- Once assembled, the pie keeps well for up to three days in the refrigerator, though it rarely lasts that long.
 Save to Pinterest
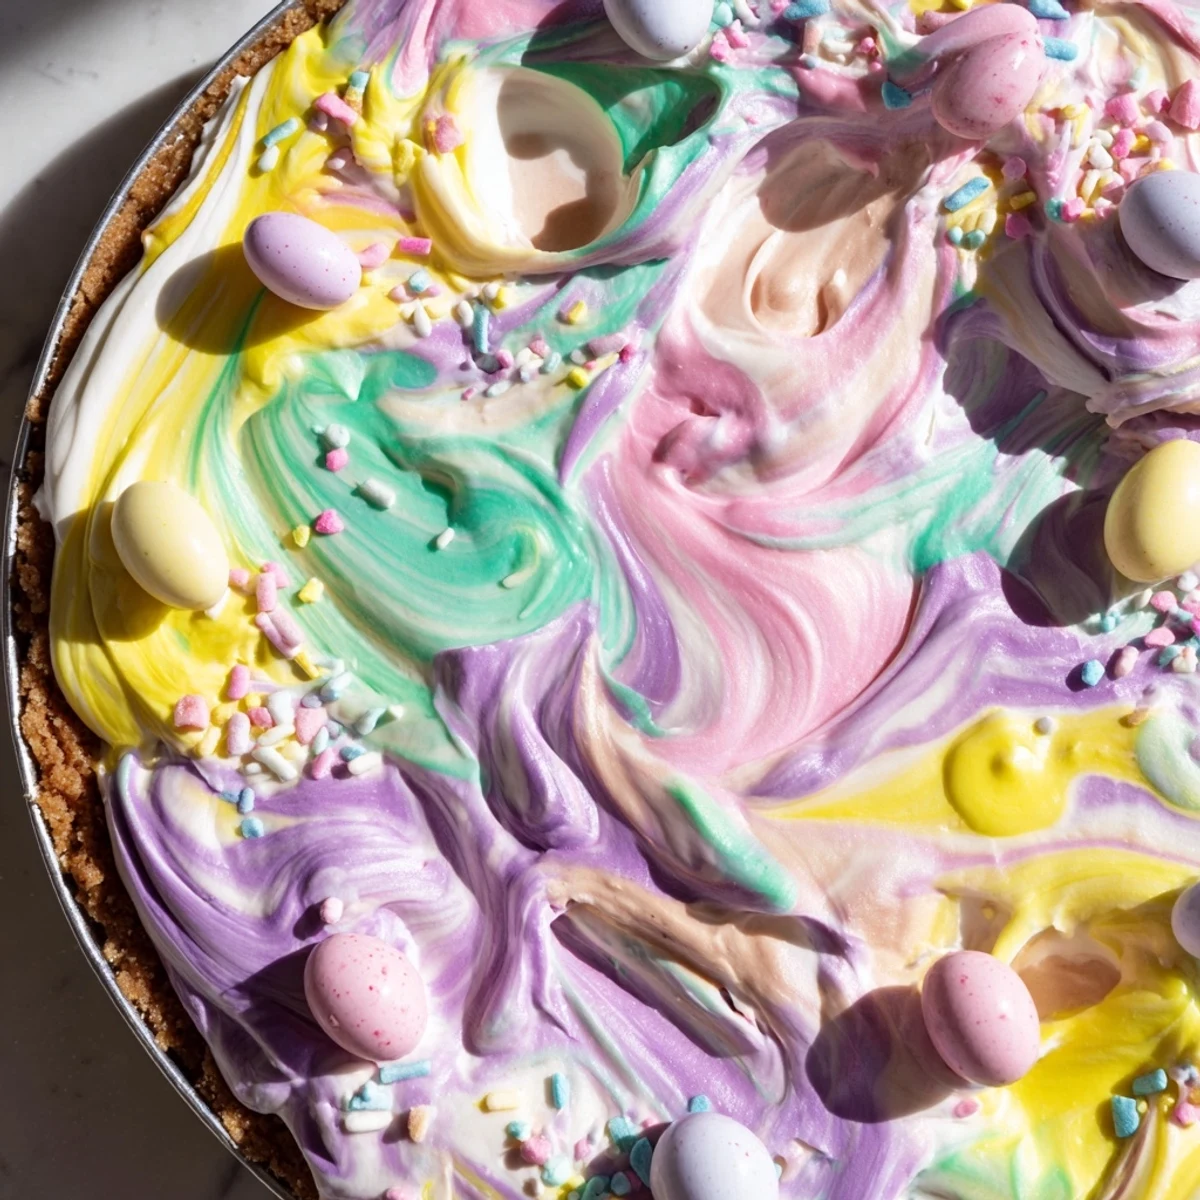
 There is something magical about bringing a swirl of colors to the table and watching everyone light up before they even take that first creamy bite. Happy baking, and may your Easter be as bright and beautiful as this pie.
Recipe FAQs
- → How long does Easter swirl pie need to chill?
-
The pie requires at least 2 hours in the refrigerator to set completely. For best results, you can make it the night before and let it chill overnight. This allows the flavors to develop and the filling to firm up properly for clean slicing.
- → Can I use liquid food coloring instead of gel?
-
Gel food coloring is recommended because it provides vibrant pastel shades without adding extra liquid to the filling. Liquid coloring can make the mixture too thin, affecting the texture. If you only have liquid coloring, use it sparingly and reduce the heavy cream slightly.
- → How do I achieve the perfect swirl pattern?
-
Spoon dollops of each colored filling randomly over the crust, then gently run a skewer or knife through the colors in a figure-eight or circular motion. The key is to swirl just enough to create patterns without overmixing—stop when you see a beautiful marbled effect.
- → Can I make this pie gluten-free?
-
Absolutely! Simply replace the graham crackers or digestive biscuits with gluten-free cookie crumbs. The rest of the filling is naturally gluten-free, making this an excellent dessert option for guests with dietary restrictions.
- → How long will this pie stay fresh?
-
The pie will stay fresh in the refrigerator for up to 4 days when covered tightly. The crust may soften slightly over time, but the flavors will remain delicious. For the best texture, add any sprinkles or toppings just before serving.
- → Can I freeze Easter swirl pie?
-
Yes, you can freeze this pie for up to 2 months. Wrap it tightly in plastic wrap and aluminum foil before freezing. Thaw overnight in the refrigerator before serving. Note that the texture may be slightly softer after freezing, but it will still taste wonderful.
