 Save to Pinterest
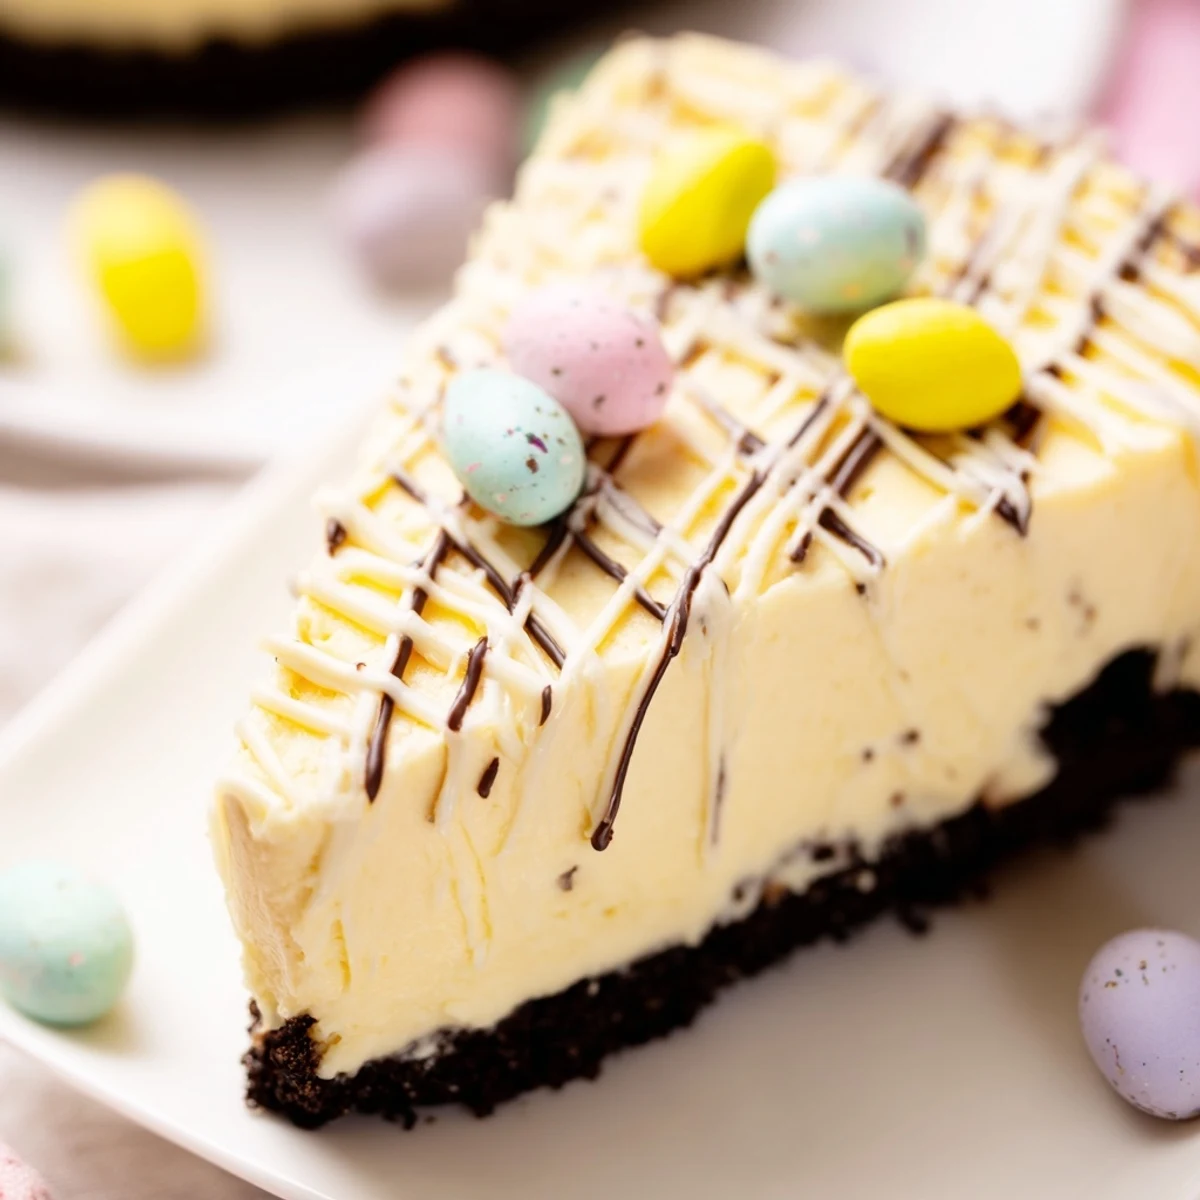
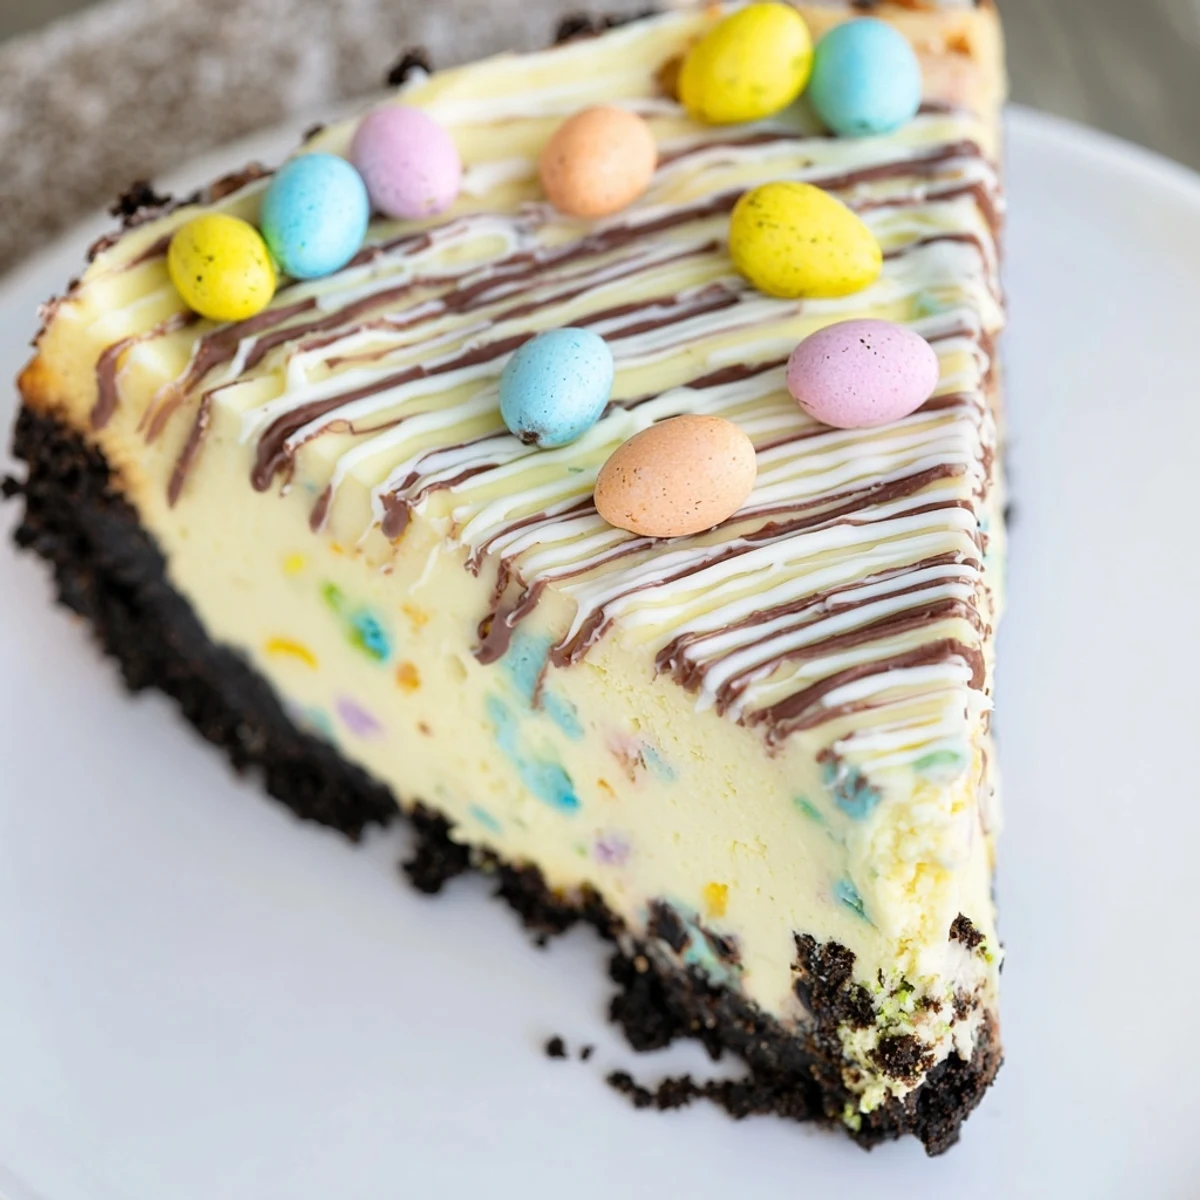
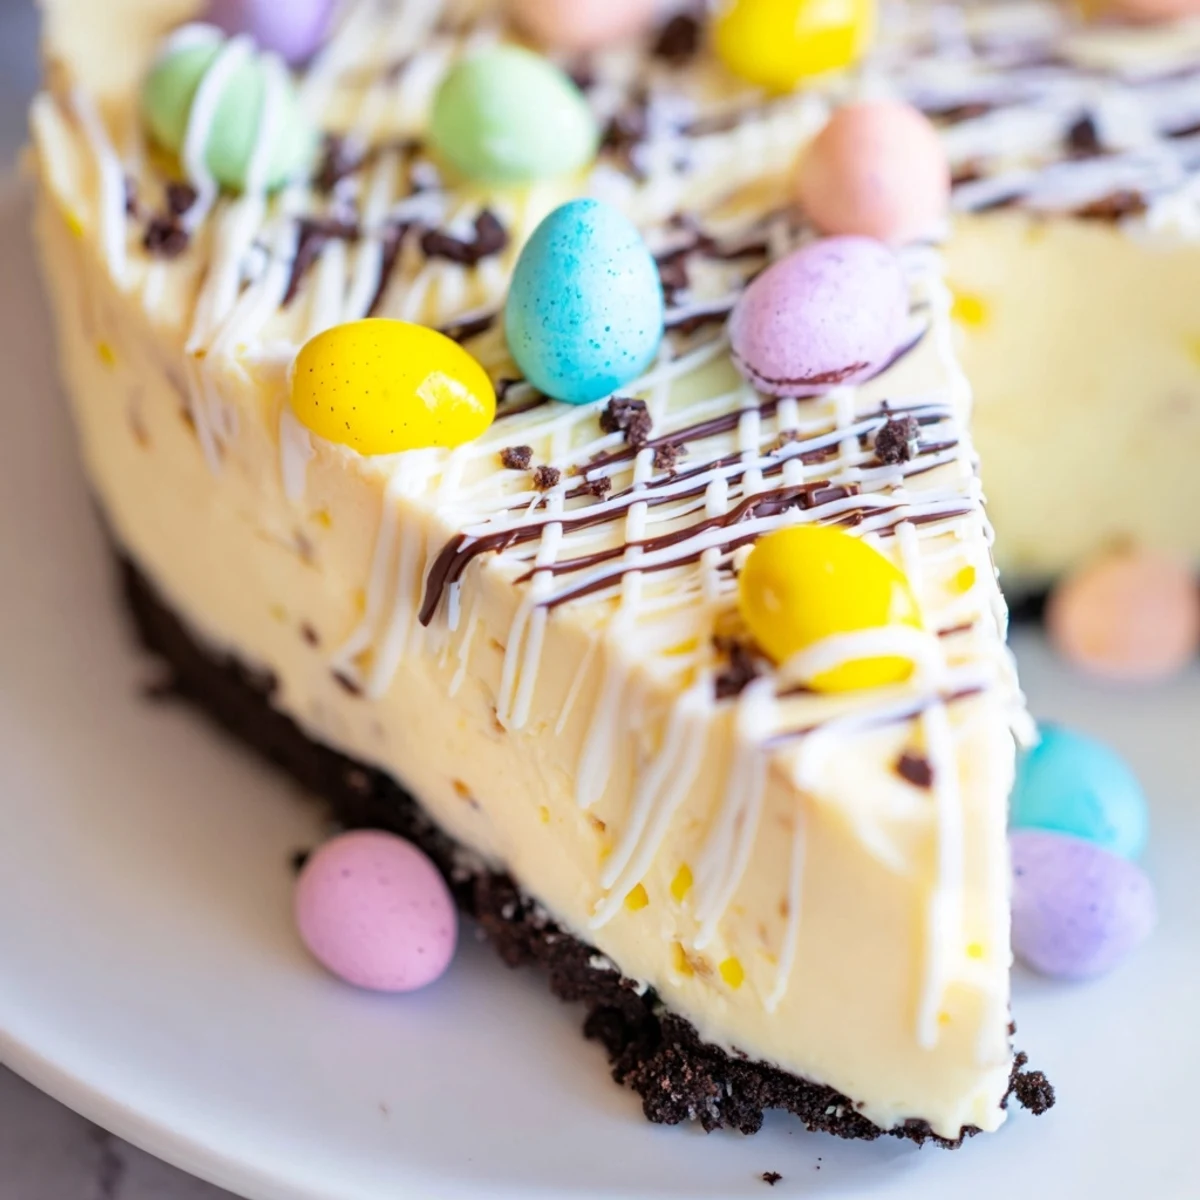
 This indulgent Easter dessert combines a crisp chocolate sandwich cookie base with an incredibly smooth cream cheese filling infused with vanilla and bright lemon zest. The cheesecake bakes slowly at low temperature, resulting in that signature velvety texture. After a gradual cooling process, the top gets adorned with vibrant mini chocolate Easter eggs, creating a stunning centerpiece for your spring table. The contrast between the crunchy crust, silky filling, and chocolate decorations makes each bite irresistible.
The first time I made this Easter cheesecake, I went way overboard with the egg decorations and my kids couldn't stop giggling at the chaotic nest on top. Now it's become our spring tradition, something that feels like celebration in every bite.
Last year I brought this to our neighborhood Easter potluck and watched three different people ask for the recipe before dessert was even over. There is something about seeing those colorful little eggs nestled on white cheesecake that makes everyone smile before they even take a bite.
Ingredients
- Chocolate sandwich cookies: The cream filling inside actually helps bind the crust together, so do not scrape it out
- Unsalted butter: Melt it completely and let it cool slightly so it does not turn the cookies into paste when mixing
- Full fat cream cheese: Seriously, do not use low fat here because the texture will never set properly
- Cornstarch: This tiny amount stabilizes the filling and prevents those dreaded cracks
- Sour cream: Room temperature is non negotiable or you will end up with tiny lumps in your batter
- Eggs: Add them one at a time and beat as little as possible once they are in
- Vanilla extract: Pure vanilla makes such a difference in a dessert with so few ingredients
- Lemon zest: Use a microplane if you have one to get just the bright yellow part, no bitter pith
- Mini chocolate Easter eggs: Sprinkle these right before serving so the colors do not bleed into the cheesecake
- White chocolate: The drizzle is optional but makes it look like you spent hours on presentation
Instructions
- Prepare your pan and preheat the oven:
- Preheat oven to 160°C (320°F). Line the base of a 23 cm (9-inch) springform pan with parchment paper.
- Make the chocolate cookie crust:
- Mix crushed cookies with melted butter. Press mixture firmly into the base of the prepared pan. Chill in the fridge while preparing the filling.
- Start the cream cheese base:
- In a large bowl, beat cream cheese and sugar until smooth. Add cornstarch and mix well.
- Add the wet ingredients:
- Blend in sour cream, eggs (one at a time), vanilla extract, and lemon zest. Mix until just combined, do not overbeat.
- Assemble and bake:
- Pour filling over the prepared crust. Smooth the top with a spatula. Bake for 50 to 60 minutes, until edges are set but the center still has a slight wobble.
- The cooling down period:
- Turn off the oven, crack the door, and let the cheesecake cool inside for 1 hour. Remove from oven and cool completely at room temperature, then cover and chill for at least 4 hours (preferably overnight).
- Decorate before serving:
- Before serving, decorate the top with mini chocolate Easter eggs. Drizzle with melted white chocolate if desired.
- Release and slice:
- Unlock and remove the springform pan. Slice and serve.
 Save to Pinterest
 My grandmother always said that the best desserts are the ones that bring people to the table with anticipation, and this cheesecake does exactly that every single spring.
Making It Ahead
The cheesecake actually develops more flavor if you make it one to two days ahead and keep it refrigerated. Just add the decorations right before serving so everything stays fresh and vibrant.
Getting The Perfect Slice
Run your knife under hot water and wipe it clean between slices for those picture perfect restaurant style pieces. A warm blade cuts through the chilled cheesecake like butter without dragging or tearing.
Customizing Your Celebration
While the mini eggs are classic, you could also use chopped peanut butter cups or even fresh berries if you want something lighter. The important thing is that it feels special to you and your people.
- Swap the lemon zest for orange if that is what you have on hand
- Try crushing some extra eggs into the crust for even more chocolate flavor
- Keep the leftovers covered and they will stay fresh for up to four days
 Save to Pinterest
 Wishing you the happiest of springs filled with laughter, good food, and the kind of moments that become memories.
Recipe FAQs
- → Why does my cheesecake crack on top?
-
Cracks typically form when the cheesecake cools too quickly or is overmixed. Letting it cool gradually in the oven with the door cracked helps prevent this. Also, avoid overbeating the filling, which incorporates too much air.
- → Can I make this cheesecake ahead of time?
-
Absolutely. This cheesecake actually tastes better after chilling overnight. You can make it up to 2 days in advance. Keep it refrigerated and add the decorative eggs just before serving for the freshest appearance.
- → What's the purpose of cornstarch in the filling?
-
Cornstarch helps stabilize the cheesecake structure and prevents cracking. It also contributes to a slightly firmer texture that holds up well while slicing, making it easier to serve neat portions.
- → Can I use regular cookies instead of sandwich cookies?
-
Yes, chocolate graham crackers or plain chocolate cookies work well. However, sandwich cookies like Oreos provide that signature cream-filled center that adds extra richness to the crust.
- → How do I know when the cheesecake is done baking?
-
The edges should be set and slightly puffy, while the center still has a gentle wobble when you gently shake the pan. It continues cooking as it cools, so removing it at this stage ensures a creamy texture.
- → Can I freeze this cheesecake?
-
Yes, freeze the cheesecake without the decorative toppings. Wrap it tightly in plastic wrap and foil, then freeze for up to 3 months. Thaw overnight in the refrigerator before decorating and serving.
