 Save to Pinterest
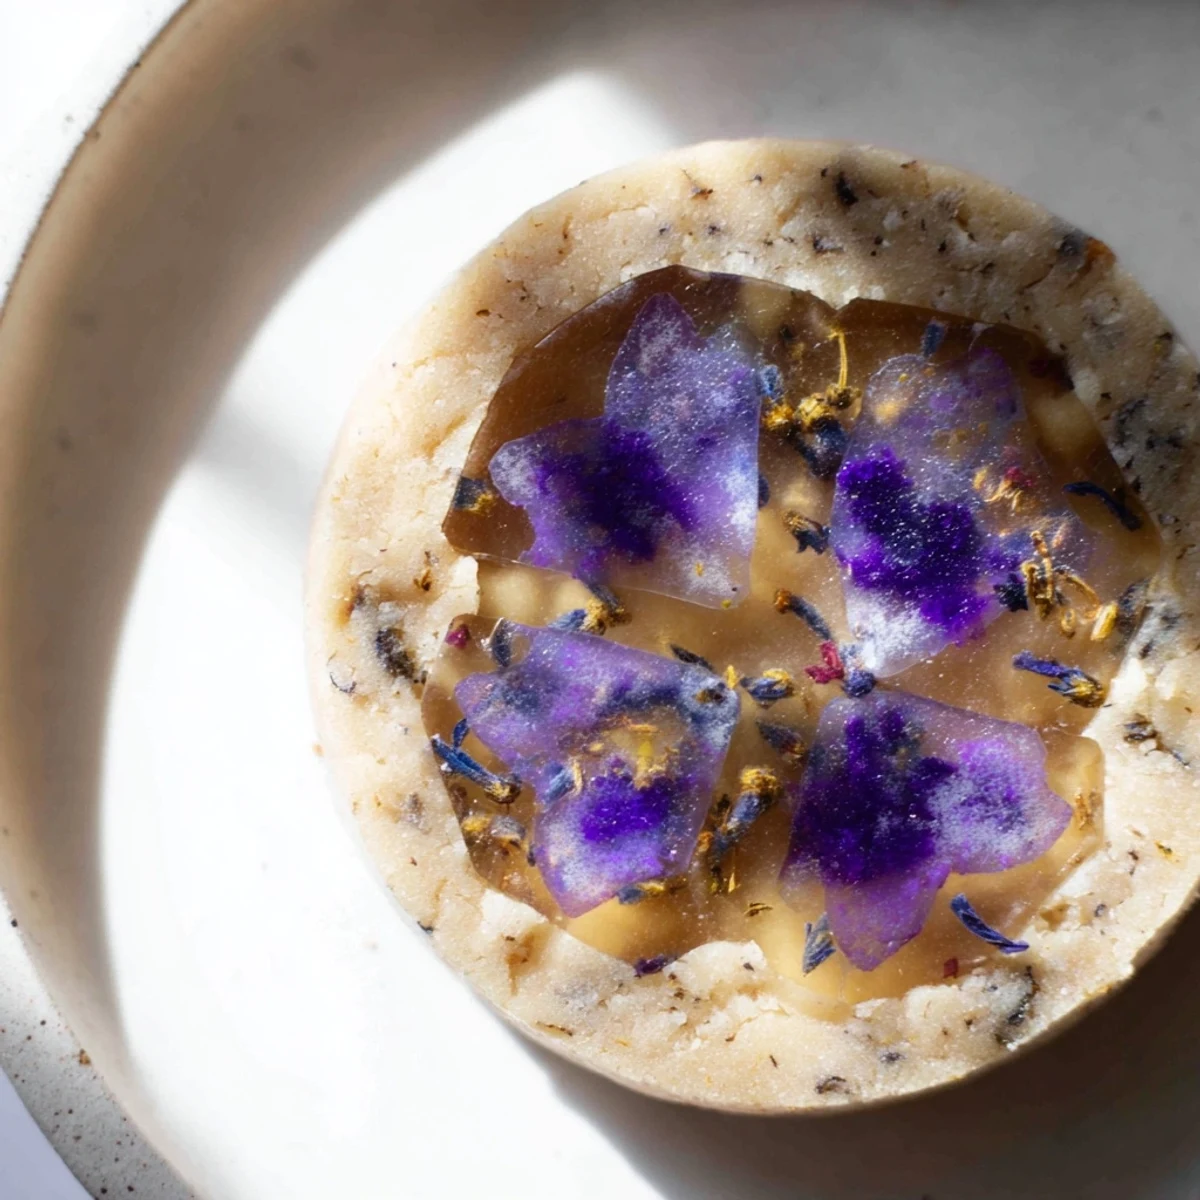
 These delicate buttery cookies feature the aromatic sophistication of Earl Grey tea throughout the dough, with a stunning visual element created by melting crushed vegan hard candies in cutout centers. Edible flowers pressed into the translucent candy create an authentic stained glass effect that catches light beautifully. The combination of fragrant bergamot-infused dough with sweet, jewel-like centers makes these treats perfect for afternoon tea service, spring celebrations, or whenever you want to serve something visually extraordinary. The dough comes together quickly and requires just 25 minutes of preparation before baking.
The first time I made stained glass cookies, I stood in front of the oven like a child waiting for a miracle. Those candy centers melting into translucent jewels felt like pure kitchen magic. Now whenever sunlight hits these Earl Grey beauties on my windowsill, I still catch myself pausing to watch the light dance through the sugar glass. Something about tea-infused dough and flowers suspended in time feels almost too precious to eat.
I brought these to a tea party last spring, and my friend Sarah actually gasped when she saw them catching the light. We spent the first twenty minutes just admiring them before anyone dared take a bite. The combination of floral notes from both the tea and the edible flowers creates this layered flavor experience that makes people close their eyes and savor. Sometimes the most elegant things in life are also the most simple to create.
Ingredients
- Gluten-free all-purpose flour blend: This creates the structure for your stained glass frame, and Ive found that blends with xanthan gum hold the cutout shapes best
- Almond flour: Adds a subtle nutty sweetness that plays beautifully with the bergamot notes in the Earl Grey
- Earl Grey tea bags: The star of the show—finely grinding the leaves releases those essential oils that make every bite feel like a sip of tea
- Baking powder: Gives your cookies just enough lift to maintain their shape without spreading too much
- Fine sea salt: A pinch enhances all the flavors and prevents the cookies from tasting flat
- Organic granulated sugar: Sweetens the dough while letting the Earl Grey shine through
- Vegan butter: Creates that tender, melt-in-your-mouth texture we all want in a tea cookie
- Plant milk: Brings everything together into a workable dough
- Maple syrup: Adds a depth of flavor that complements the tea rather than competing with it
- Pure vanilla extract: Rounds out all the flavors with that classic warmth we all love
- Vegan hard candies: These become your stained glass—crushing them unevenly creates that authentic artisanal look
- Edible dried flowers: The crowning touch that makes these cookies absolutely show-stopping
Instructions
- Preheat your oven:
- Set to 350°F and line your baking sheets with parchment paper, because sticky candy centers are no joke to clean up
- Prepare the Earl Grey:
- Open those tea bags and grind the leaves into a fine powder—this releases all that fragrant bergamot oil
- Mix your dry ingredients:
- Whisk together the flours, ground tea, baking powder, and salt until everything is evenly distributed
- Cream the butter and sugar:
- Beat until fluffy, then stir in the plant milk, maple syrup, and vanilla until combined
- Form the dough:
- Gradually add the dry ingredients, mixing until a soft dough forms—if it sticks to everything, pop it in the fridge for 15 minutes
- Roll it out:
- Lightly flour your surface and roll the dough to about 1/4 inch thick, keeping it even for uniform baking
- Create the windows:
- Use a large cutter for the outer shape and a small one for the center, then carefully transfer to your prepared trays
- Add the magic:
- Fill each cutout center with crushed candy, then press in a few edible flowers like youre creating tiny edible terrariums
- Bake to perfection:
- 9 to 11 minutes until edges are golden and those candy centers have melted into glass
- Patience is key:
- Let them cool completely on the tray—the stained glass needs time to harden or youll have a beautiful sticky mess
 Save to Pinterest
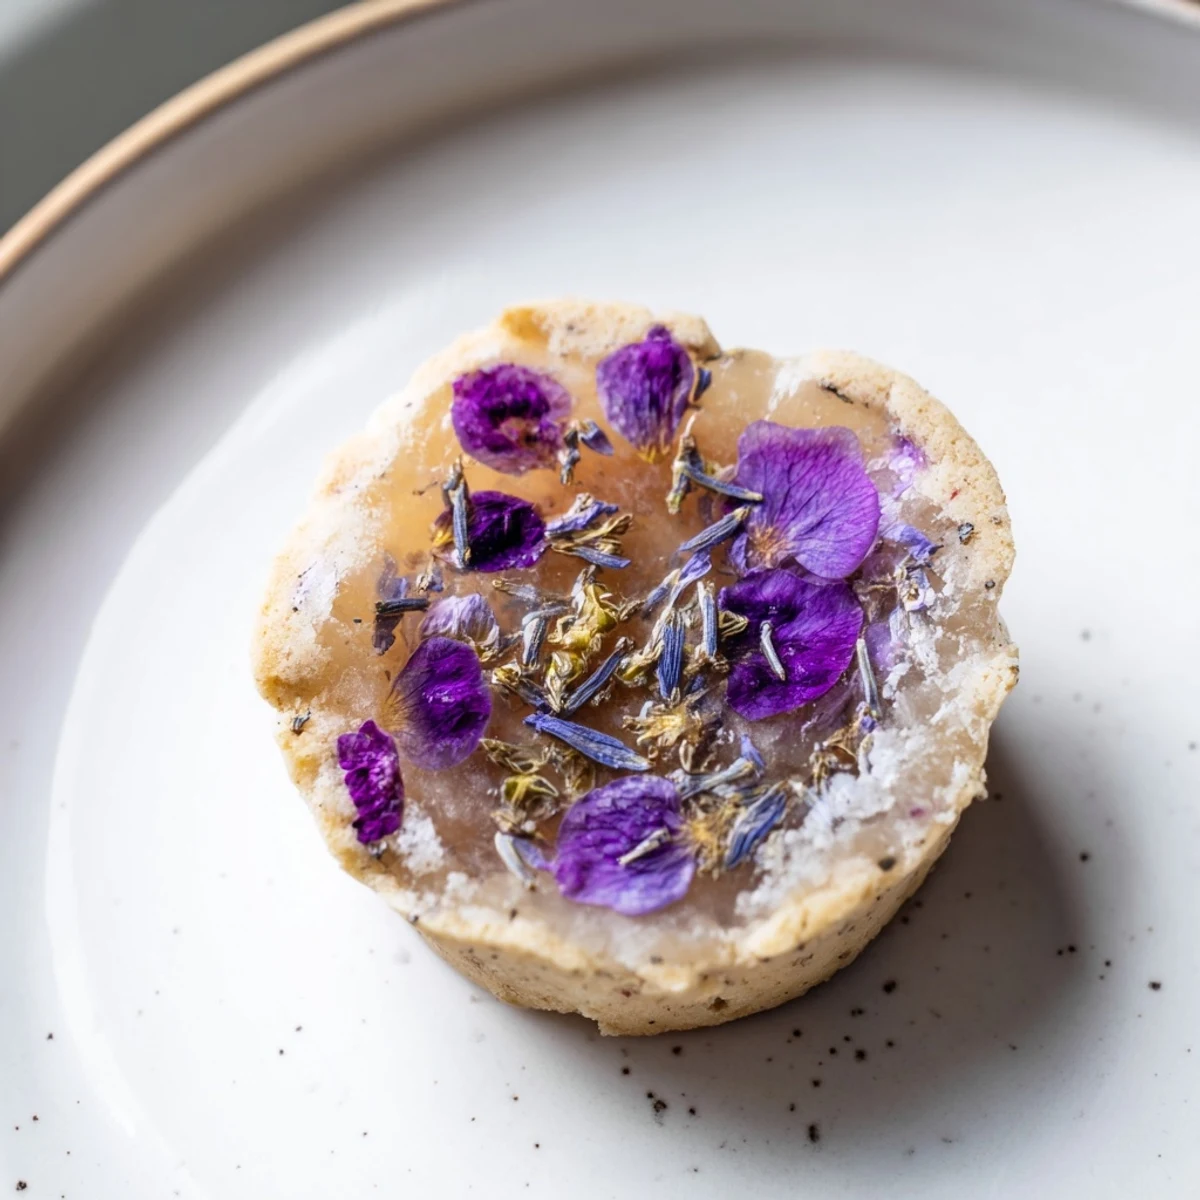
 My niece called them fairy windows when she first saw them, and honestly, I cant think of a better name. These cookies have become my go-to when I need to remind myself that baking can be pure joy, not just precision and science. They turn an ordinary Tuesday afternoon into something worth celebrating.
Choosing Your Edible Flowers
Not all flowers are created equal when it comes to baking. I stick to rose petals, cornflowers, violets, and lavender because they hold their color and flavor beautifully in the heat. Always buy from sources specifically labeled for culinary use—flowers from the florist section may have been treated with things you definitely dont want to eat.
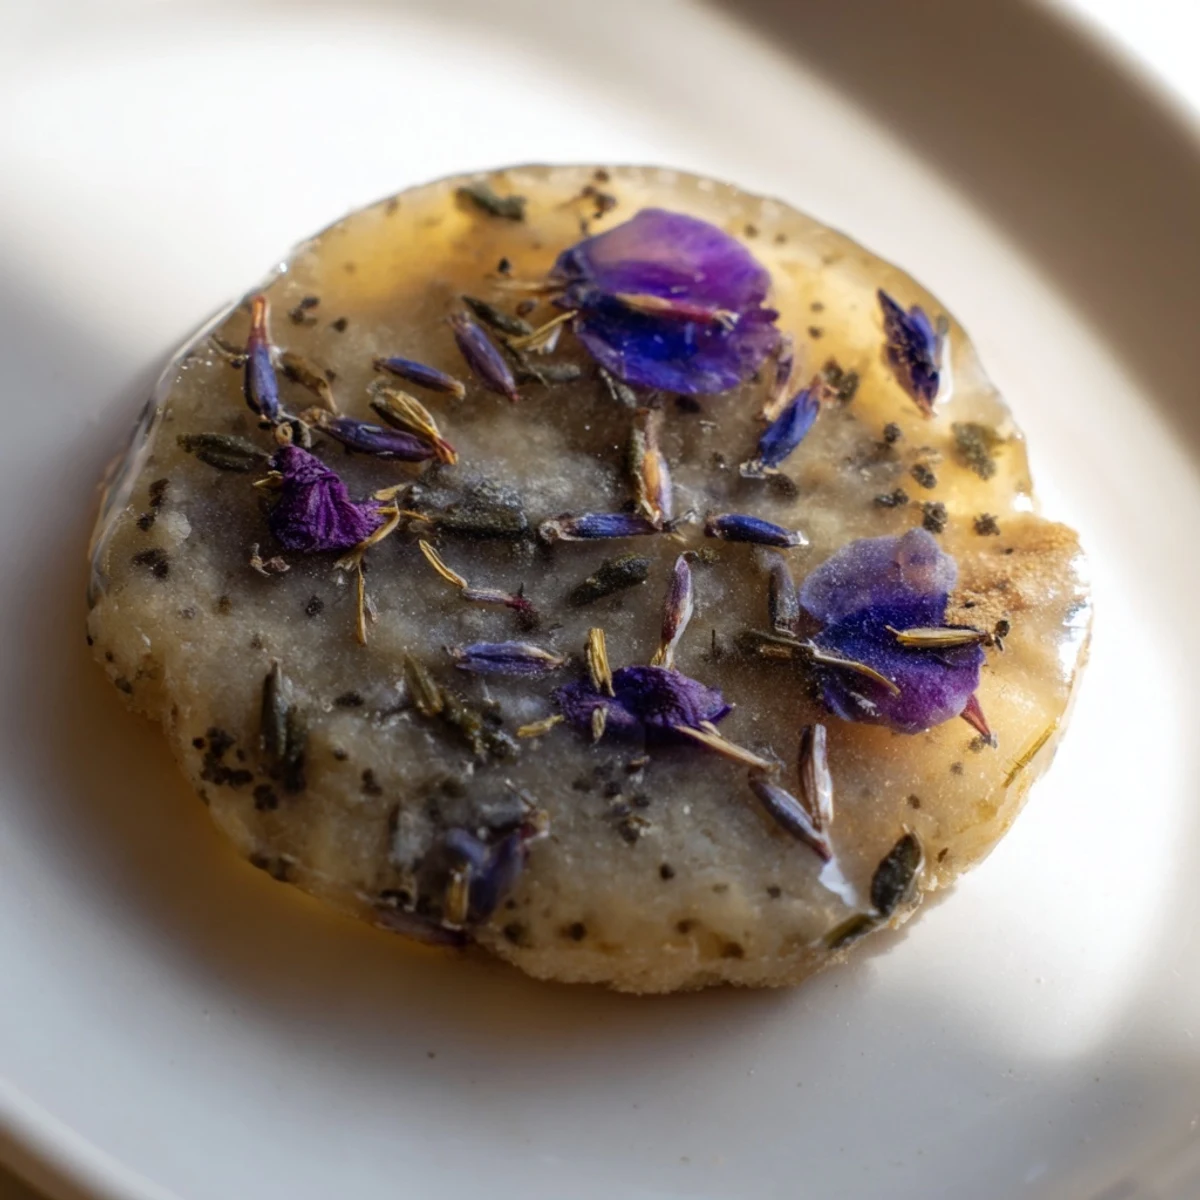
Getting That Perfect Stained Glass Effect
The secret is crushing your candies into uneven pieces—some powder, some small chunks. This creates that authentic artisanal look with variations in transparency and color depth. I put mine in a ziplock bag and gently tap with a rolling pin until I have a mix of textures.
Making Them Ahead
You can roll and cut the dough, freeze the unbaked cookies on parchment-lined trays, then bake straight from frozen—just add a minute or two to the baking time. The stained glass effect works perfectly with frozen dough, making these ideal for holiday prep.
- Stack baked cookies between layers of parchment paper in an airtight container
- They stay beautiful for up to 4 days, though the flowers may fade slightly
- These freeze beautifully once baked—just thaw them at room temperature still layered
 Save to Pinterest
 There is something deeply satisfying about creating something so delicate and beautiful with your own hands. May your kitchen be filled with the scent of Earl Grey and the warm glow of sunlight through stained glass cookies.
Recipe FAQs
- → What type of vegan candies work best for the stained glass effect?
-
Hard candies like Jolly Ranchers, Life Savers, or transparent fruit drops work beautifully. Choose colors that complement the edible flowers—clear, yellow, pink, and purple create lovely effects when melted and translucent.
- → Can I make the dough ahead of time?
-
Yes, the dough can be wrapped tightly and refrigerated for up to 2 days before rolling and cutting. Bring to room temperature for about 15 minutes before rolling to prevent cracking.
- → Where can I find edible flowers for these cookies?
-
Specialty grocery stores, farmers markets, and online retailers carry edible flowers. Look for rose petals, cornflowers, violets, lavender, or pansies labeled specifically as food-grade and organic.
- → Why did my candy centers bubble or overflow during baking?
-
Overfilling the centers causes bubbling. Use only 1–2 teaspoons of crushed candy per cookie, and avoid filling higher than the dough thickness. The candy should settle into a smooth, flat pool.
- → How should I store these delicate cookies?
-
Store in a single layer in an airtight container at room temperature for up to 4 days. Separate layers with parchment paper to prevent the candy centers from sticking to each other.
