 Save to Pinterest
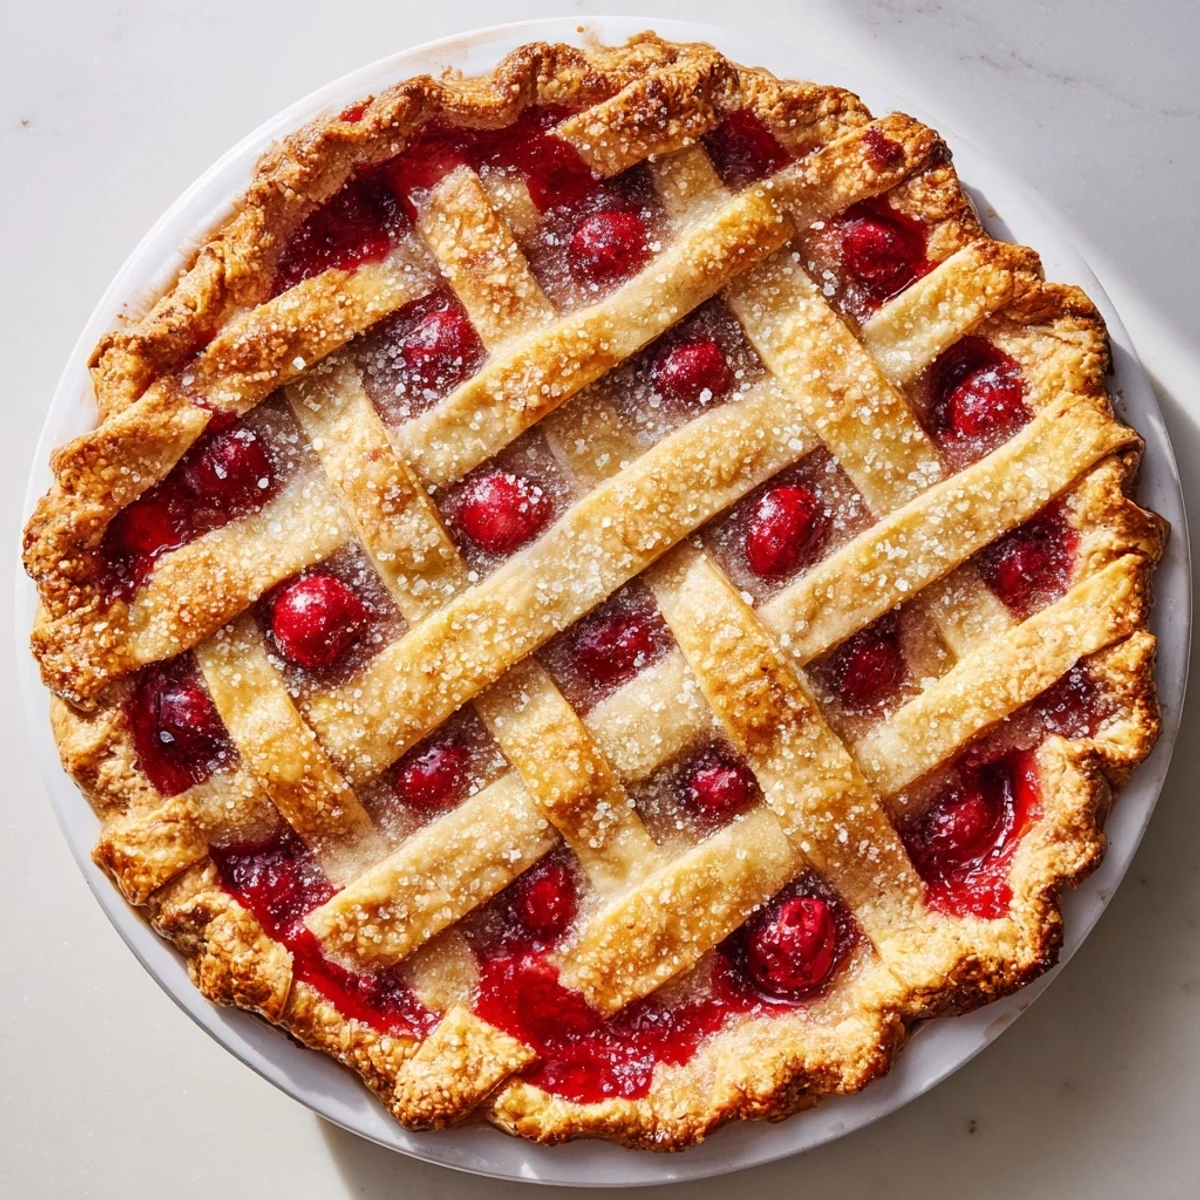
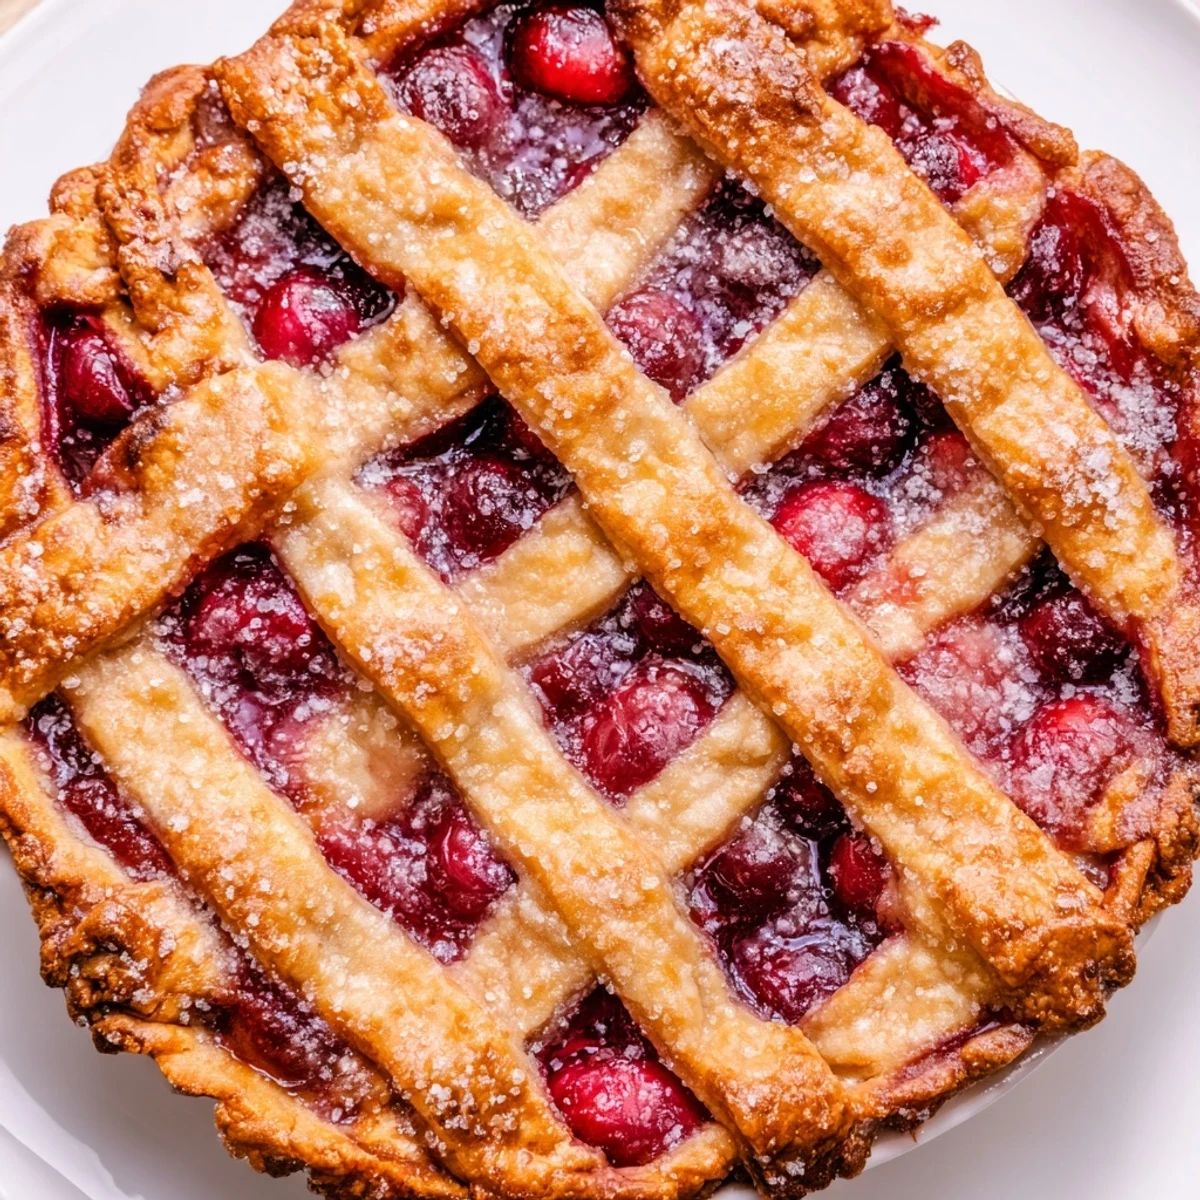
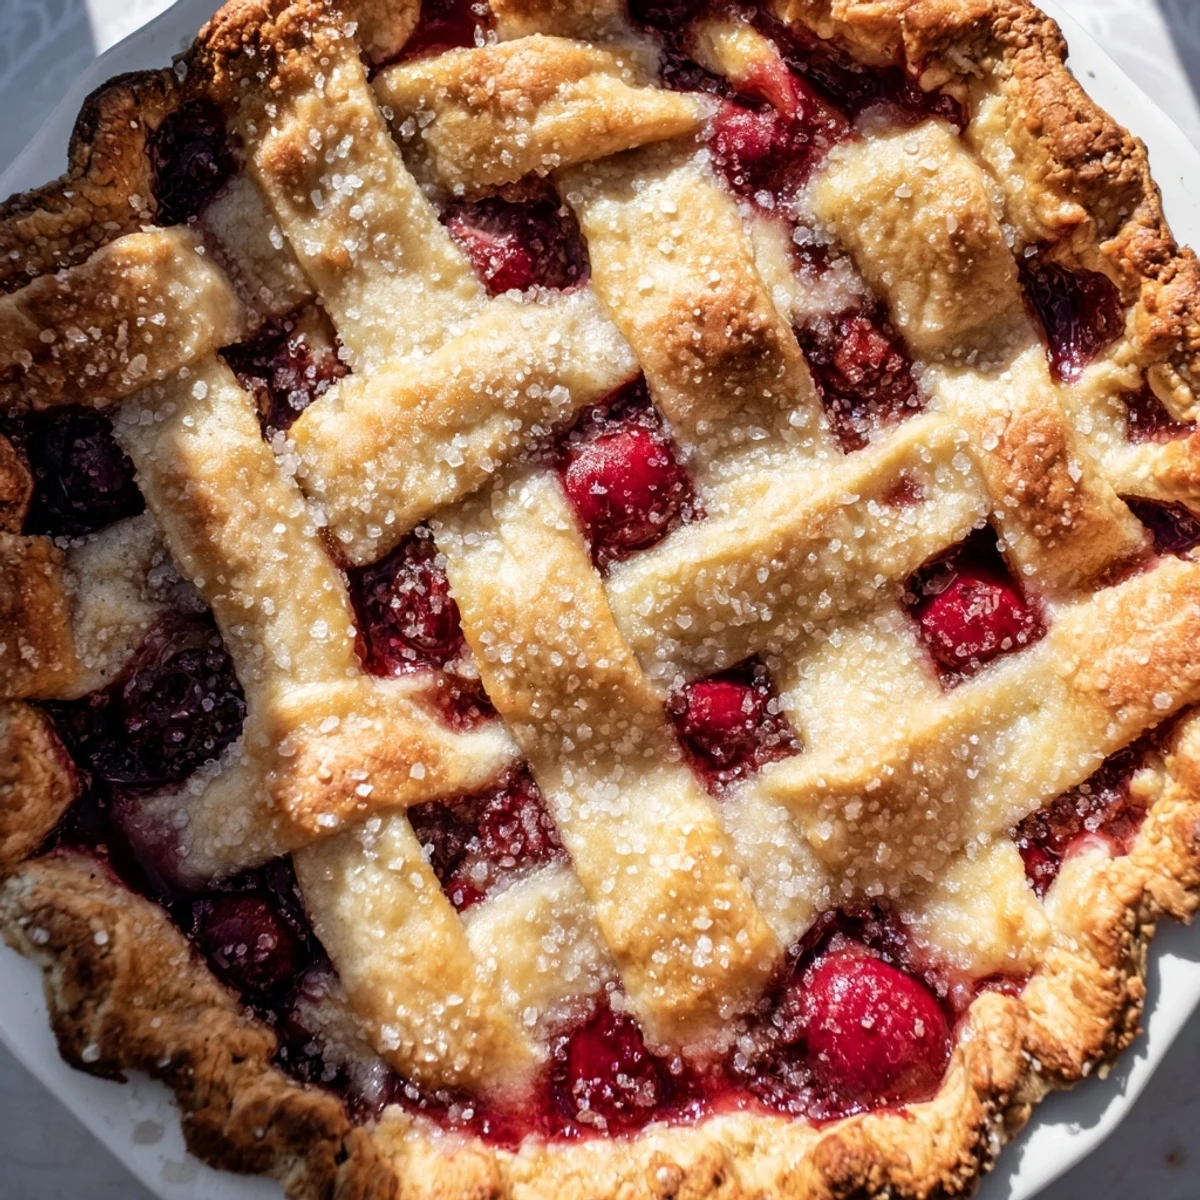
 This classic American dessert features a flaky, buttery lattice crust that perfectly encases a sweet and juicy cherry filling. The crust is made with cold butter and flour, chilled before rolling out for a tender texture. Fresh or frozen cherries combine with sugar, cornstarch, and lemon juice to create a luscious filling. A touch of coarse sugar on the lattice adds sparkle and crunch after baking to golden perfection. Letting it cool enhances the thick, bursting cherry filling – perfect for sharing.
The kitchen was sweltering that July afternoon when I decided cherry pie was absolutely necessary for the neighborhood potluck. Sweat beaded on my forehead as I wrestled with the lattice crust, my fingers slipping and my patience wearing thin. But when that first golden slice emerged from the oven, bubbling with ruby red filling, I knew every frustrating moment had been worth it. Now its become my go-to summer dessert, requested more often than I ever expected.
Last summer, my neighbor Sarah knocked on my door just as I was pulling this pie from the oven. The smell had apparently drifted three houses down, and she arrived with vanilla ice cream in hand, claiming it was fate. We sat on my back porch steps, eating warm pie with melting ice cream while fireflies started blinking in the dusk. Sometimes the best dinner parties are the unplanned ones.
Ingredients
- All-purpose flour: Forms the foundation of your crust, providing structure and that tender flakiness we all crave
- Cold unsalted butter: The absolute key to flaky layers, keep it ice cold and work quickly to maintain those precious butter pockets
- Fresh or frozen cherries: Fresh tastes incredible in season, but frozen works beautifully too and you wont notice the difference
- Granulated sugar: Sweetens the filling and helps create that gorgeous thickened cherry syrup as it bakes
- Cornstarch: Essential for thickening all those cherry juices into a luscious, sliceable filling instead of a soupy mess
- Lemon juice: Brightens all that sugar and enhances the natural cherry flavor beautifully
- Almond extract: Optional but highly recommended, it pairs magically with cherries and adds subtle depth
- Egg and milk: Create that golden glossy finish and help the coarse sugar stick to the crust
- Coarse sugar: Adds sparkle and a delightful crunch that takes this pie from homemade to bakery worthy
Instructions
- Prepare your pie dough with confidence:
- Whisk together flour, sugar, and salt in a large bowl, then cut in cold butter until you see pea sized chunks throughout. Drizzle in ice water one tablespoon at a time, mixing gently until the dough just holds together when pressed. Divide into two disks, wrap tightly, and let chill for at least an hour in the refrigerator.
- Mix up that gorgeous cherry filling:
- In a large bowl, combine cherries with sugar, cornstarch, lemon juice, almond extract, and salt until every cherry is coated. Let this mixture sit while you roll out your crust, allowing the sugar to start drawing out those beautiful juices.
- Roll out your bottom crust like a pro:
- Preheat your oven to 400°F and roll one dough disk on a floured surface until its about 12 inches across. Carefully transfer to your 9 inch pie dish, pressing gently into the bottom and up the sides. Trim any overhanging dough to about an inch all around.
- Weave that impressive lattice top:
- Roll the second dough disk and cut strips about half an inch wide. Lay half your strips across the pie parallel to each other, then fold back every other strip and place a perpendicular strip across the gap. Repeat this weaving process, folding and unfolding strips, until you have created that classic basket pattern. Trim and crimp the edges to seal everything together.
- Add the finishing touches:
- Whisk egg with milk and brush this mixture over the entire lattice crust and edges. Sprinkle coarse sugar generously across the top for that bakery sparkle effect.
- Bake to golden perfection:
- Place your pie on a baking sheet to catch any drips and bake at 400°F for 20 minutes. Reduce temperature to 350°F and continue baking for another 30 to 35 minutes until the crust is deeply golden and filling is bubbling vigorously through the lattice.
- Practice patience before serving:
- Let the pie cool completely for at least 3 hours at room temperature. This waiting period is crucial as the filling needs time to set properly, otherwise you will end up with a delicious but messy runny situation on your plate.
 Save to Pinterest
 My grandmother used to say that patience is the secret ingredient in any good pie, and she was absolutely right. This cherry pie taught me that some things cannot be rushed, and that waiting often makes the reward even sweeter. Every time I serve it now, I think of her kitchen and all the pies she patiently perfected over decades.
Making The Perfect Lattice
The weaving process might look intimidating, but it is actually quite forgiving and even slightly imperfect tops look rustic and charming. If your strips break, just press them back together, and if your weaving gets uneven, call it artisan style. The important thing is that the filling is covered and steam can escape through those gaps while baking.
Seasonal Swaps
While cherry season is relatively short, this formula works beautifully with other stone fruits when cherries are not available. Try peaches or a mix of berries in late summer, or switch to apples and cinnamon when the weather turns cooler. The technique remains the same, but you will have a new pie for every season.
Serving Suggestions
Warm slices with vanilla ice cream is classic for a reason, but do not be afraid to get creative with your presentations. A dollop of crème fraîche adds a sophisticated tang that balances all that sweetness beautifully. For a dinner party finish, try drizzling each slice with aged balsamic vinegar to bring out the cherries natural complexity.
- Let the pie come to room temperature for the cleanest slices and best texture
- Run your knife under hot water between cuts for perfectly portioned servings
- Any leftovers (if they exist) reheat beautifully in a 350°F oven for 10 minutes
 Save to Pinterest
 There is something deeply satisfying about serving a homemade cherry pie, watching peoples faces light up when they see that lattice crust. Whether it is a holiday gathering or a random Tuesday, this pie has a way of making ordinary moments feel special and worth celebrating.
Recipe FAQs
- → How do I make the lattice crust?
-
Roll out the dough into strips about 1/2 inch wide, then weave them over and under each other on top of the filling to create a lattice pattern before trimming and crimping the edges.
- → Can I use frozen cherries for the filling?
-
Yes, frozen cherries can be used without thawing. Mixing them directly ensures the filling thickens properly during baking.
- → What is the purpose of cornstarch in the filling?
-
Cornstarch helps thicken the cherry juices as they cook, preventing the filling from being too runny.
- → How do I achieve a crispy, golden crust?
-
Brushing the lattice and edges with an egg wash before baking and sprinkling with coarse sugar helps create a shiny, crisp, golden crust.
- → Why should the pie cool before slicing?
-
Cooling allows the filling to thicken and set, making it easier to slice and enhancing the overall texture.
