 Save to Pinterest
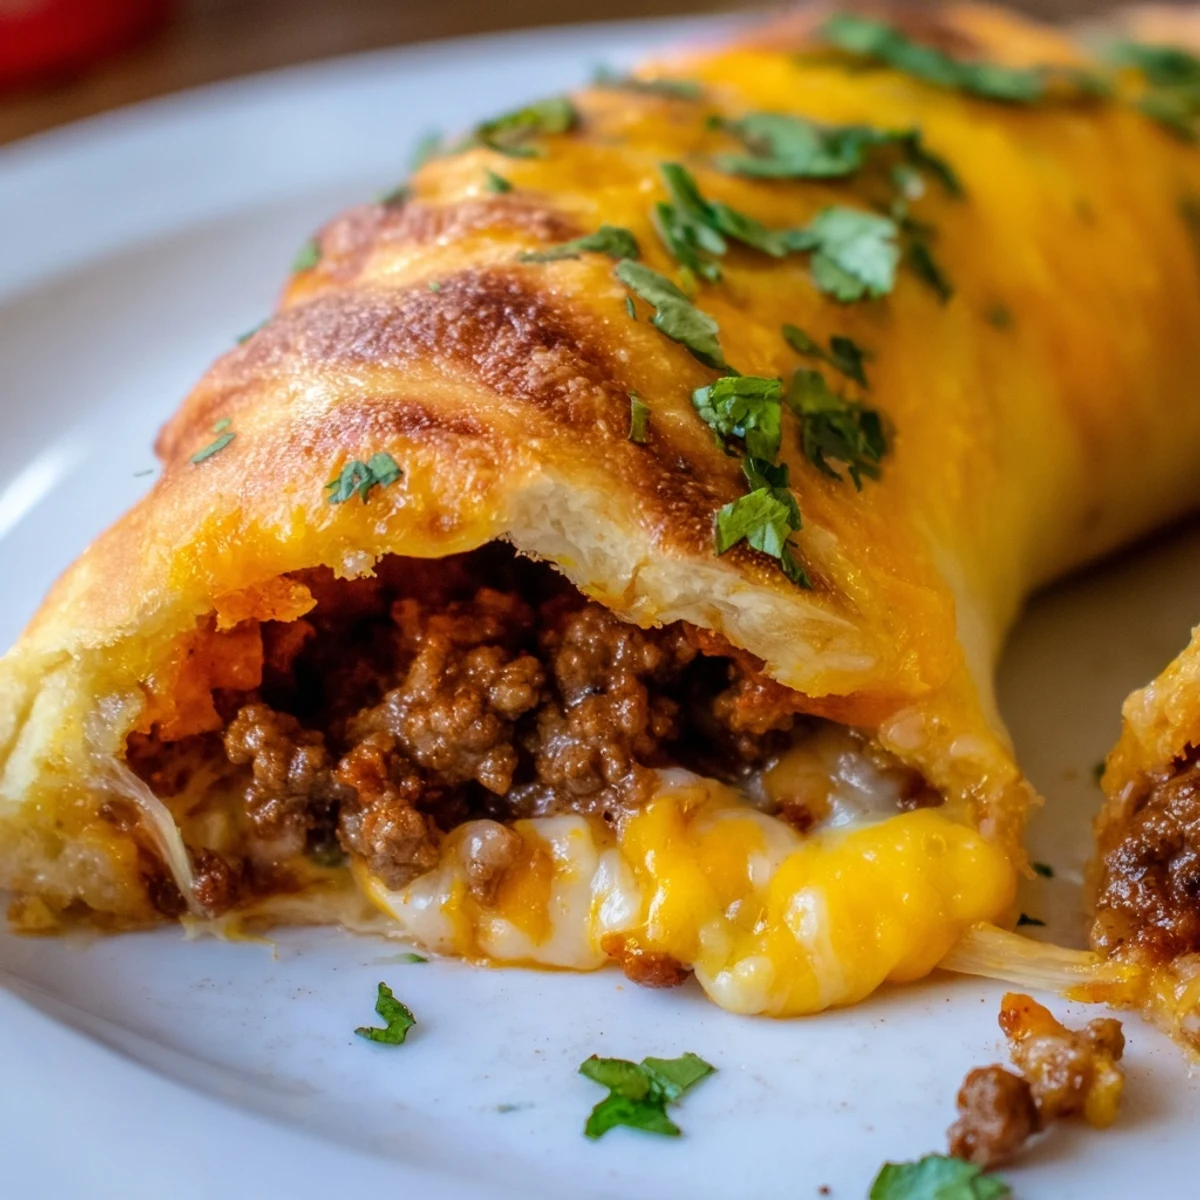
 These golden-baked breadsticks combine soft pizza dough with a savory filling of seasoned ground beef and a blend of melted cheddar and mozzarella cheeses. The 40-minute process delivers eight portable sticks that bake up crispy outside and tender inside, perfect for dipping into salsa, guacamole, or sour cream.
The smell of taco seasoning hitting hot beef always pulls me into the kitchen, no matter what I'm doing. My roommate used to make these on Friday nights while we binge-watched movies, and the way the cheese would stretch when you pulled them apart became legendary in our apartment. Now they're my go-to when I want something that feels indulgent but doesn't require hours of standing over the stove.
I once made these for a Super Bowl party and honestly, they disappeared faster than the actual main dish. People were hovering around the baking sheet as they came out of the oven, and I ended up having to make a second batch. My friend's husband still asks for them every time he comes over, calling them 'those cheesy taco things' like I invented some kind of magic.
Ingredients
- Ground beef: The fat content keeps the filling juicy, but drain well so the dough doesn't get soggy
- Taco seasoning: Store-bought works perfectly, but homemade lets you control the salt and heat level
- Mozzarella and cheddar: Mozzarella melts beautifully while cheddar brings that sharp taco flavor we all crave
- Pizza dough: Refrigerated dough is your friend here, it's forgiving and bakes up reliably golden
- Melted butter: Brushing the tops gives them that gorgeous golden color and adds richness
Instructions
- Preheat and prep your workspace:
- Get your oven to 200°C (400°F) and line a baking sheet with parchment paper before you start anything else.
- Cook the beef filling:
- Brown the ground beef in a skillet over medium heat until it's nicely crumbled, then drain the excess fat thoroughly.
- Season the meat:
- Stir in the taco seasoning, salt, pepper, and 2 tablespoons of water, letting it simmer for 2–3 minutes until everything's well combined, then set it aside to cool slightly.
- Prepare the dough strips:
- Roll the pizza dough into a large rectangle about 30 × 40 cm (12 × 16 inches), then cut it into 8 equal strips with a sharp knife or pizza cutter.
- Fill each strip:
- Place a spoonful of the seasoned beef along one edge of each dough strip, then top it with a mix of mozzarella and cheddar cheese.
- Seal them tight:
- Fold the dough over the filling and pinch the edges together firmly, making sure there are no gaps for cheese to escape during baking.
- Brush and arrange:
- Place the sticks seam-side down on your prepared baking sheet and brush the tops generously with melted butter.
- Bake until golden:
- Bake for 15–20 minutes until they're beautifully browned and cooked through, with the cheese inside melted and bubbling.
- Add the finishing touch:
- Sprinkle fresh cilantro or chives on top if you're feeling fancy, and serve them warm with your favorite dipping sauces.
 Save to Pinterest
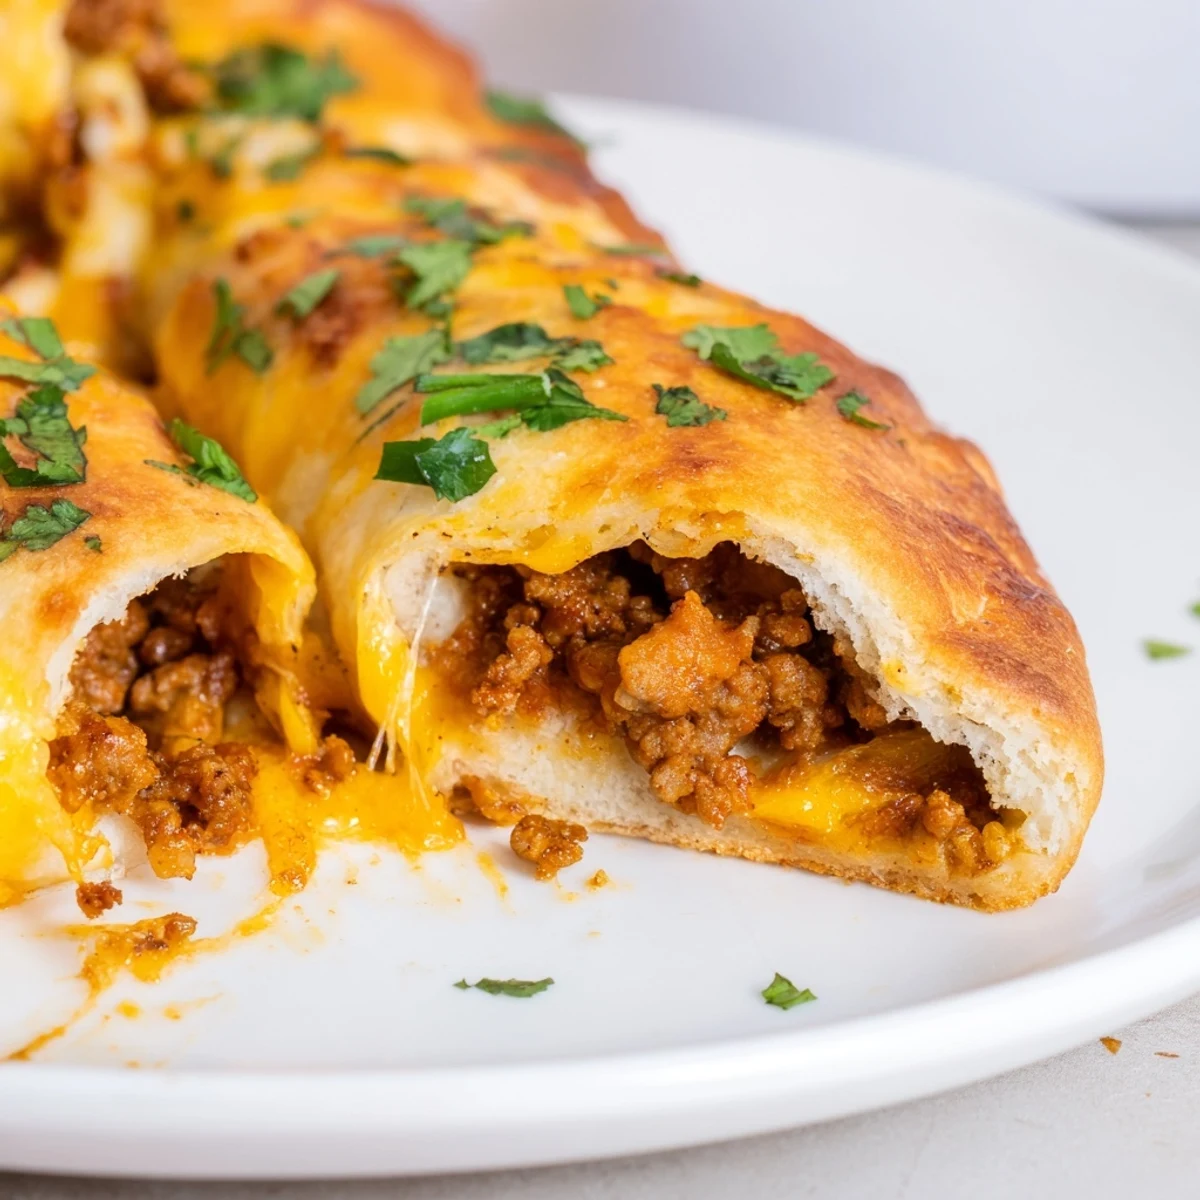
 These became a weeknight staple when my kids were younger and going through their 'I won't eat anything normal' phase. Something about the stick shape and being able to dip them made taco night exciting again, and now they request them even when they're being adventurous eaters.
Make Them Your Own
Ground turkey works beautifully here if you're watching your red meat intake, and plant-based crumbles actually hold up surprisingly well. Sometimes I'll add diced jalapeños into the cheese mixture for those nights when I want extra kick, or mix in some refried beans with the beef for more protein.
Dipping Sauce Magic
While salsa and guacamole are classic choices, I've discovered that a quick sour cream mixed with a little taco seasoning and lime juice is absolutely addictive. My neighbor swears by serving them with queso dip, and honestly, she's not wrong about that combination.
Party Perfect Prep
You can assemble these sticks ahead of time, refrigerate them on the baking sheet, and pop them in the oven just before guests arrive. The dough might need an extra minute or two of baking time if it's cold from the fridge.
- Set up a dipping station with multiple sauces so everyone can customize
- Cut them into smaller bites for cocktail parties or keep them whole for hearty appetizers
- They reheat surprisingly well in a 350°F oven for about 5 minutes if you have leftovers
 Save to Pinterest
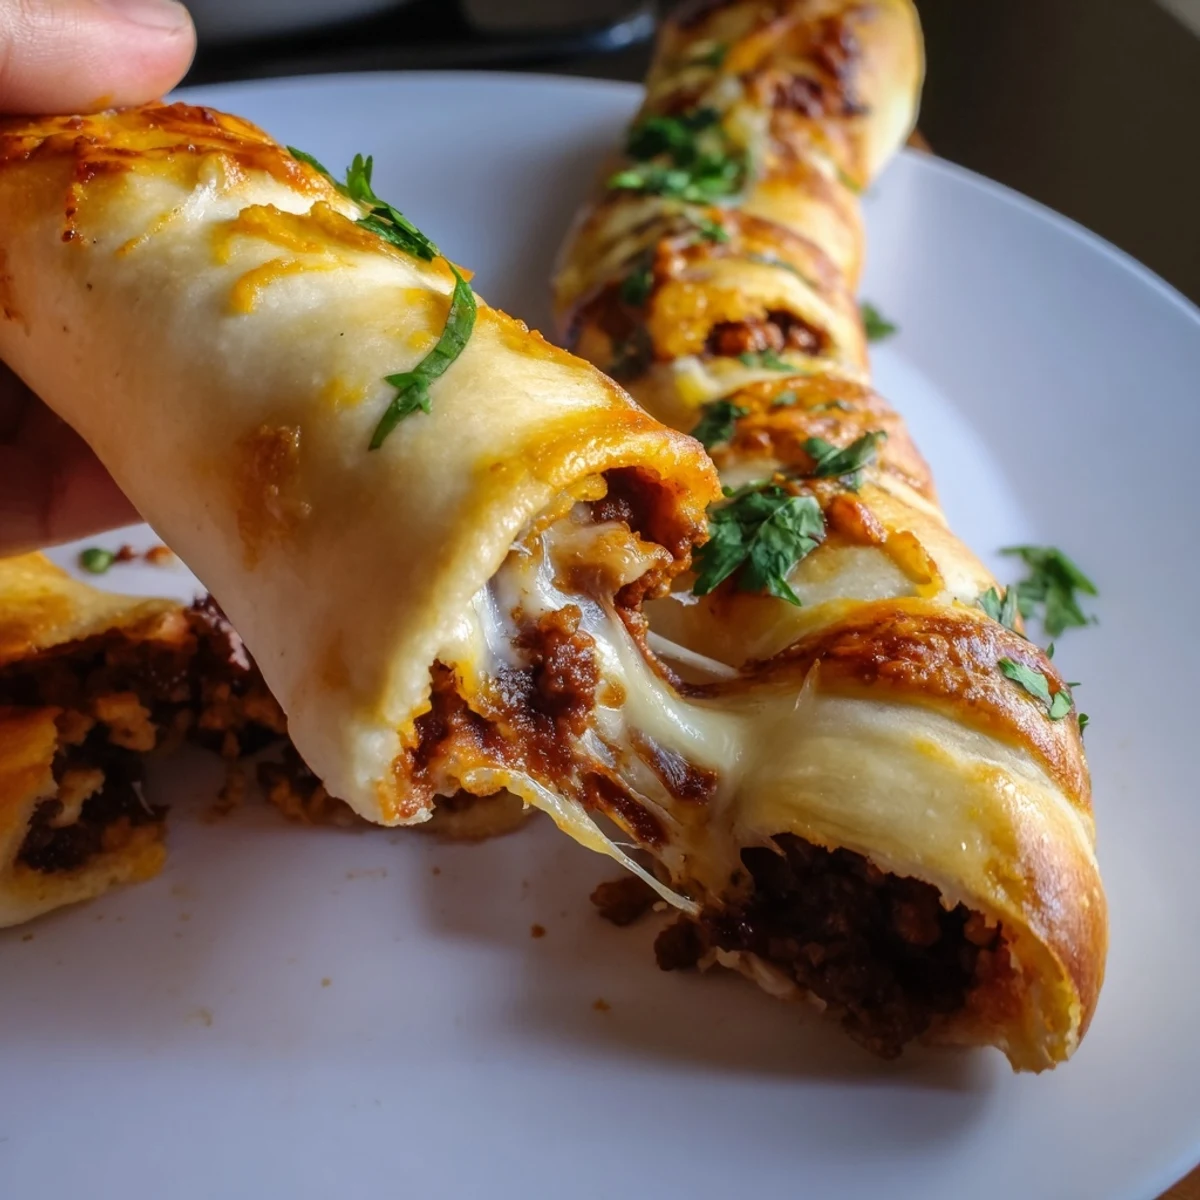
 There's something so satisfying about pulling apart a warm, cheesy stick and having that perfect stretch of cheese. These aren't just food, they're the kind of comfort that brings people together around the kitchen counter.
Recipe FAQs
- → Can I make these ahead of time?
-
Yes, assemble the sticks and refrigerate unbaked for up to 24 hours. Brush with butter and bake when ready, adding 2-3 extra minutes to the baking time if coming straight from the refrigerator.
- → What dipping sauces work best?
-
Classic choices include salsa, guacamole, sour cream, or queso. A jalapeño-infused sour cream or chipotle lime sauce adds extra flair that complements the taco seasoning.
- → Can I freeze these cheesy sticks?
-
Bake and cool completely, then freeze in airtight bags for up to 3 months. Reheat in a 350°F oven for 10-12 minutes until heated through and crispy again.
- → How do I prevent the filling from leaking?
-
Ensure the beef mixture has cooled slightly before filling, and pinch the dough edges tightly together. Place sticks seam-side down on the baking sheet to help seal during baking.
- → Can I use homemade dough?
-
Absolutely. Prepare your favorite pizza or breadstick dough recipe, roll it out to the same dimensions, and proceed with filling and baking as directed.
- → What's the best way to reheat leftovers?
-
Reheat in a 350°F oven for 5-8 minutes until the cheese melts and the exterior crisps up again. Microwaving works but may soften the crust.
