 Save to Pinterest
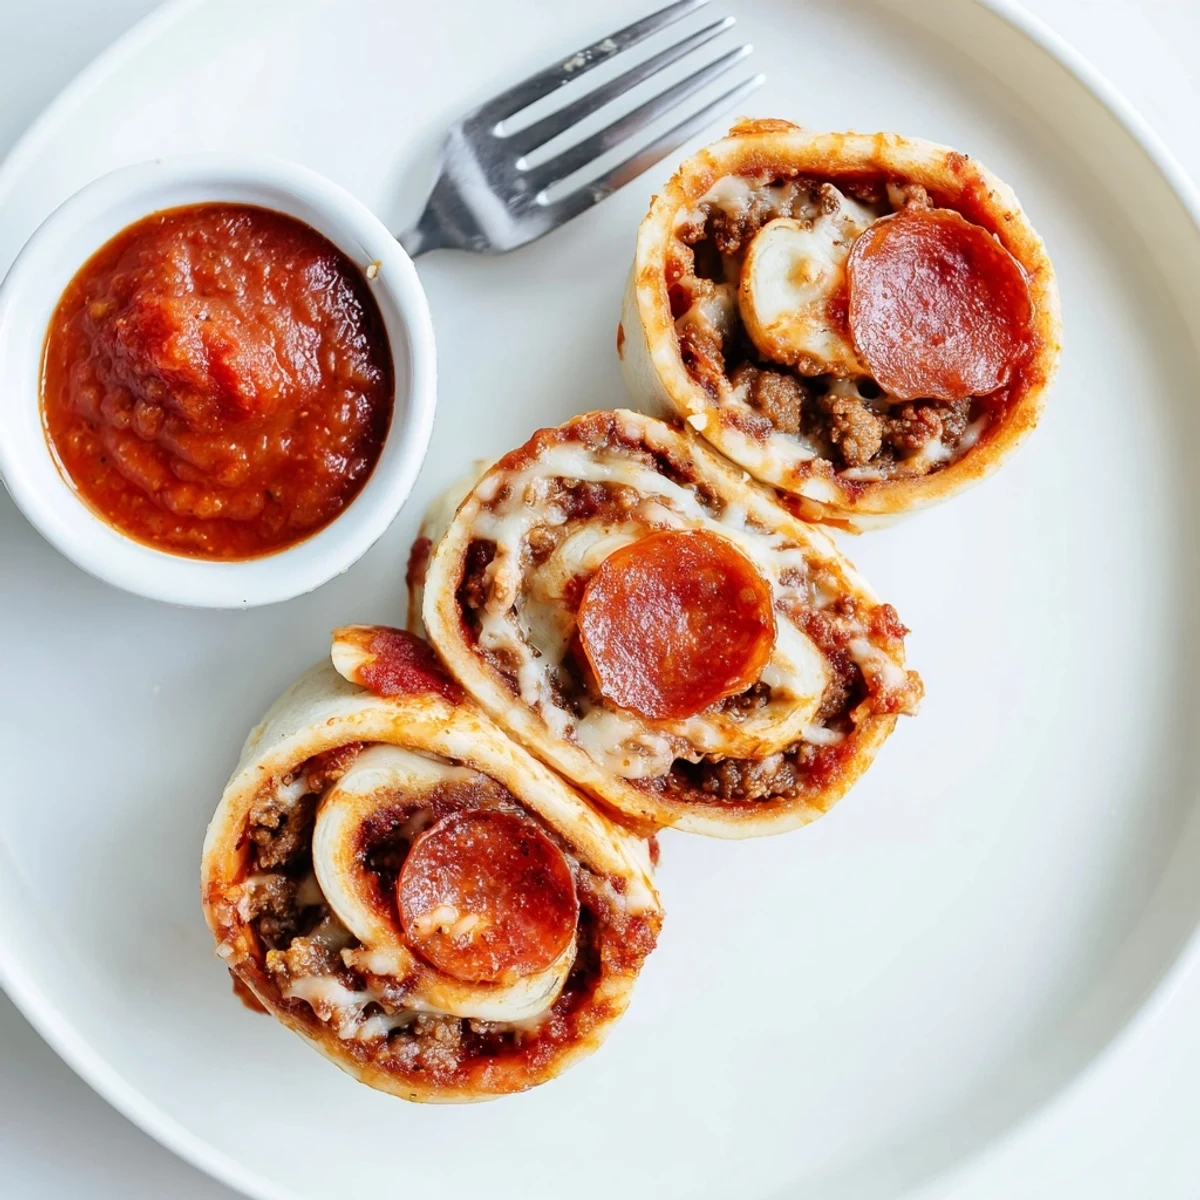
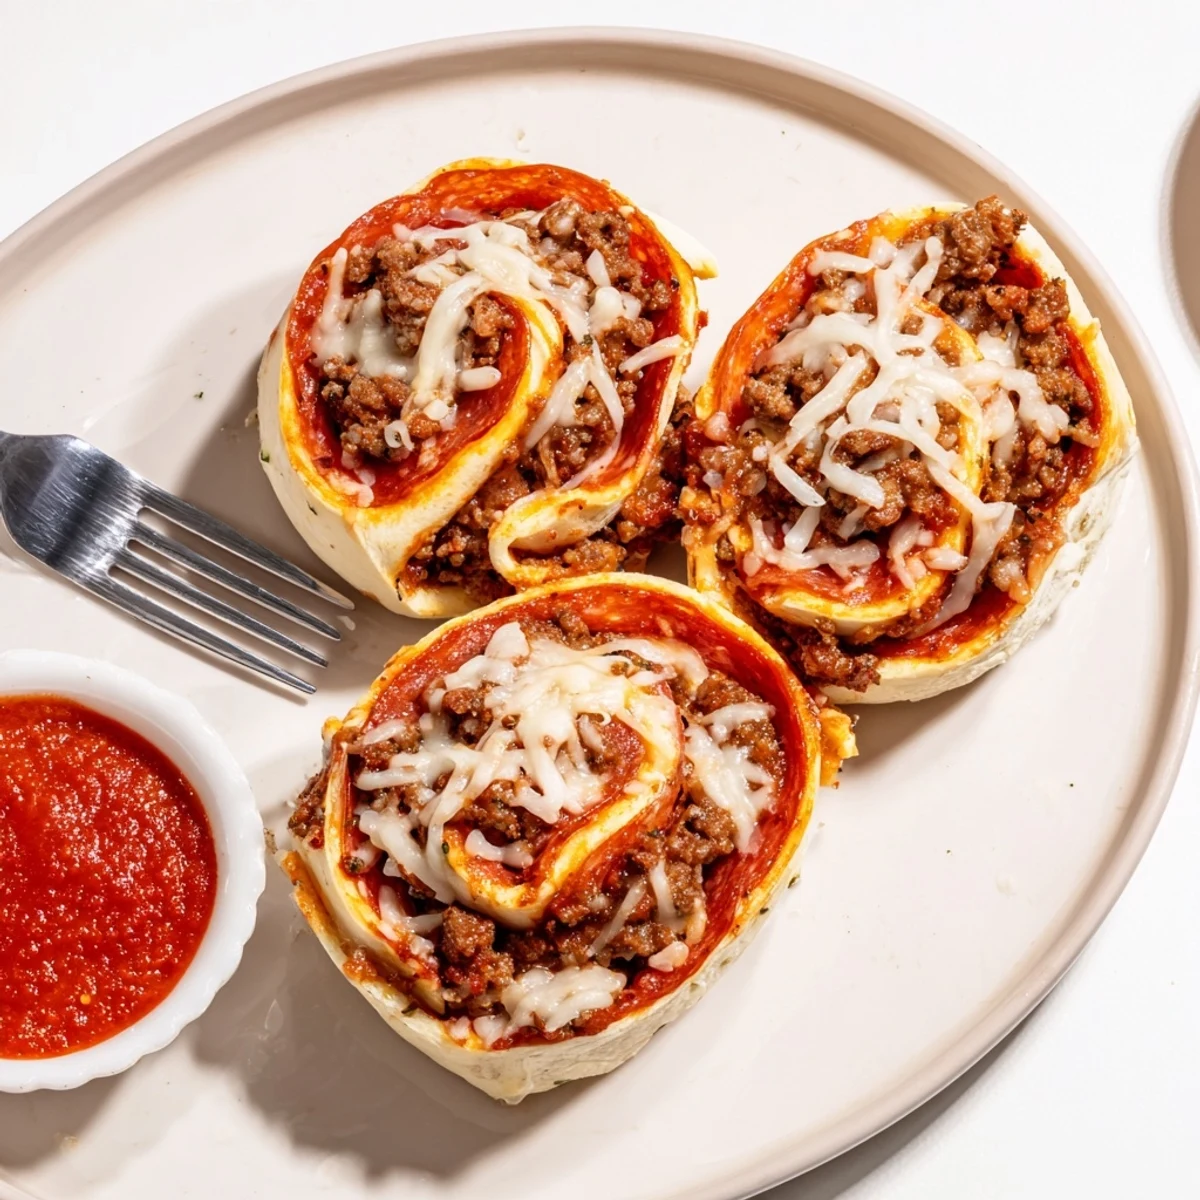
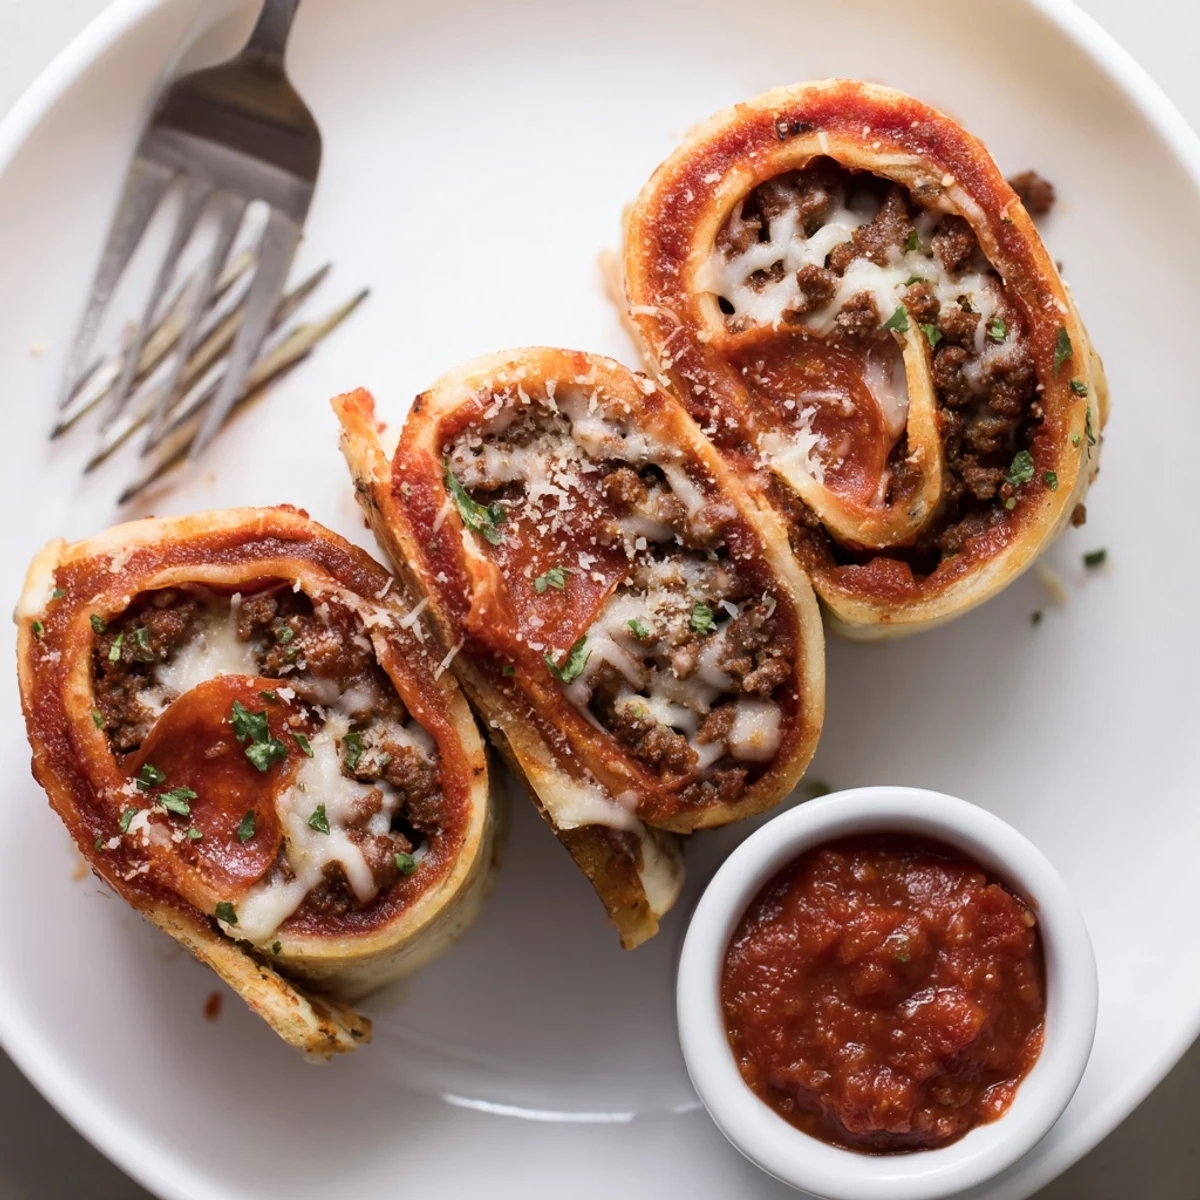
 These cheesy beef and pepperoni pizza roll-ups tuck seasoned ground beef, pepperoni slices and melted mozzarella into chilled pizza dough. Roll tightly, slice into eight pieces, brush with olive oil and bake 12–15 minutes at 200°C (400°F) until golden and bubbling. Hands-on time is about 20 minutes; total 35. Cool briefly, garnish with basil and serve with extra pizza sauce or dip; freeze extras for reheating.
The sizzle of beef hitting a hot skillet and the bold fragrance of pepperoni always takes me back to spontaneous kitchen experiments on cozy afternoons. There’s something mischievous about assembling these pizza roll ups, sneaking tastes as you go, laughing about pizza sauce smudges, and knowing a crispy, cheesy snack is moments away. Sometimes, the simplest snacks are the ones that spark the loudest laughter. I promise these roll ups always disappear faster than I’d planned.
One rainy weekend, a couple of hungry kids burst into the kitchen after soccer, declaring they wanted ‘pizza, but not boring.’ Rolling up the dough together, they plotted who’d get the meltiest cheese pull. By the time the oven timer chimed, the whole family was gathered in anticipation, and not a crumb was left behind. That’s when this recipe became a repeat request for every get-together, big or small.
Ingredients
- Ground beef: Make sure it’s browned and crumbly, and don’t skip draining off extra fat for the best texture.
- Pepperoni: Layer evenly for zingy, savory flavor—thicker slices bring extra punch.
- Shredded mozzarella cheese: Use whole-milk mozzarella for that gooey, stretchy melt.
- Grated Parmesan cheese: A sharp sprinkle boosts savoriness—freshly grated if you have it.
- Refrigerated pizza dough: Cold dough is easiest to roll, but let it rest a minute if it’s stiff.
- Pizza sauce: Smooth evenly so every bite has flavor—skip watery sauces to avoid soggy dough.
- Dried Italian herbs: Essential for that classic aroma; rub them between your fingers to release their oils.
- Garlic powder: Just a touch brings balance without overpowering the other flavors.
- Salt and pepper: Season the beef to taste—don’t forget that pepperoni adds some saltiness too.
- Olive oil: A quick brush on top makes the rolls crisp and golden as they bake.
- Fresh basil or parsley (optional): Scatter on after baking for a pop of color and freshness.
Instructions
- Get set up:
- Preheat the oven to 200°C (400°F) and line your baking sheet with parchment paper so nothing sticks.
- Brown the beef:
- Heat your skillet, add the ground beef, and scatter over the salt, pepper, garlic powder, and Italian herbs—listen for that satisfying sizzle and cook until there’s no pink left, about five minutes.
- Roll the dough:
- Lightly flour the counter, then gently stretch and roll out the pizza dough to a rectangle about 30x25 cm, patting it flat with your hands or a rolling pin.
- Sauce it up:
- Spoon the pizza sauce over the dough, spreading right to the edges but leaving a small border for easier sealing.
- Add the fillings:
- Tumble the cooked beef evenly, lay out the pepperoni slices, and strew both cheeses across so every mouthful is loaded and melty.
- Form the roll:
- Start at the long side and roll up tightly into a log—gently but confidently—then pinch the seam shut so fillings stay put.
- Slice and arrange:
- Use a sharp knife to cut the log into eight even pieces, nestling each one cut-side up onto your baking sheet for even browning.
- Olive oil finish:
- Brush the tops lightly with olive oil; you’ll see them shine before they bake up golden.
- Bake:
- Pop the tray into the oven for 12–15 minutes or until you see golden edges and bubbling cheese.
- Final touches:
- Let cool a few short minutes—if you can wait—then sprinkle over fresh herbs and serve with extra pizza sauce for dunking.
 Save to Pinterest
 Sometime last summer, these roll ups took center stage at an impromptu backyard gathering. The platter vanished faster than any of the ‘grown up’ appetizers, and even the pickiest eaters declared them the ‘best thing here,’ making me secretly proud as I wiped pizza sauce off small chins.
Rolling Tips for Foolproof Snacks
If your dough resists rolling or snaps back, cover it and let it rest for a few minutes—it’ll cooperate. A confident, tight roll keeps everything neat but don’t overthink little tears, as the cheese will bubble through. If your kitchen is warm, work quickly so the dough doesn’t get too sticky. Keeping fillings evenly spread from edge to edge ensures every bite is loaded.
Customizing for Crowds and Cravings
Double the recipe for a party and mix up the fillings: try chopped cooked mushrooms, jalapeño slices, or a layer of spinach. These roll ups are forgiving—more cheese for gooeyness, or less beef for a lighter bite—so tweak to your taste. Freezing extras works beautifully as the oven brings them right back to crispy life. Serve hot with your favorite dipping sauces to keep everyone reaching for seconds.
Big-Batch Prep and Troubleshooting
Making a double batch? Bake one sheet at a time for even browning and check them early—ovens vary. If your rolls open up during baking, tuck them a little closer together for support, or re-pinch any unruly seams just before going in the oven. Busy weeknight? Prep the beef in advance and assemble in a flash.
- Let roll ups cool slightly so the cheese sets and doesn’t scald your tongue.
- If rewarming, use the oven not the microwave for a crisp finish.
- Don’t forget: parchment paper makes clean up a breeze.
 Save to Pinterest
 Snacking on these gooey roll ups, sharing stories with friends, is always worth the little bit of extra mess. Here’s to snack times that are as fun to make as they are to eat.
Recipe FAQs
- → Can I substitute the ground beef?
-
Yes—ground chicken, turkey or a plant-based crumble can replace beef; adjust seasoning and drain any excess moisture before assembling to avoid soggy dough.
- → How do I keep the roll-ups from getting soggy?
-
Drain cooked meat well, use a modest layer of sauce, and avoid overfilling. Chilling the dough briefly makes rolling easier and helps maintain structure during baking.
- → What oven temperature and time work best?
-
Bake at 200°C (400°F) for about 12–15 minutes until the tops are golden and cheese bubbles; ovens vary, so check for a crisp, golden exterior.
- → Can these be made ahead and frozen?
-
Yes—slice and freeze on a tray until firm, then store in a sealed container. Reheat in a hot oven until crisp and heated through to restore texture.
- → Any tips for a crispier crust?
-
Brush the tops with olive oil or an egg wash before baking and bake on a parchment-lined sheet without overcrowding; using a preheated baking sheet helps the bottom crisp.
- → What are good additions for extra flavor?
-
Add sautéed bell peppers, a pinch of chili flakes, or swap in smoked cheeses; finishing with fresh basil or parsley brightens the flavors before serving.
