 Save to Pinterest
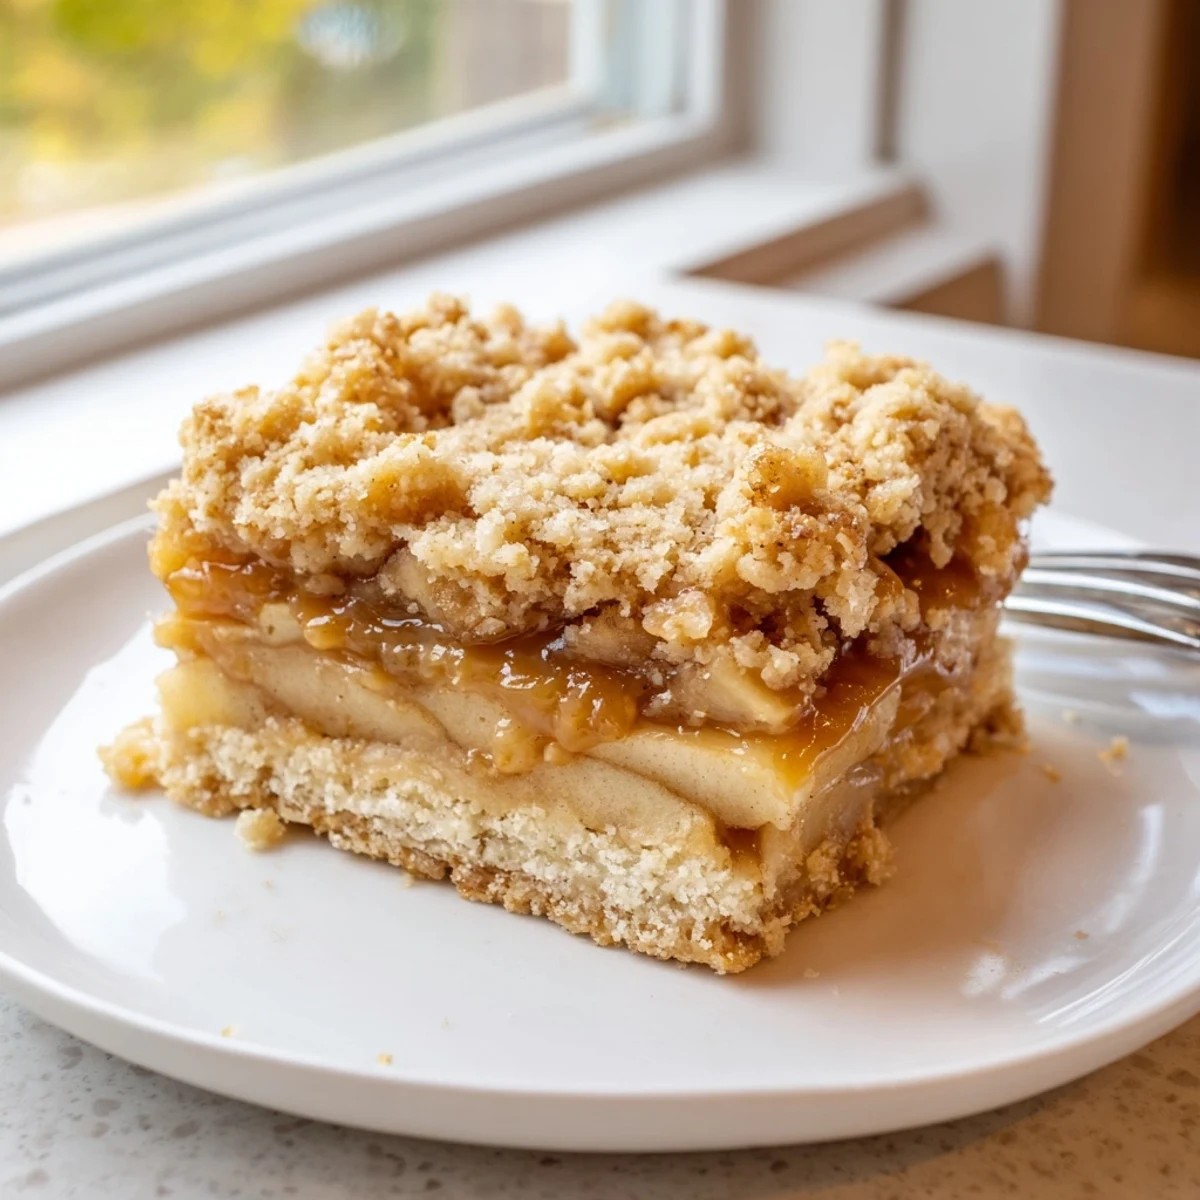
 These classic bars combine three irresistible layers starting with a tender vanilla shortbread crust that's partially baked before adding juicy cinnamon-spiced apples and rich caramel sauce. The finishing touch is a buttery crumb topping that bakes to golden perfection.
The dough for crust and topping comes together quickly in one bowl—you'll simply reserve some portion before pressing the remainder into your pan. While the crust bakes, toss fresh apple slices with lemon juice, sugar, flour, and cinnamon for a filling that strikes the perfect balance between tart and sweet.
Store-bought caramel sauce drizzled over the apples adds gooey sweetness without extra work. After the final bake, let the bars cool completely before slicing—this step is crucial for clean edges. They keep well for three days and actually taste even better on day two as the flavors meld together.
My apartment smelled like autumn took up residence and refused to leave. The buttery shortbread scent mixing with cinnamon apples had neighbors knocking on my door within minutes of these coming out of the oven.
I made these for a Friendsgiving last year when someone forgot to bring dessert. Panic turned to triumph when everyone asked for the recipe instead of complaining about missing pumpkin pie.
Ingredients
- 2 1/2 cups all-purpose flour: The foundation for both crust and crumb topping
- 1 cup unsalted butter, cold and cubed: Cold butter creates those tender flaky layers we love
- 3/4 cup granulated sugar: Just enough sweetness to balance the tart apples
- 1/2 teaspoon salt: Enhances all the flavors and prevents flat taste
- 1 teaspoon vanilla extract: Pure extract makes a noticeable difference here
- 3 medium apples: I use a mix of Granny Smith and Honeycrisp
- 2 tablespoons lemon juice: Prevents apples from turning brown and adds brightness
- 1/3 cup granulated sugar: For the apple filling
- 1 tablespoon all-purpose flour: Thickens the apple juices as they bake
- 1 teaspoon ground cinnamon: Warm spice that pairs perfectly with caramel
- 1/2 cup caramel sauce: Homemade or store bought both work beautifully
Instructions
- Preheat your oven:
- Set it to 350°F and line a 9x9 inch pan with parchment paper letting the edges hang over
- Make the crumble mixture:
- Combine flour sugar and salt in a large bowl then cut in cold butter until the mixture looks like coarse crumbs
- Set aside topping:
- Reserve about 1 1/2 cups of this mixture in a separate bowl for later
- Press the crust:
- Firmly press the remaining dough into the bottom of your prepared pan creating an even layer
- Par bake the crust:
- Bake for 12 minutes until it just starts to turn golden around the edges
- Prepare the apples:
- Toss the sliced apples with lemon juice sugar flour and cinnamon until well coated
- Layer the filling:
- Spread the apples over the hot crust then drizzle with half the caramel sauce
- Add the topping:
- Sprinkle the reserved crumb mixture evenly over the apples
- Bake until golden:
- Bake for 28 to 32 minutes until the topping is golden brown and apples are tender
- Cool completely:
- Let the bars cool completely in the pan before lifting out with parchment and cutting
 Save to Pinterest
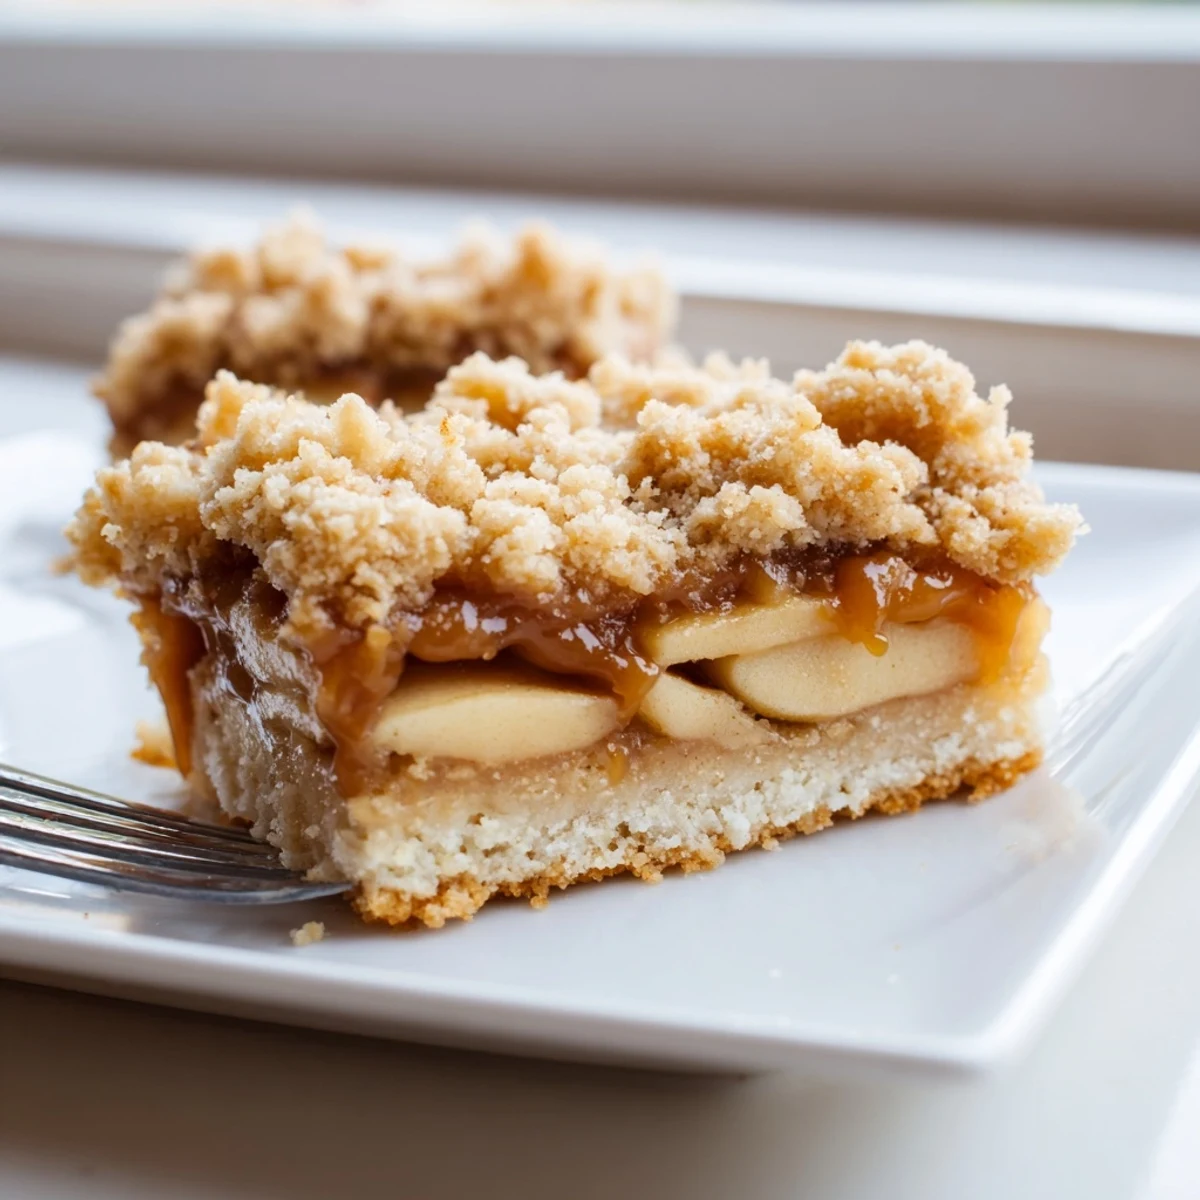
 These have become my go to when I need something impressive but doable. The way the caramel seeps into the apple layer creates pockets of pure joy that keep people coming back for seconds.
Choosing the Right Apples
I have learned that some apples turn to mush while others stay stubbornly crisp. A mix of tart and sweet varieties gives you the perfect balance of flavor and texture that holds up beautifully in the oven.
Making Your Own Caramel
Store bought caramel works perfectly fine but homemade sauce takes these bars to another level. The extra ten minutes of stirring melting sugar and butter together is absolutely worth the effort.
Storage and Serving
These bars actually taste better the next day as the flavors meld together. Keep them in an airtight container at room temperature for up to three days.
- Warm individual bars in the microwave for 15 seconds
- Top with vanilla ice cream for an extra special dessert
- Pack them in a cute box for the perfect homemade gift
 Save to Pinterest
 There is something deeply satisfying about cutting through that crumb topping and hitting the gooey caramel layer beneath. These bars capture everything cozy about fall in one pan.
Recipe FAQs
- → What type of apples work best for these bars?
-
A mix of tart and sweet apples yields the best flavor. Granny Smith, Honeycrisp, or Braeburn provide excellent texture and hold their shape during baking without becoming mushy.
- → Can I use homemade caramel sauce instead of store-bought?
-
Absolutely. Homemade caramel sauce works beautifully and allows you to control the sweetness level. Just ensure it has cooled slightly before drizzling over the apples so it doesn't soak into the crust too much.
- → Why must I let the bars cool completely before cutting?
-
The caramel and apple filling need time to set as they cool. Cutting warm bars will cause them to fall apart and lose their neat edges. For the cleanest slices, refrigerate for 30 minutes after cooling to room temperature.
- → Can I freeze these caramel apple bars?
-
Yes, they freeze well for up to 3 months. Wrap individual bars in plastic wrap and place in an airtight container. Thaw overnight in the refrigerator before serving, or enjoy slightly chilled.
- → My crumb topping seems too dry—is this normal?
-
The crumb mixture should resemble coarse sand with some pea-sized butter pieces. This texture creates the perfect crumbly topping once baked. If it feels powdery, press a small amount together— if it holds its shape, you're on track.
- → Can I make these bars ahead of time?
-
These bars actually improve with a day of rest as the flavors deepen and the texture sets. Make them up to 24 hours before serving, storing covered at room temperature. Avoid refrigeration unless your kitchen is very warm.
