 Save to Pinterest
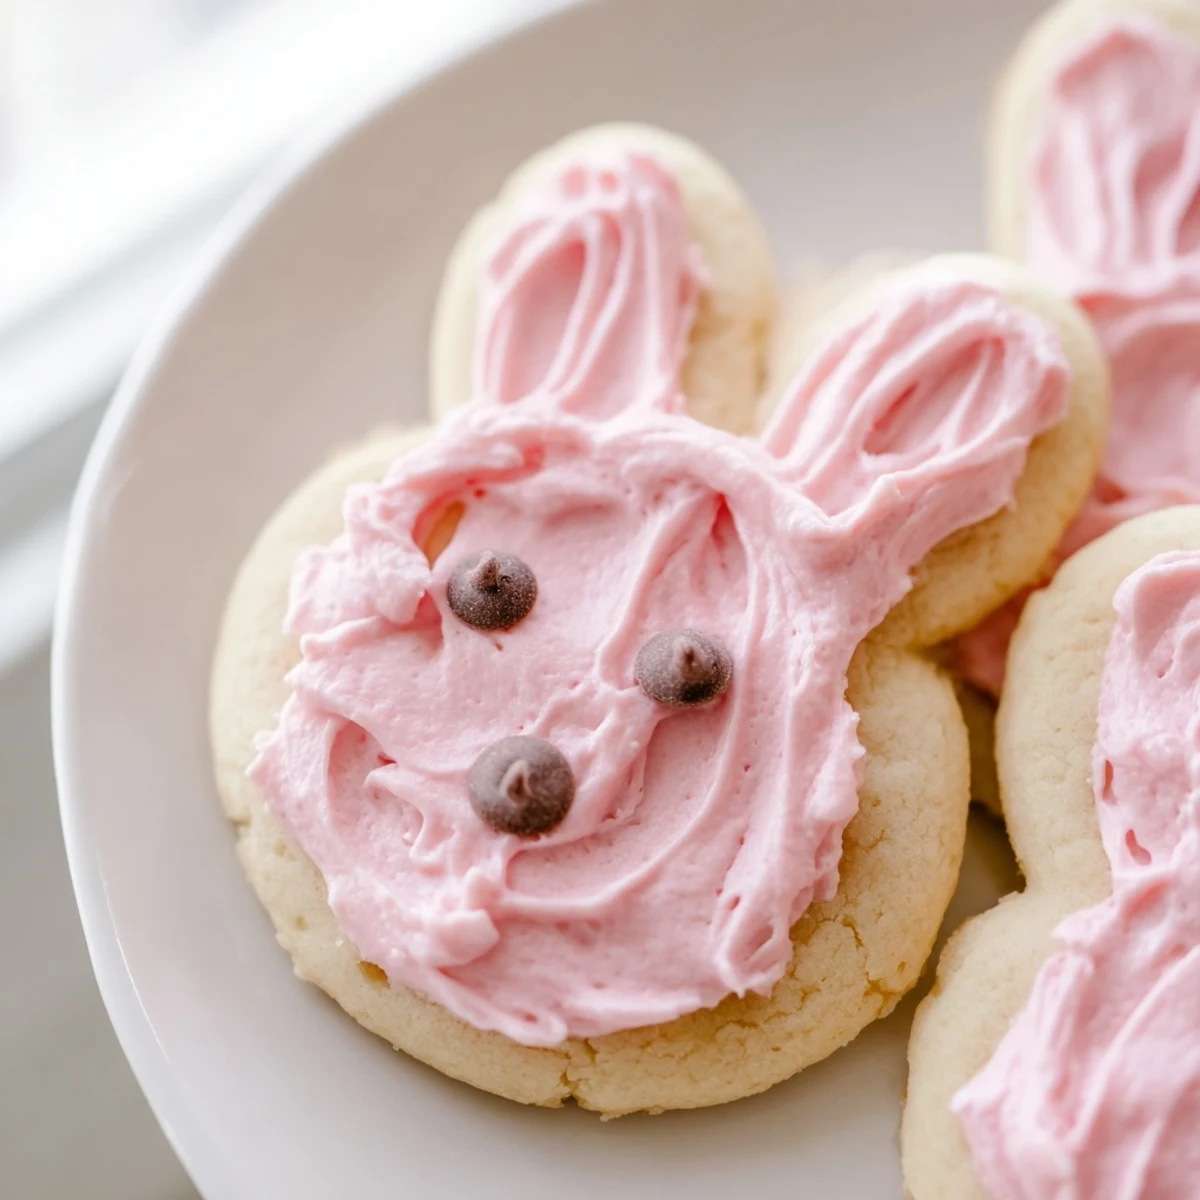
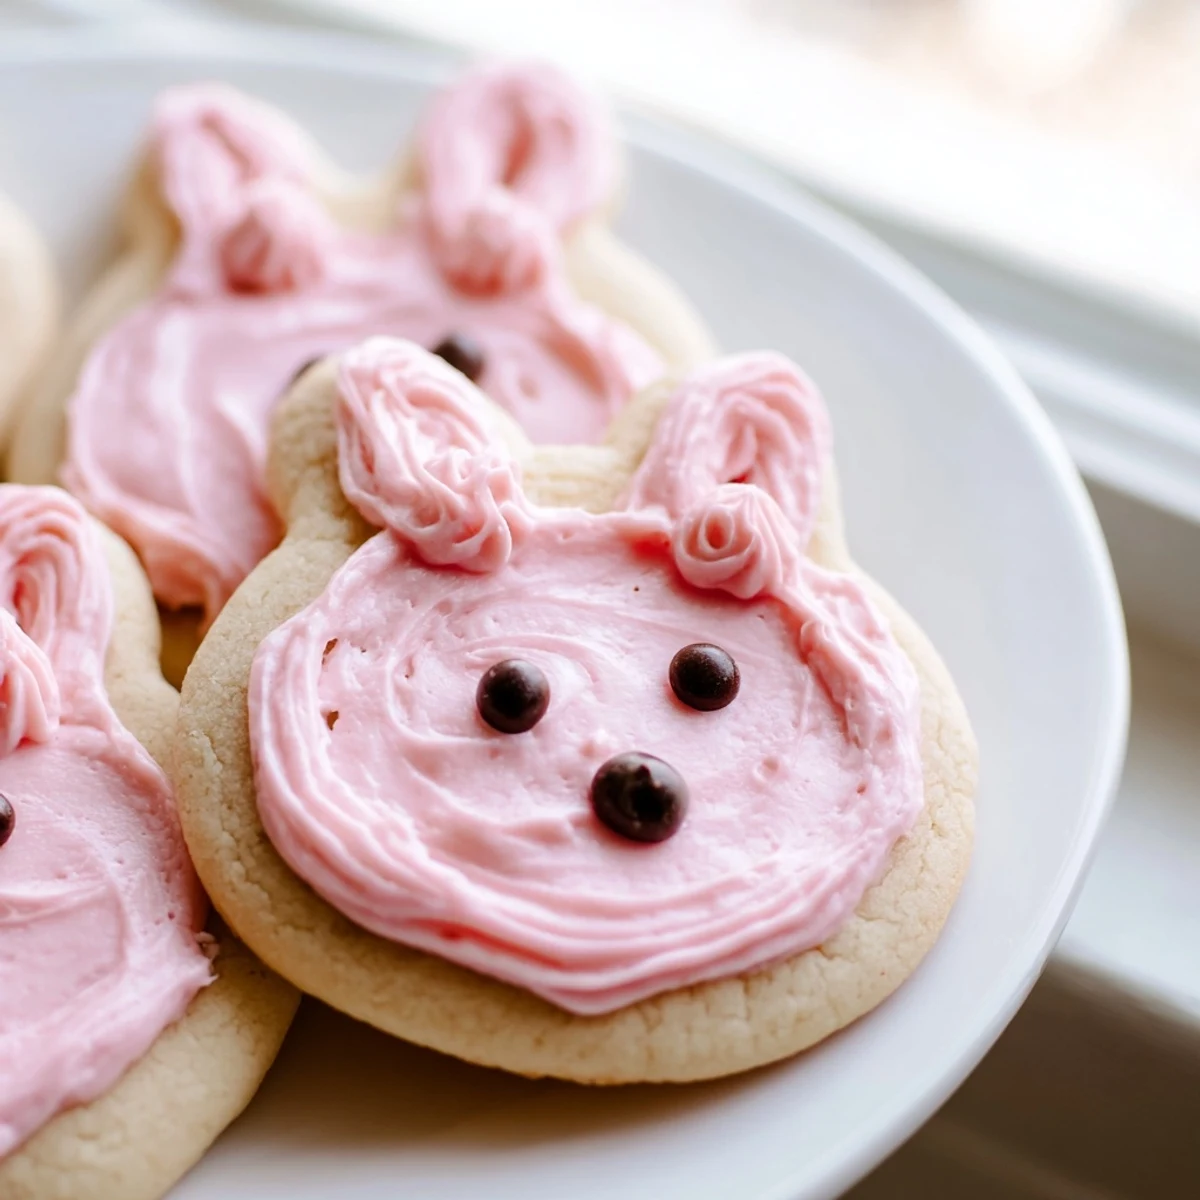
 These charming bunny-shaped sugar cookies feature a tender, buttery base crowned with silky smooth buttercream frosting. The dough comes together quickly but requires chilling for easy rolling and cutting with your favorite bunny cookie cutter. Bake until just golden, let cool completely, then decorate with pastel-tinted frosting and candy eyes for irresistible faces.
Make ahead-friendly—the dough rests overnight in the refrigerator, and finished treats stay fresh for days in an airtight container. Ideal for spring gatherings, classroom parties, or Easter basket additions.
The kitchen smelled like butter and warm sugar when my niece asked if we could make bunnies for her class spring party. I'd never shaped cookies like this before, but her eyes lit up at the idea, and suddenly we were covered in flour and laughter.
We made such a mess that afternoon with pink frosting everywhere and flour dusting our hair. The best ones were the slightly lopsided bunnies my niece insisted needed extra sprinkles because they were special.
Ingredients
- All-purpose flour: The foundation that holds these tender cookies together without making them tough
- Baking powder: Just enough to give them a subtle lift so they're not flat or dense
- Salt: Balances the sweetness and makes all the flavors pop
- Unsalted butter: Use this softened to room temperature for that melt-in-your-mouth texture
- Granulated sugar: Creates the crisp edges while keeping centers soft and buttery
- Egg: Binds everything together and adds richness to the dough
- Pure vanilla extract: The warm comforting flavor that makes these taste like home
- Unsalted butter for frosting: whipped until creamy creates that luxurious silky texture
- Powdered sugar: Sweetens and thickens the buttercream perfectly
- Whole milk: Thins the frosting just enough so it's spreadable but still holds its shape
- Food coloring: Pastel shades make these bunnies come to life
- Candy eyes and sprinkles: The finishing touches that give each bunny its personality
Instructions
- Preheat your oven and prepare the baking sheets:
- Line two baking sheets with parchment paper and set the oven to 350°F so it's ready when your dough is chilled
- Whisk together the dry ingredients:
- In a medium bowl combine flour baking powder and salt so they're evenly distributed
- Cream the butter and sugar:
- Beat them together for about 3 minutes until the mixture looks pale and fluffy like clouds
- Add the egg and vanilla:
- Mix until everything's incorporated and the batter looks smooth and glossy
- Combine wet and dry ingredients:
- Gradually mix in the flour mixture just until you see the dough come together
- Chill the dough:
- Divide into two discs wrap them in plastic and let them rest in the fridge for at least 30 minutes
- Roll and cut the bunnies:
- On a floured surface roll the dough to 1/4 inch thick then cut out bunnies and place them 2 inches apart on your sheets
- Bake to golden perfection:
- Pop them in the oven for 8 to 10 minutes until you see the edges starting to turn golden
- Cool completely:
- Let the cookies rest on a wire rack until they're completely cool to the touch
- Make the silky buttercream:
- Beat the softened butter until creamy then gradually add powdered sugar milk and vanilla until smooth
- Decorate your bunny army:
- Frost each cookie with buttercream using piping bags or a spatula then add candy eyes and sprinkles
 Save to Pinterest
 My niece took such pride in arranging each bunny on a plate for her class. Some had crooked whiskers others had too many sprinkles but every single one was made with joy.
Making These Ahead
The dough actually develops better flavor when it rests overnight in the refrigerator. You can bake them the day before your event and frost them that morning when you're fresh.
Frosting Like A Pro
Room temperature butter whips up much smoother than cold butter ever will. If your buttercream feels too stiff add just a teaspoon of milk at a time until it's perfectly spreadable.
Bringing Them To Life
There's something magical about seeing plain cookies transform into characters. Set up a decorating station with small bowls of sprinkles and let everyone create their own unique bunny faces.
- Gel food coloring gives you those gorgeous soft pastel shades without thinning your frosting
- Work quickly once the frosting is on because it forms a slight crust as it sets
- Store them in a single layer so the buttercream doesn't get smushed
 Save to Pinterest
 These bunnies have become my go-to for spring gatherings. There's nothing quite like watching someone's face light up when they see a plate of them headed their way.
Recipe FAQs
- → How far in advance can I make the dough?
-
The dough can be prepared up to 24 hours ahead and stored wrapped in the refrigerator. This extra chilling time actually improves the texture and makes rolling easier.
- → What's the best way to achieve smooth buttercream?
-
Beat room-temperature butter until creamy before gradually adding powdered sugar. Pour in milk and vanilla, then whip on medium-high speed for 3-4 minutes until silky and spreadable.
- → Can I freeze these decorated cookies?
-
Freeze undecorated baked cookies for up to 3 months. Frosting freezes well too—pipe frozen dollops onto parchment, then thaw and spread when ready to serve.
- → What type of food coloring works best?
-
Gel-based food coloring delivers vibrant pastels without thinning your buttercream. Start with tiny amounts on a toothpick—you can always add more for deeper shades.
- → How do I prevent cookies from spreading too much?
-
Chill the cut shapes on the baking sheet for 10 minutes before baking. Keep dough cold while working, and avoid overcrowding the oven to maintain perfect bunny shapes.
