 Save to Pinterest
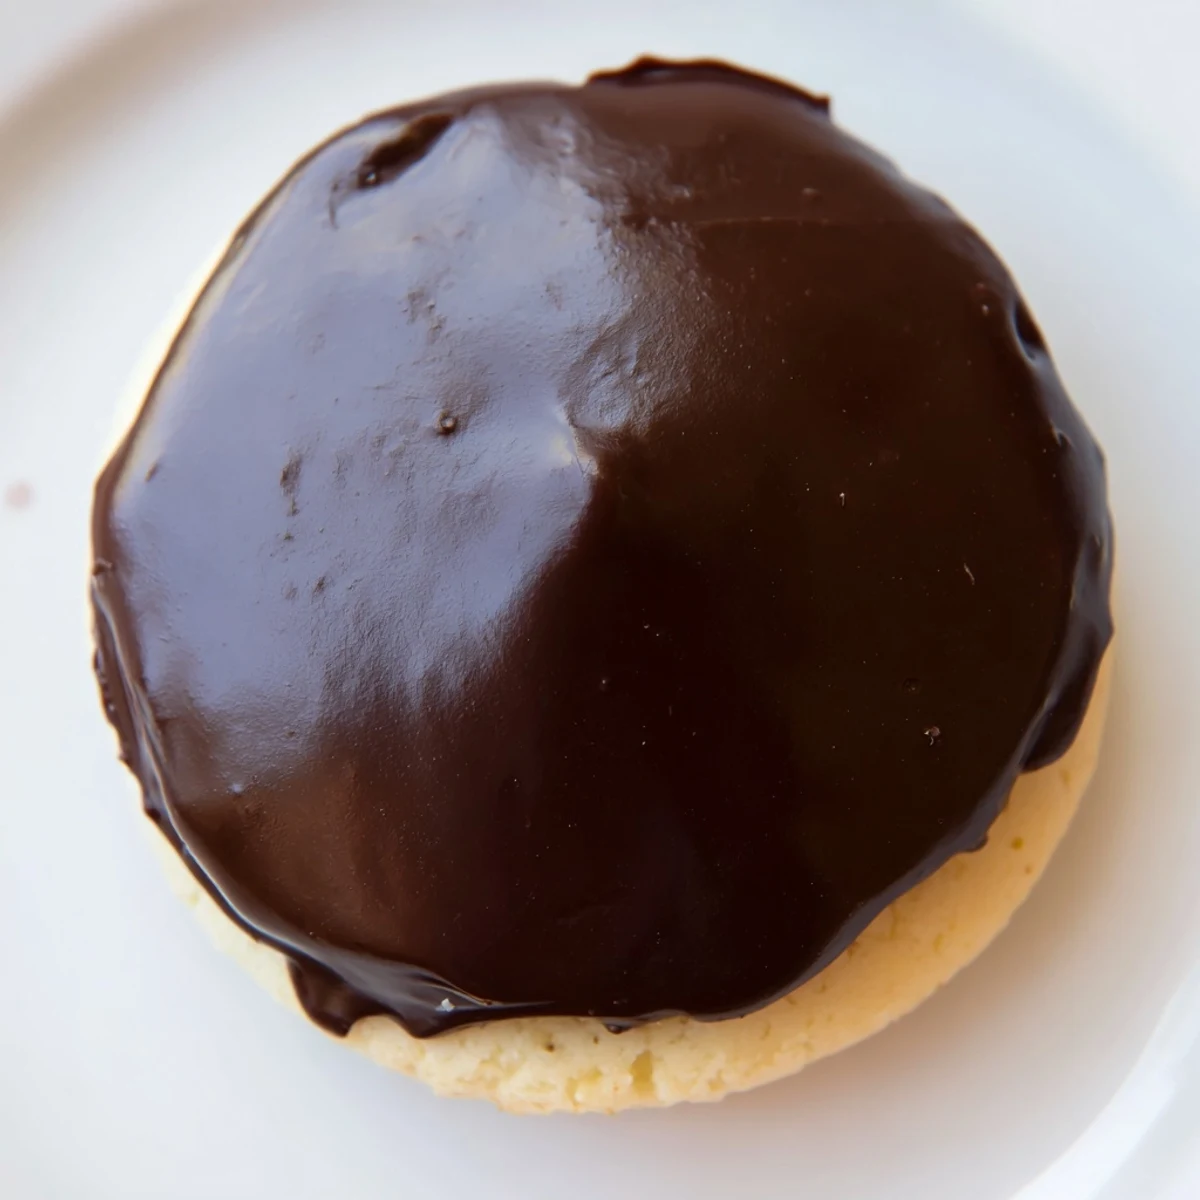
 These delightful two-bite treats capture all the essence of the classic Boston cream pie in a portable format. Soft, tender vanilla cookies are baked until golden, then sandwiched around a silky homemade vanilla custard filling. Each finished piece gets dipped in a glossy dark chocolate glaze that sets perfectly, creating that iconic chocolate topping. The contrast between the pillowy cookie, smooth custard, and crisp chocolate coating makes these utterly irresistible.
Rain was hammering against my kitchen window last Tuesday when I got the urge to bake something cheerful. These little Boston cream pie cookies were born from that gray afternoon, transforming my kitchen into something warm and chocolate-scented. By the time the first batch came out of the oven, the rain didn't matter anymore.
I brought a plate to my neighbor's game night last month, and her husband kept finding reasons to walk past the coffee table. Later he confessed to eating six of them. Now every time I see him, he asks when I'm making 'those little Boston things' again.
Ingredients
- 1 cup all-purpose flour: The foundation that holds everything together without being too dense
- 1/2 tsp baking powder: Gives these cookies just enough lift to stay tender
- 1/4 tsp baking soda: Works with the powder for perfect rise
- 1/4 tsp fine salt: Balances the sweetness and wakes up the vanilla
- 1/3 cup unsalted butter softened: Room temperature butter creams into sugar beautifully for the best texture
- 1/2 cup granulated sugar: Sweetens the cookie base without making them cloying
- 1 large egg: Binds the dough and adds richness
- 1 tsp vanilla extract: Don't skimp here, this is the backbone of the flavor
- 2 tbsp milk: Helps bring the dough together into something workable
- 3/4 cup whole milk: Whole milk makes the silkiest, most luxurious custard
- 2 tbsp granulated sugar: Just enough sweetness for the creamy filling
- 1 egg yolk: The secret to restaurant-style custard thickness
- 1 tbsp cornstarch: Essential for that proper pudding texture that sets up perfectly
- 1/2 tsp vanilla extract: The filling needs its own vanilla hit
- Pinch of salt: Keeps the custard from tasting flat
- 2 oz semi-sweet chocolate chopped: Semi-sweet strikes the perfect balance for the glaze
- 2 tbsp heavy cream: Creates that gorgeous glossy finish on the chocolate
- 1 tsp unsalted butter: Makes the chocolate set up beautifully and adds shine
Instructions
- Get your oven ready:
- Preheat to 350°F and line a baking sheet with parchment paper, this saves you from scrubbing later
- Whisk the dry ingredients:
- In a medium bowl, combine the flour, baking powder, baking soda, and salt until everything is evenly distributed
- Cream the butter and sugar:
- Beat the softened butter and sugar until the mixture turns pale and fluffy, about 2 to 3 minutes of serious mixing
- Add the egg and vanilla:
- Beat in the egg and vanilla extract until the mixture looks glossy and well combined
- Bring the dough together:
- Gradually mix in the dry ingredients, alternating with the milk, until a soft dough forms that holds together when you squeeze it
- Shape the cookies:
- Scoop tablespoon portions, roll into balls, and place on the baking sheet about 2 inches apart, then flatten each slightly with your palm
- Bake to golden perfection:
- Bake for 10 to 12 minutes until the edges are barely golden, then let them cool completely on a wire rack
- Make the custard filling:
- Whisk together the milk, sugar, egg yolk, cornstarch, vanilla, and salt in a saucepan, then cook over medium heat, whisking constantly, until thickened
- Chill the custard:
- Remove from heat, press plastic wrap directly onto the surface, and refrigerate until completely set and cool
- Prepare the chocolate glaze:
- Microwave the chocolate, cream, and butter in 20-second bursts, stirring between each, until smooth and glossy
- Assemble the cookie bites:
- Spread or pipe about 1 teaspoon of custard on the flat side of half the cookies, then top with remaining cookies to form sandwiches
- Add the chocolate topping:
- Spoon the glaze over each cookie sandwich and let them sit until the chocolate is firm to the touch
 Save to Pinterest
 My daughter helped me dip the tops in chocolate last time, and we ended up with more glaze on our fingers than the cookies. We were both licking chocolate off our thumbs and laughing at our messy kitchen. Those are the moments that stick with you longer than any recipe.
Making the Assembly Less Messy
I've learned to set up a little assembly line with everything in separate bowls. The glaze goes into a small shallow bowl which makes dipping so much easier. Keep a damp paper towel nearby because chocolate drips are inevitable.
Storage Wisdom
These actually taste better after sitting in the fridge overnight. The cookie softens slightly and merges with the custard into this perfect creamy bite. Just bring them to room temperature for 10 minutes before serving.
Customization Ideas
Sometimes I'll add a tiny pinch of cinnamon to the cookie dough for warmth. A splash of coffee extract in the glaze deepens the chocolate flavor without being obvious.
- Try orange zest in the custard for a creamsicle variation
- Swap the semi-sweet chocolate for milk chocolate if you prefer sweeter
- Toast the cookie dough balls for 2 minutes before baking for extra nutty flavor
 Save to Pinterest
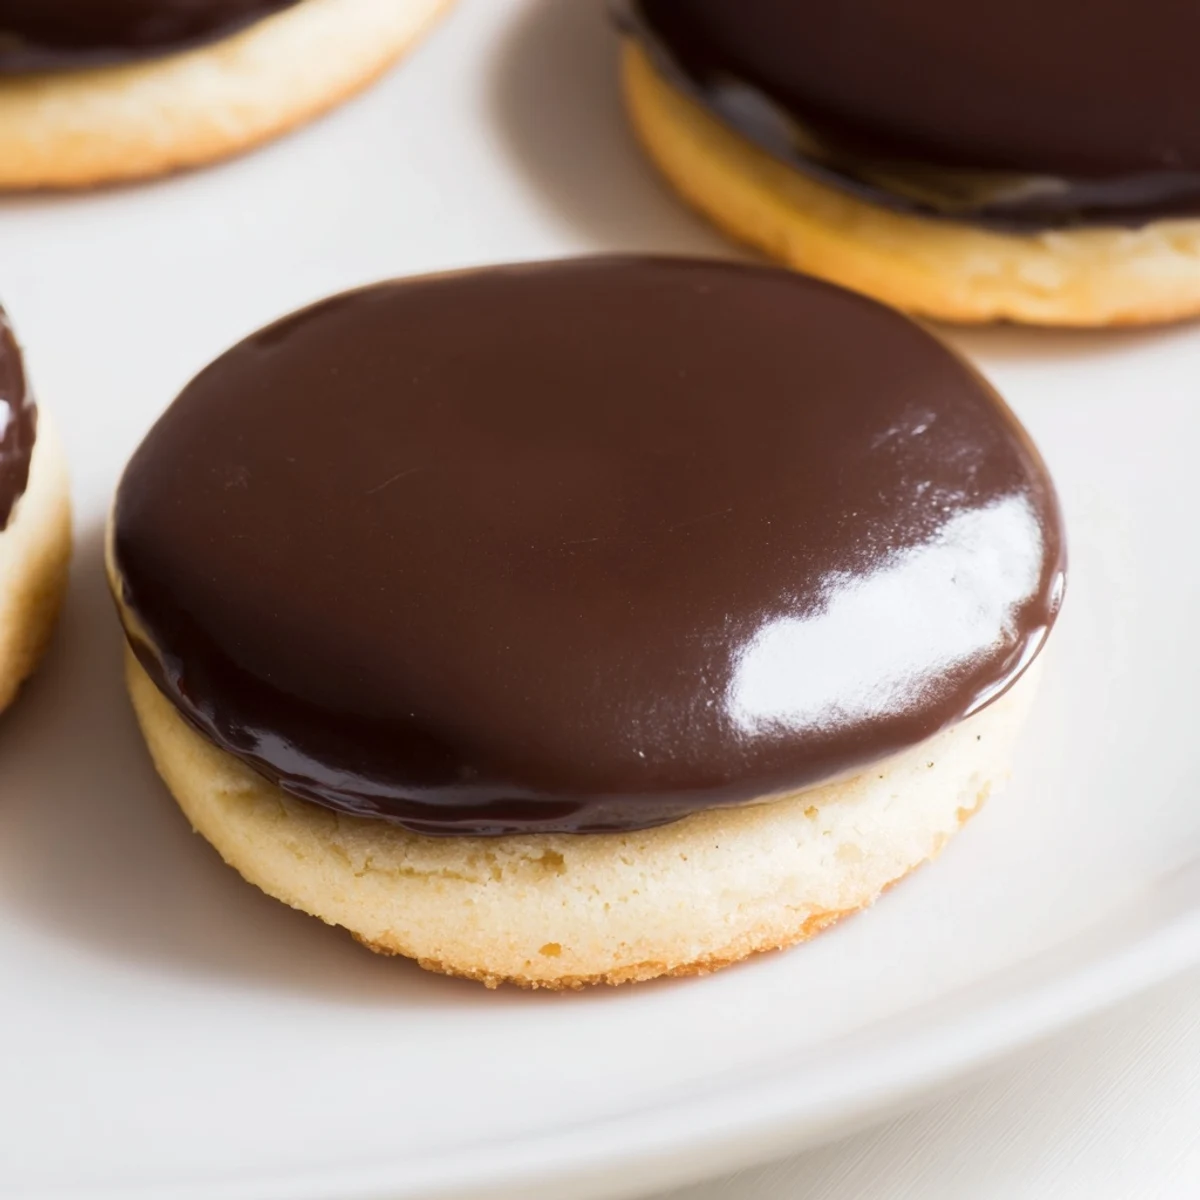
 There's something magical about taking a classic dessert and shrinking it down into something you can eat in two bites. These Boston cream pie cookies have become my go-to for whenever I need to turn an ordinary day into something worth celebrating.
Recipe FAQs
- → Can I make the cookie dough ahead of time?
-
Yes, the dough can be prepared and refrigerated for up to 2 days before baking. Bring to room temperature for easier rolling, or scoop and freeze the balls for up to 3 months.
- → How do I know when the custard is thick enough?
-
The custard is ready when it coats the back of a spoon and leaves a clear path when you run your finger through it. This typically takes 3-4 minutes of constant whisking over medium heat.
- → Can I use store-bought custard instead?
-
Absolutely. Vanilla pudding or custard from the grocery store works perfectly as a time-saving alternative. Look for a thick, creamy variety for the best results.
- → Why is my chocolate glaze too thick?
-
If the glaze seems too thick, add another teaspoon of warm cream and stir until smooth. The glaze should pour easily but still coat the spoon.
- → How should I store these finished treats?
-
Keep them in an airtight container in the refrigerator for up to 3 days. The custard requires cold storage, and the chocolate glaze sets best when chilled.
- → Can I add different flavors to the custard?
-
Certainly. Try adding a tablespoon of rum, espresso powder, or almond extract to the warm custard for variations. Just add it after removing from the heat.
